


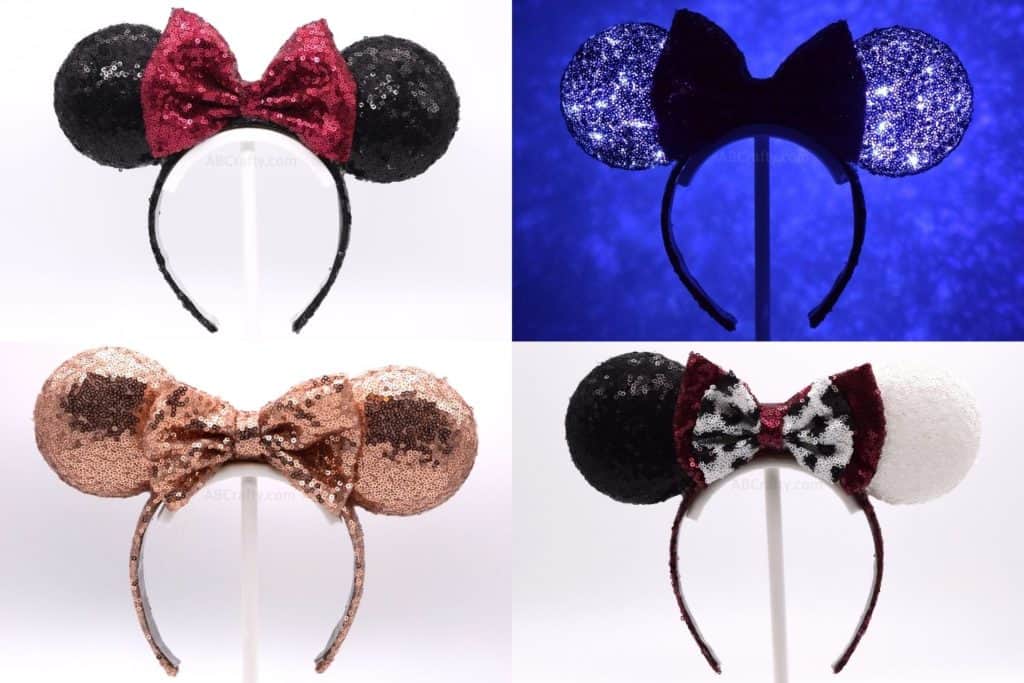


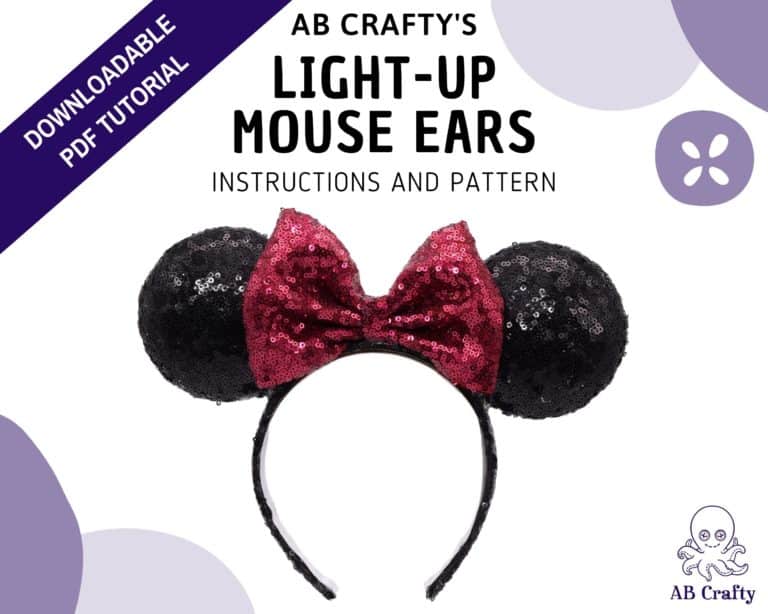


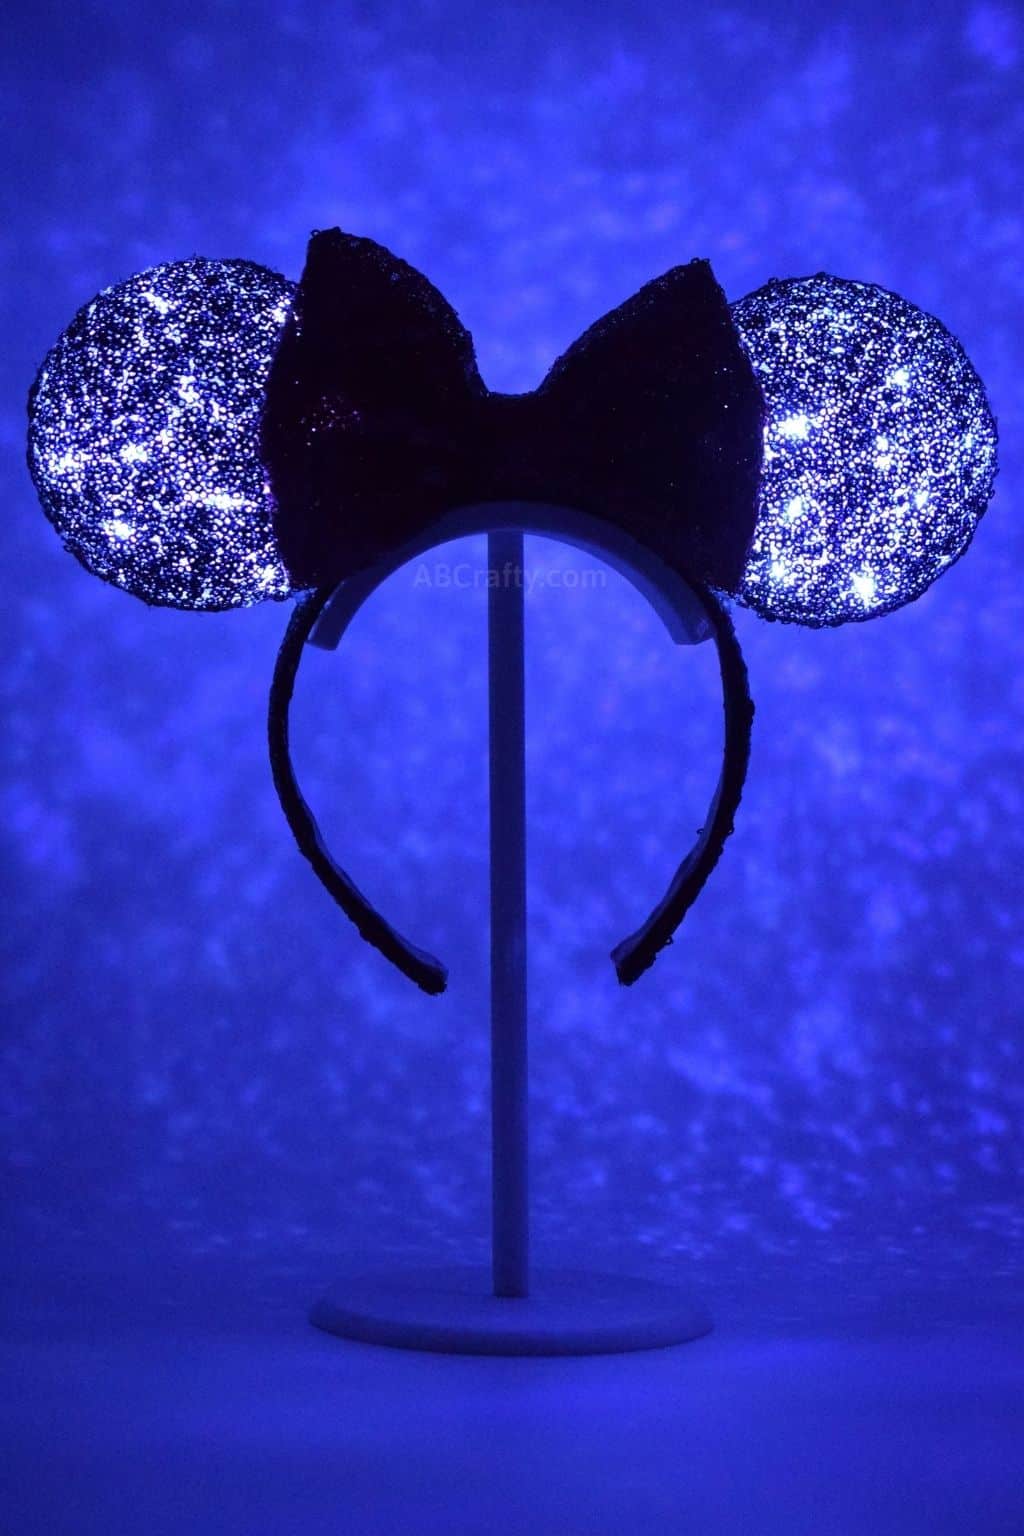
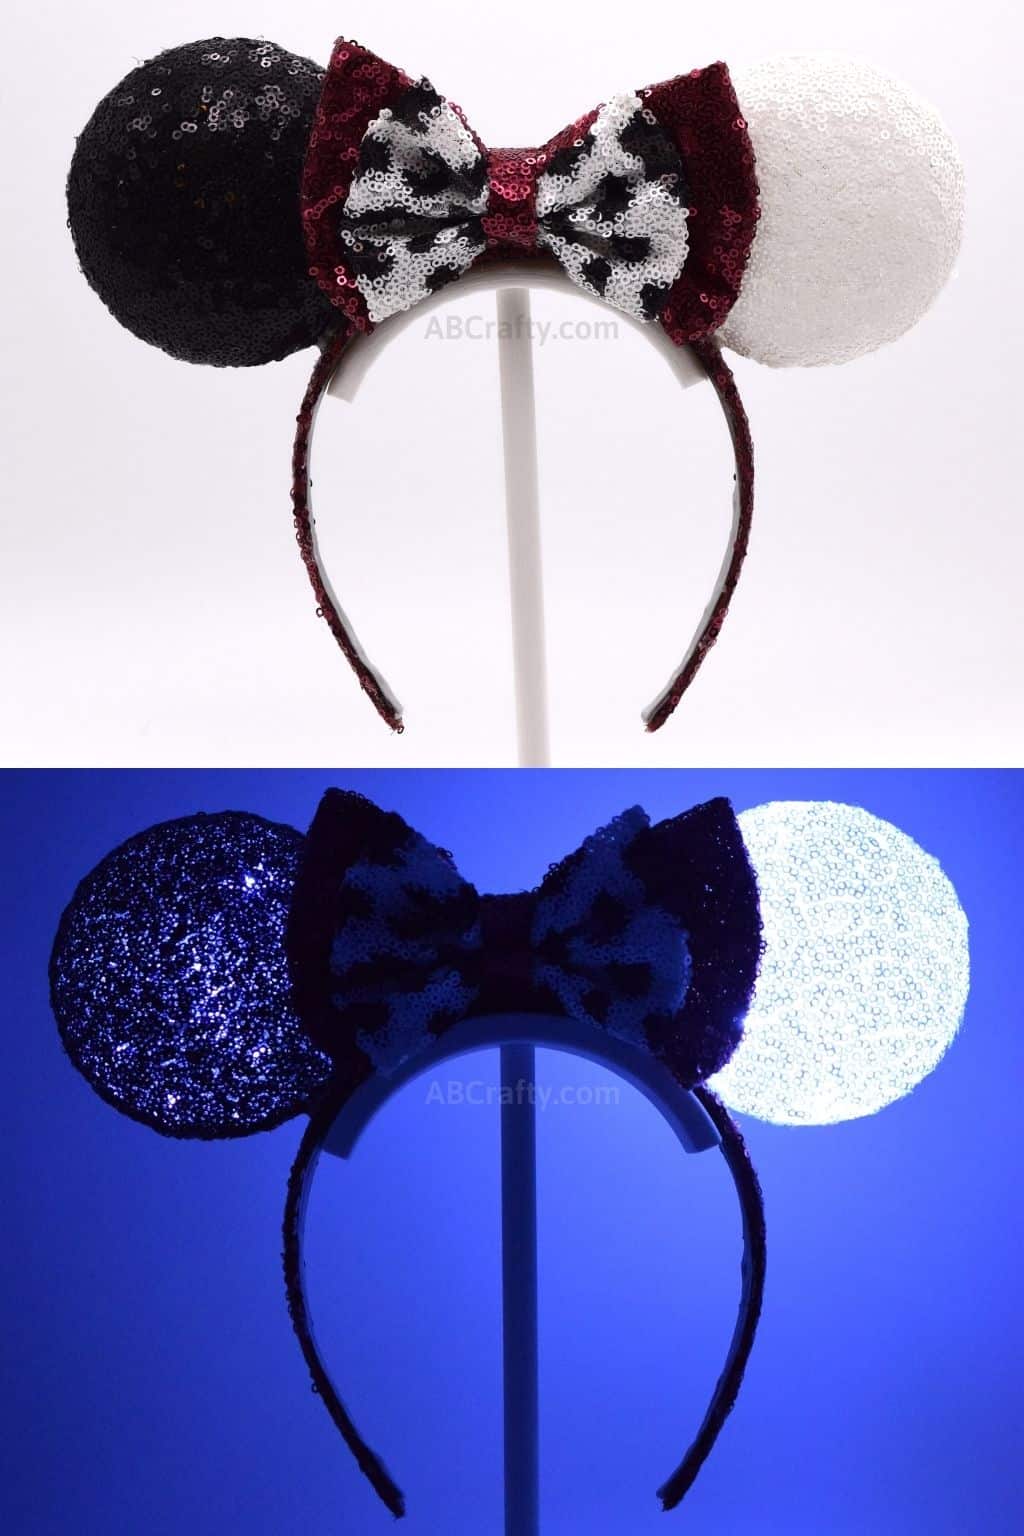
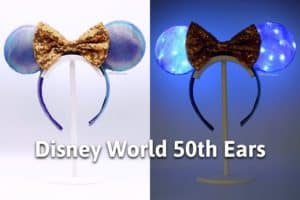
DIY Light Up Minnie Mouse Ears
Learn how to make light up Minnie Mouse ears. These no-sew DIY Disney ears instructions includes a free Minnie ears template to easily make your own headband.
Materials
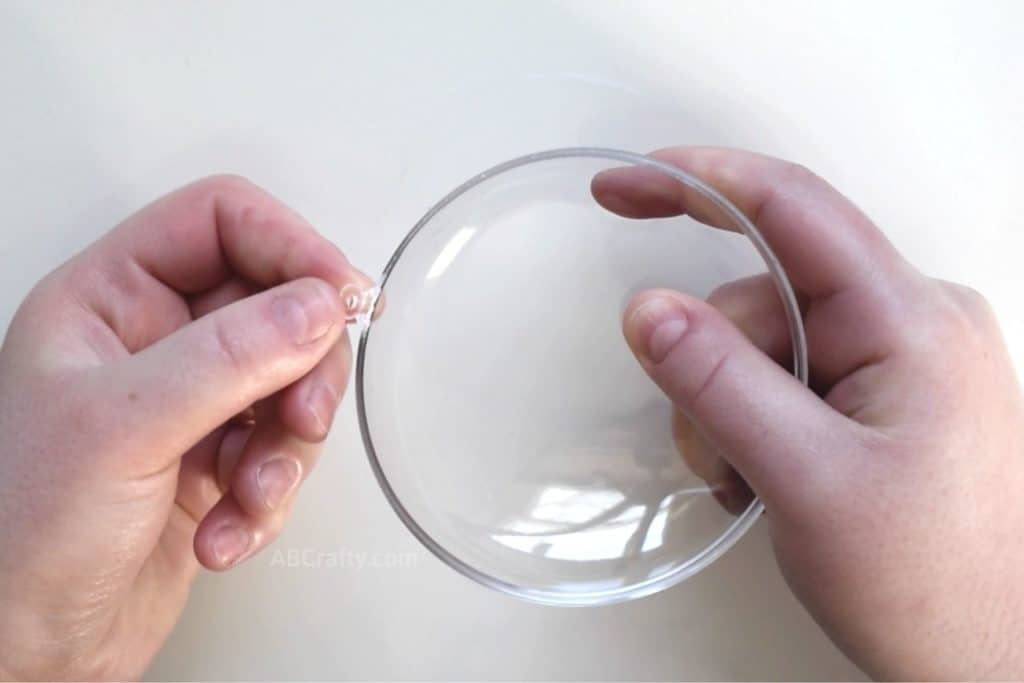
- 2 90mm clear plastic disc ornaments
- 1 set Fairy lights
- 1 Satin headband
- Black sequin fabric
- Red sequin fabric
- Satin ribbon
Equipment
- Glue gun
- Scissors
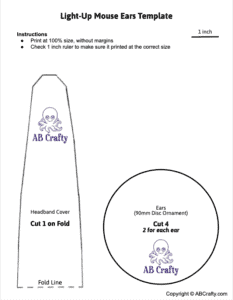
- Minnie Mouse Ears Template
Instructions
Attach the Fairy Lights
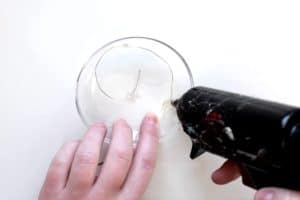
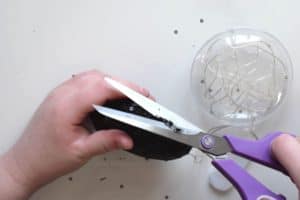
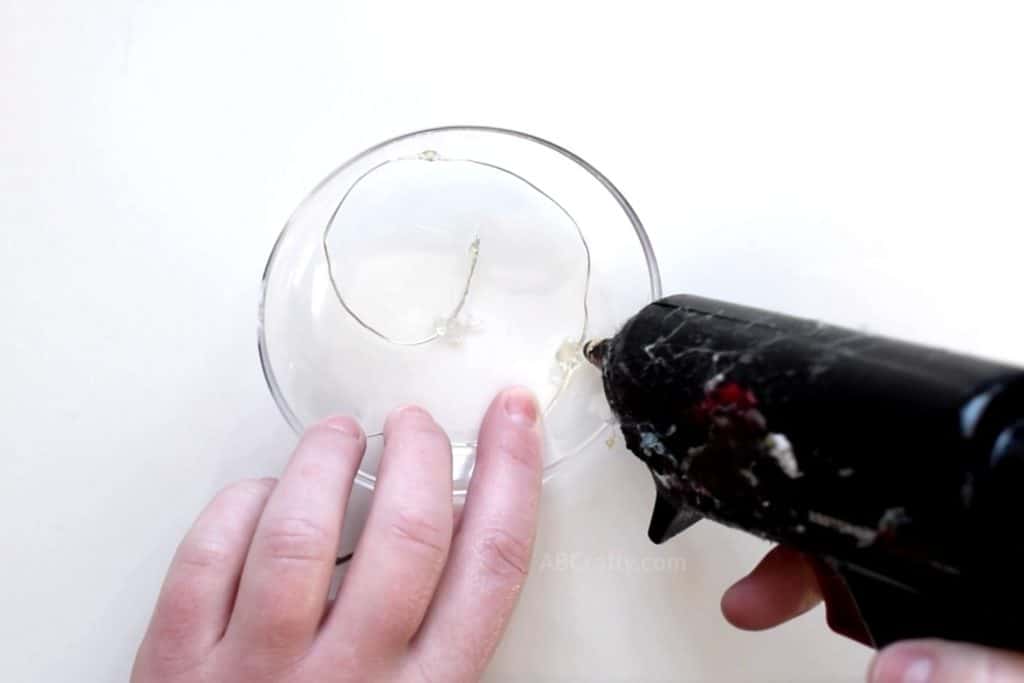
- Break off the nub of both sides of the fillable plastic disc ornaments.

- Unwrap the fairy lights and glue half of the lights into one half of an ornament.
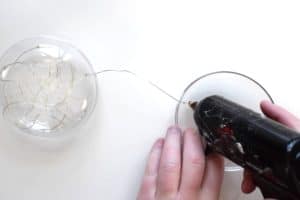
- Twist the wire around so that the lights are roughly evenly spaced. The last light should be close to the gap you created when breaking off the nub. Place the wire into this gap.
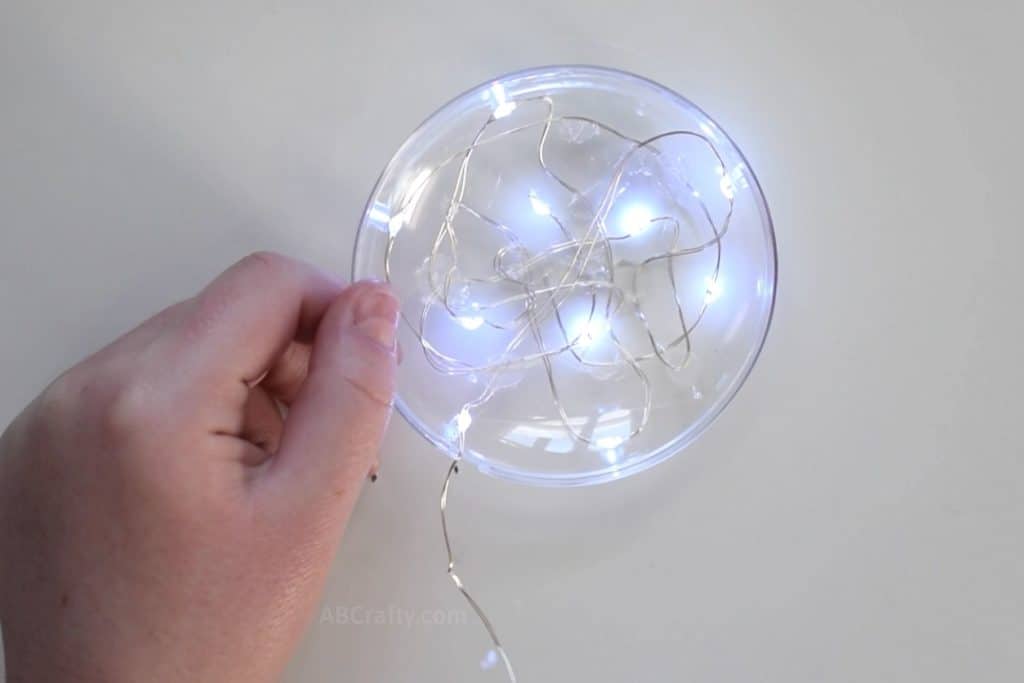
- Connect the other half of the ornament, lining up the opening, and snap it shut.Then bring the wire across and into half of the other ornament through the opening.
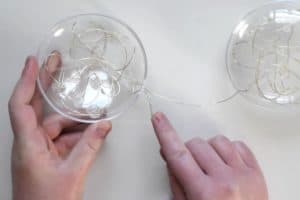
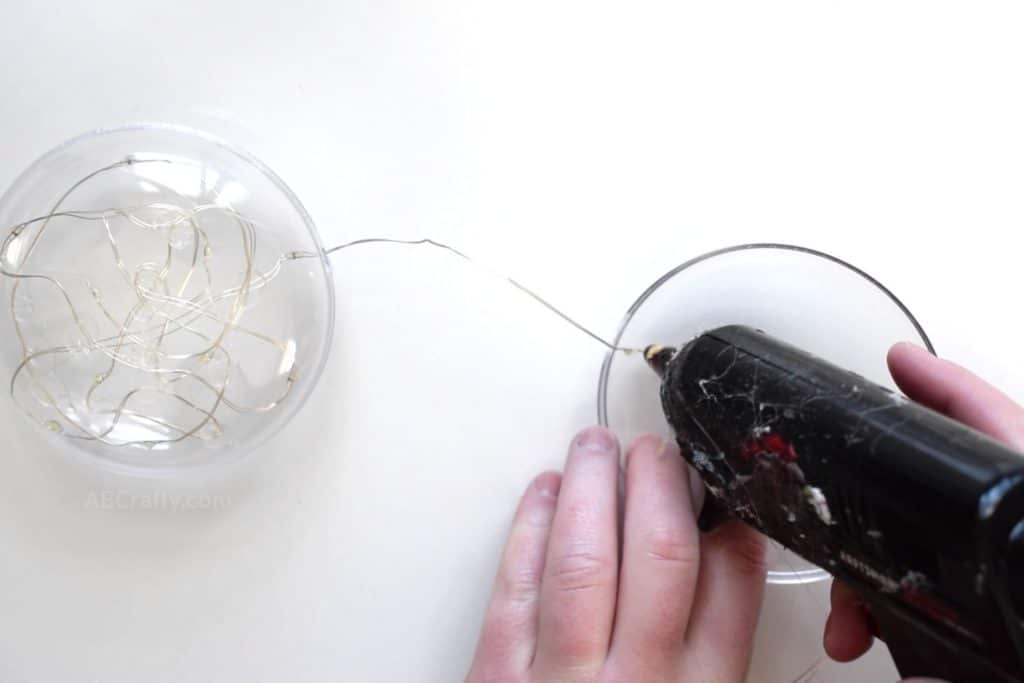
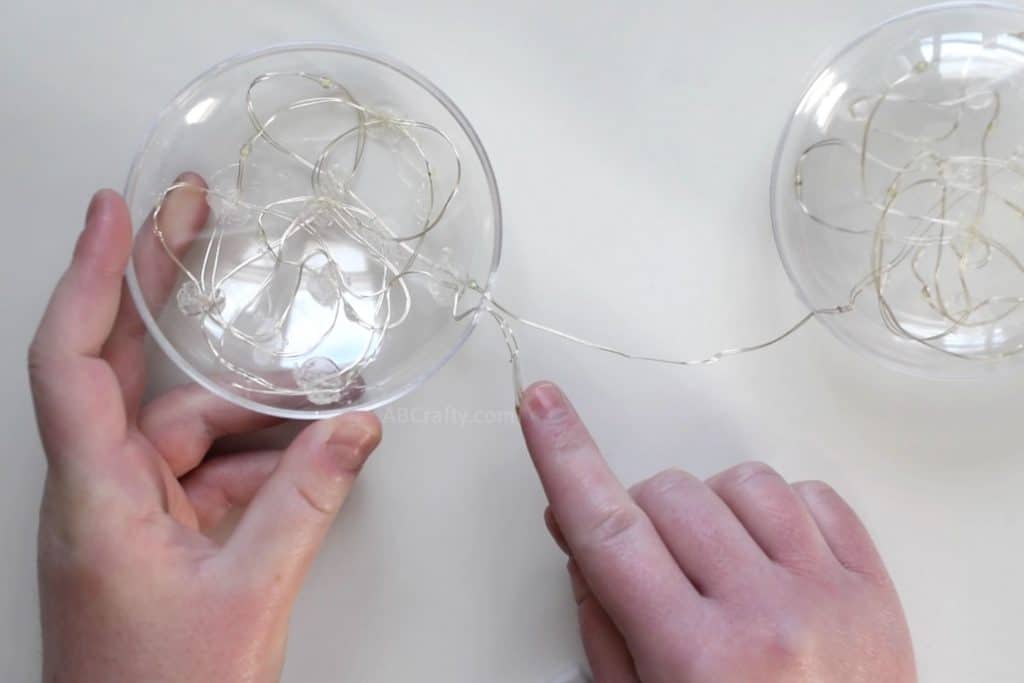
- Repeat the process of glueing the fairy lights into the ornament. When you reach the end of the lights, bring the rest of the wire and battery pack back through the hole. Then snap on the other half of the ornament.
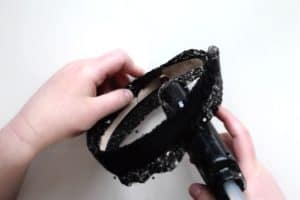
Cover the Ears with Fabric
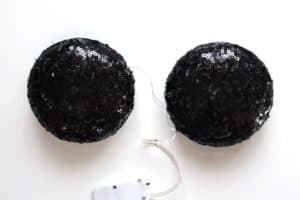
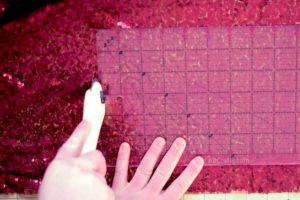
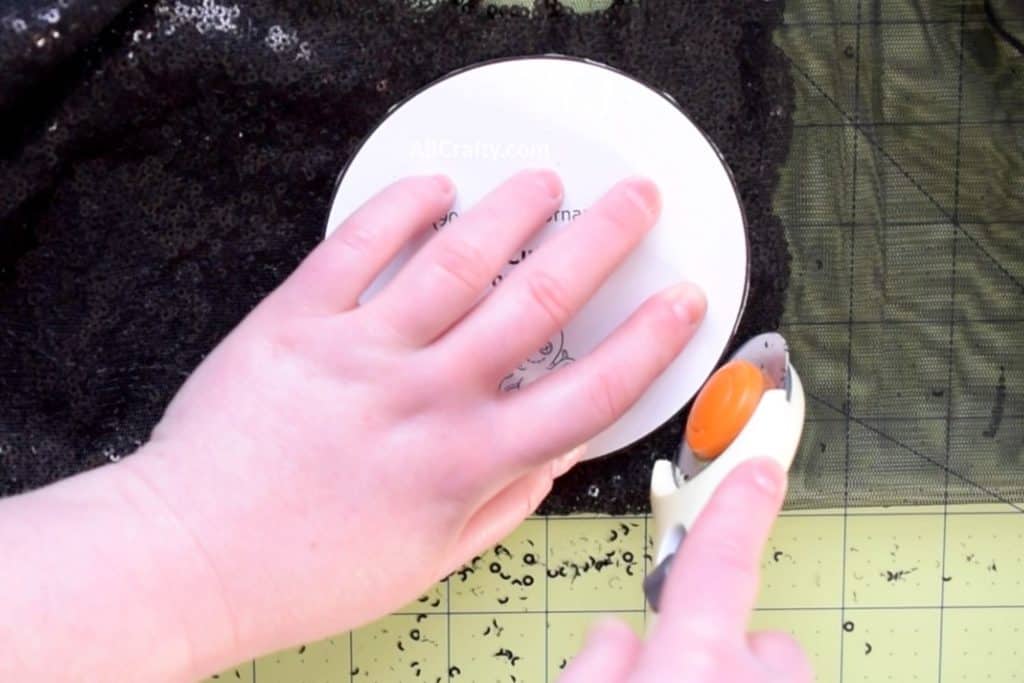
- Fold the black sequin fabric in half and place the Minnie Mouse ears template on top. Cut around the template. Repeat so you have 4 circles.
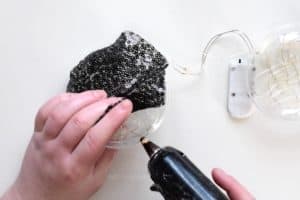
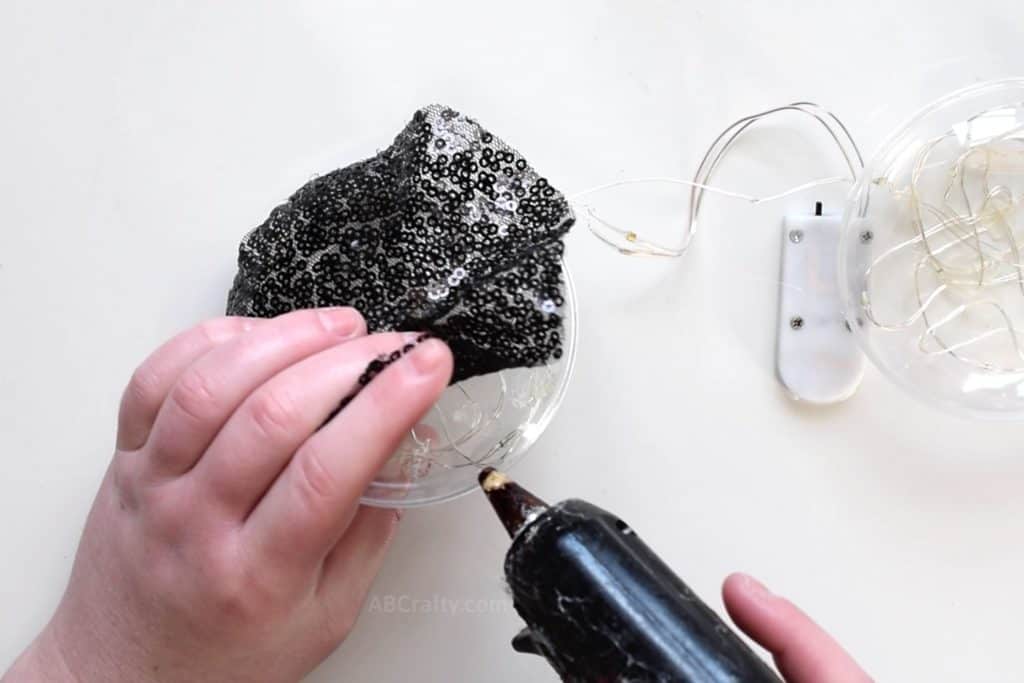
- Take one of the circles of fabric and glue it onto half of one of the ornaments. Make sure it is centered so that it fits all the way around.
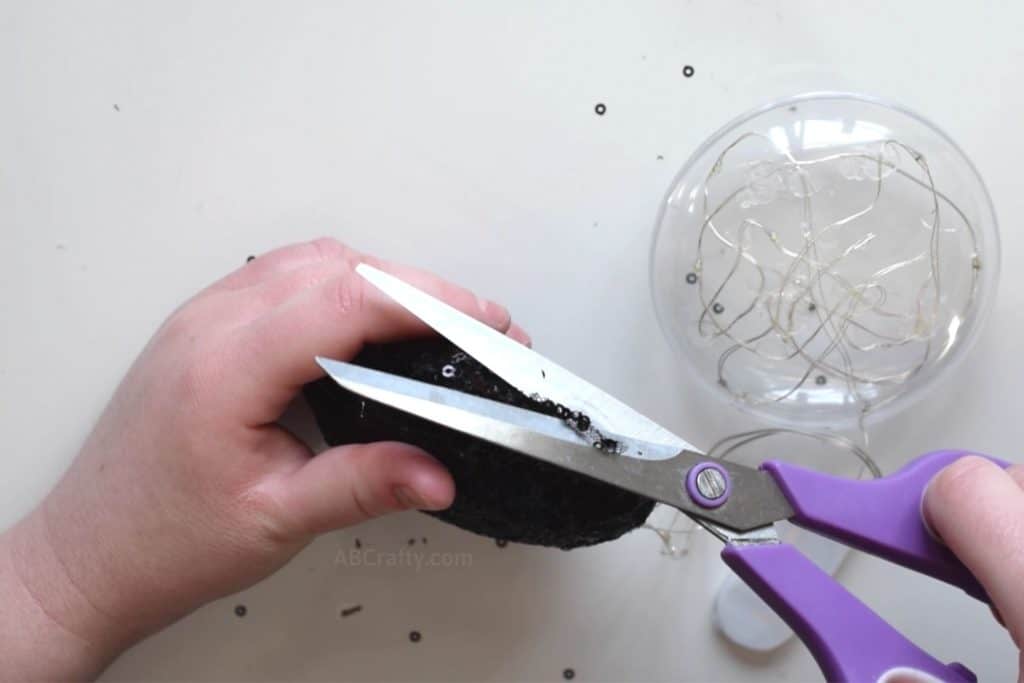
- Glue another piece of sequin fabric onto the other side of the same ornament. Glue down the edge along the seam of the ornament. Cut off any excess so that it’s nice and smooth.
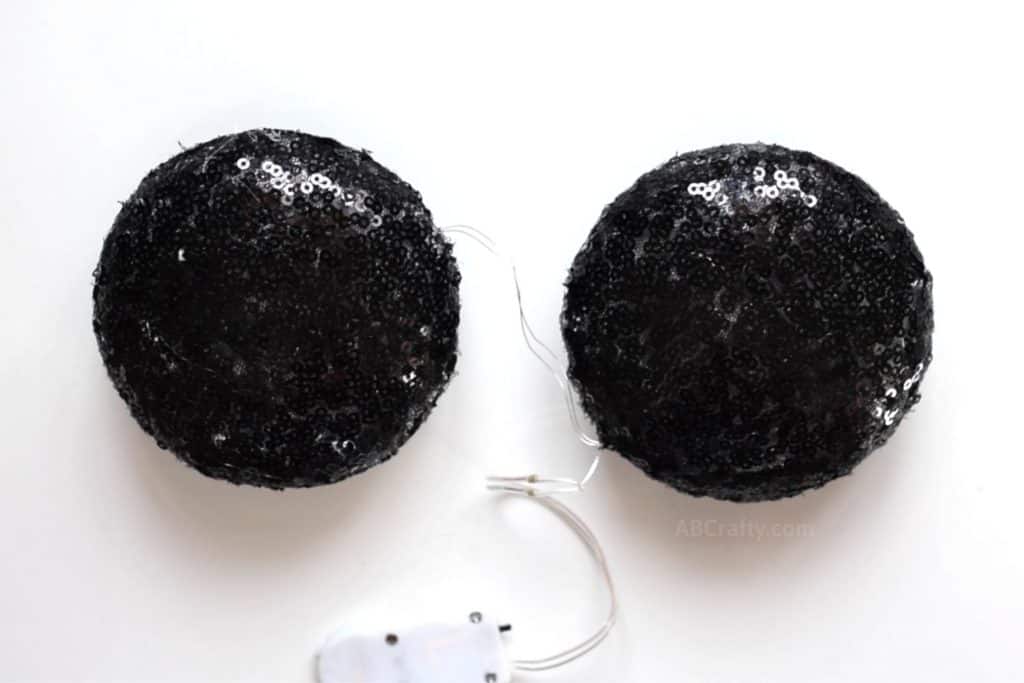
- Repeat the same process on the other ornament. These will form the light up ears.
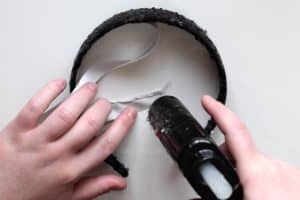
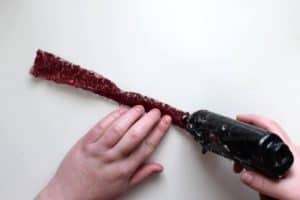
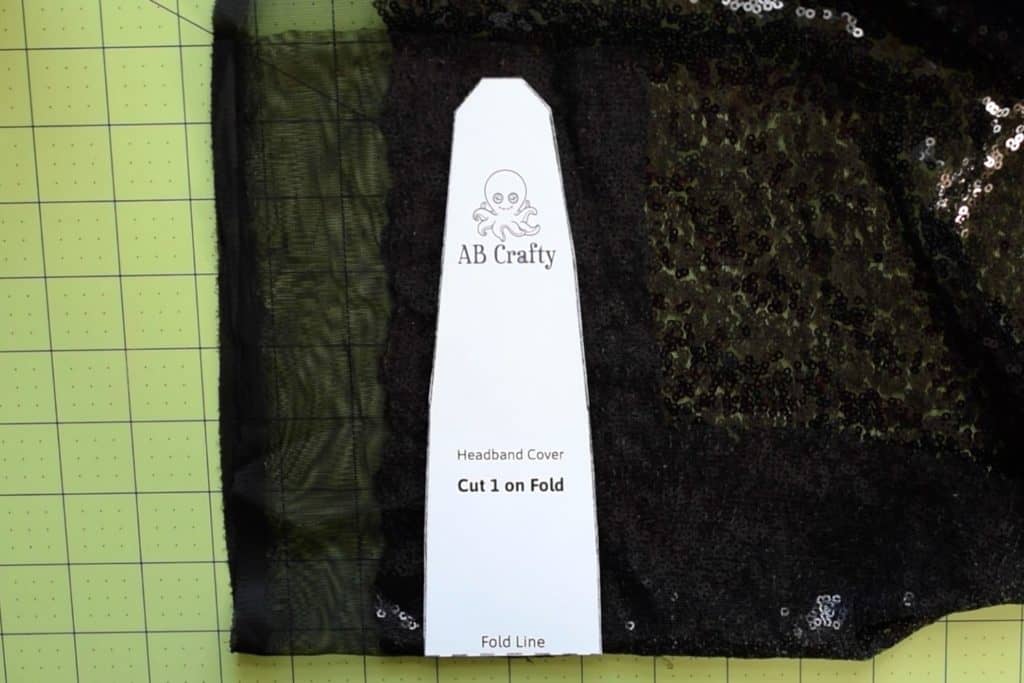
Cover the Headband with Fabric
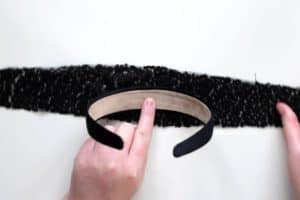
- Fold the black fabric and place the Minnie Mouse headband template along the edge where it says “fold line.” Cut along the edge of the template.
- Unfold the cut piece of fabric and lay it face down on the table.Find the center point of the headband and add some glue to it. Flip it upside down and attach it to the center point of the fabric.
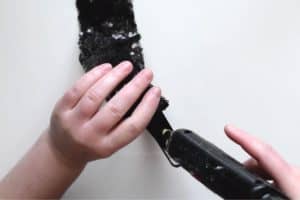
- Continue to glue the fabric to the top of the headband. Work with one side of the headband at a time, glueing it down inch by inch until you reach the end.
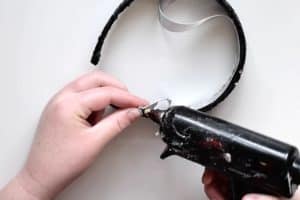
- Fold one edge of the sequin fabric towards the inside of the headband and glue it down. Be sure to the fabric fits tightly around the headband.
- Do the same to the other side of the headband. If there is excess fabric, trim it off. You do not want the fabric to overlap in the middle or it will be bulky and uncomfortable.When you get to the ends, fold them back and glue them onto the inside of the headband.
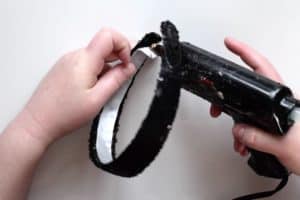
- Cut the satin ribbon to roughly two inches longer than the length of the headband. Glue the center of it to the center of the inside of the headband.Then fold in and glue the edges of the end of the ribbon. Be sure to fold them at an angle so that the ribbon gradually becomes more narrow.
- Fold over the end of the ribbon over and glue it to itself. This way you have a clean edge to the end and the ribbon won’t fray.
- Repeat the steps on the other side of the ribbon. Then glue the ribbon to the inside of the headband.
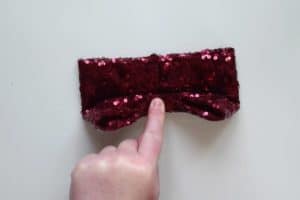
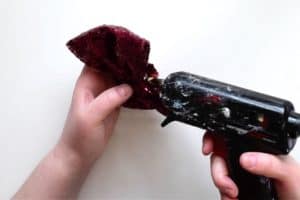
Make the Bow
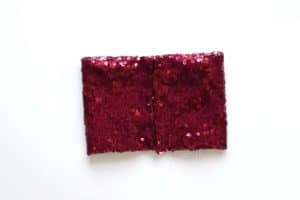
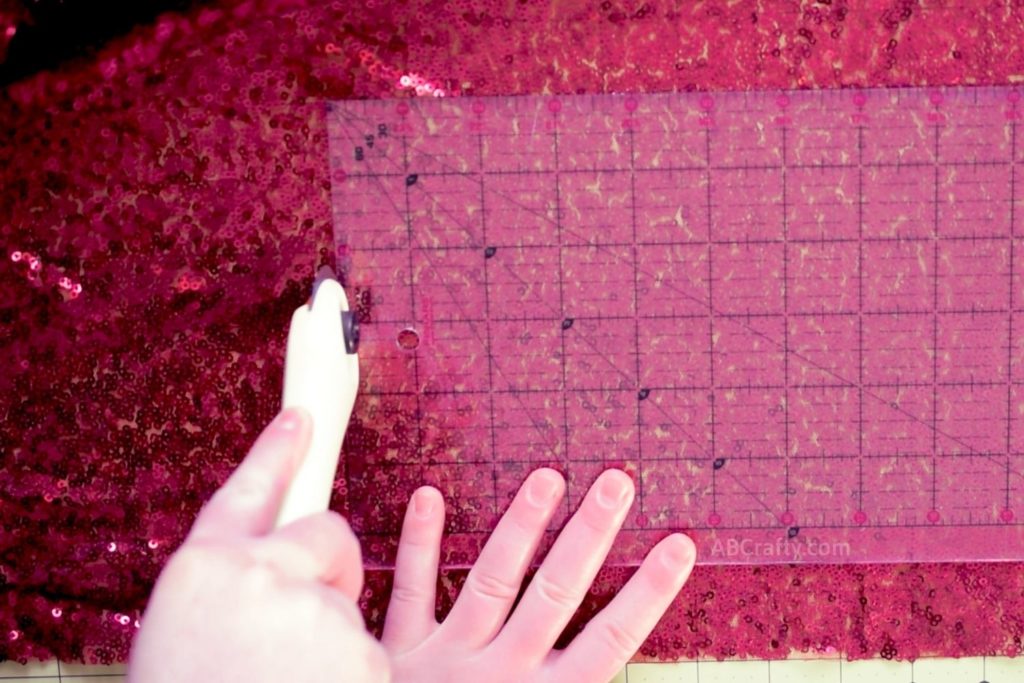
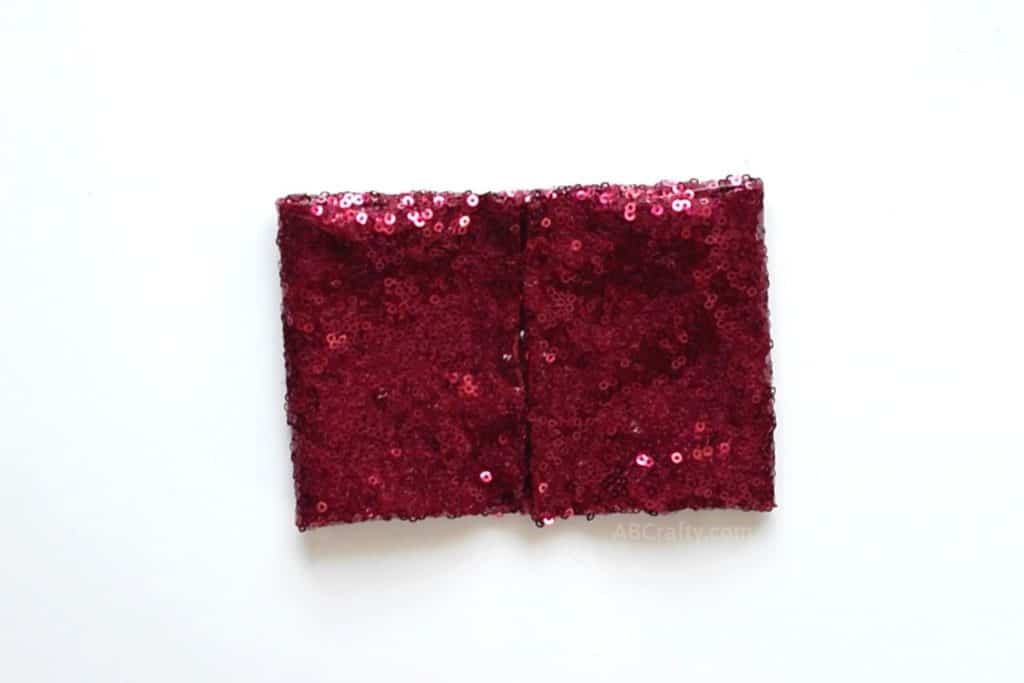
- Cut an 8×11 inch rectangle out of the red sequin fabric and a small strip of the fabric an inch wide and at least 3 inches long.
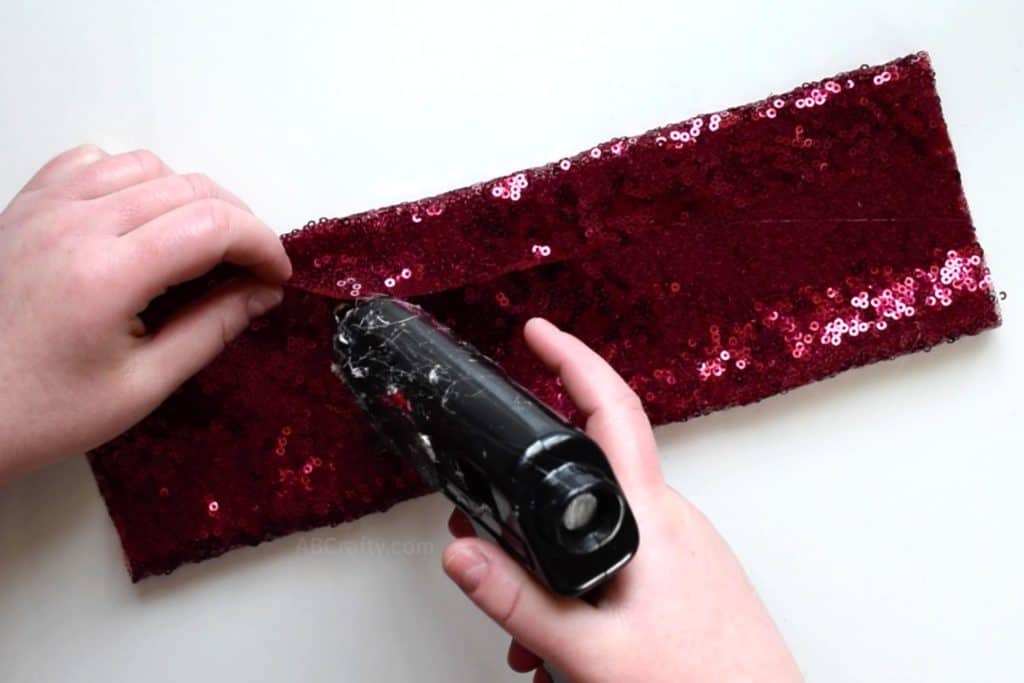
- Lay the rectangle face down and fold the top and bottom of the long edges towards the middle. Overlap the fabric slightly and glue it in place.
- Fold over the edges of the short sides so the ends don’t fray. Then bring the sides to the middle and glue down.
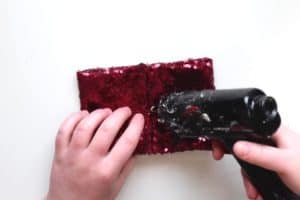
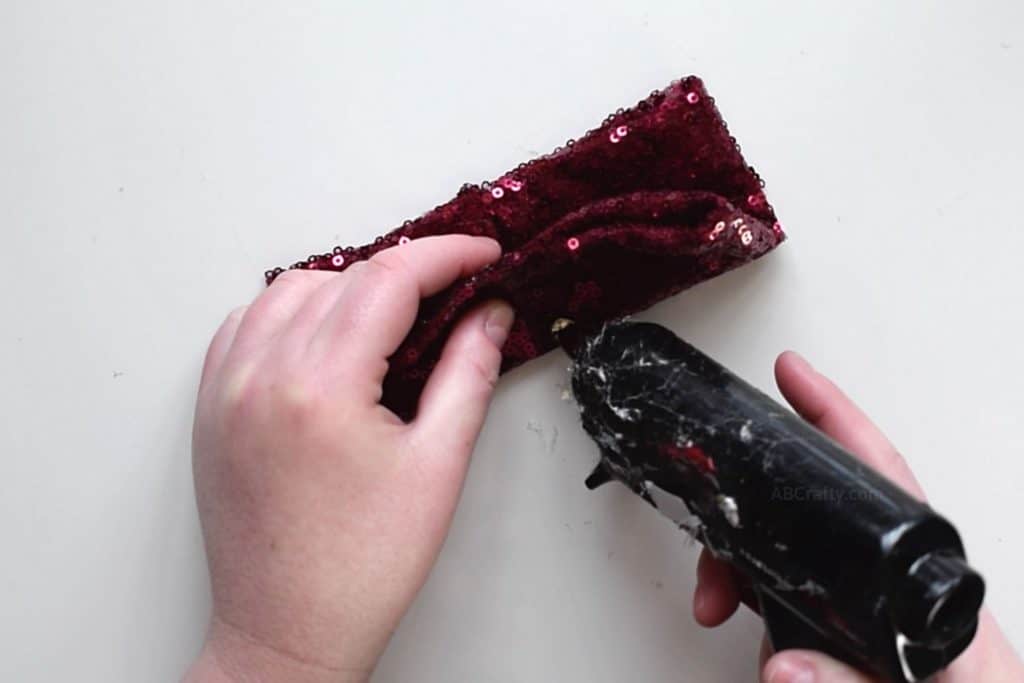
- Add glue to the very middle and fold it in half, long ways. This will make the middle of the bow. Hold it together until the glue dries.
- Add some glue close to the edge of the fold you just made. Then fold the fabric backwards, holding it in place until the glue dries.
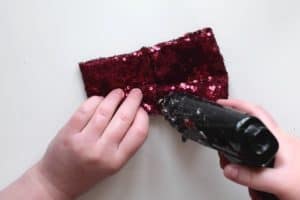
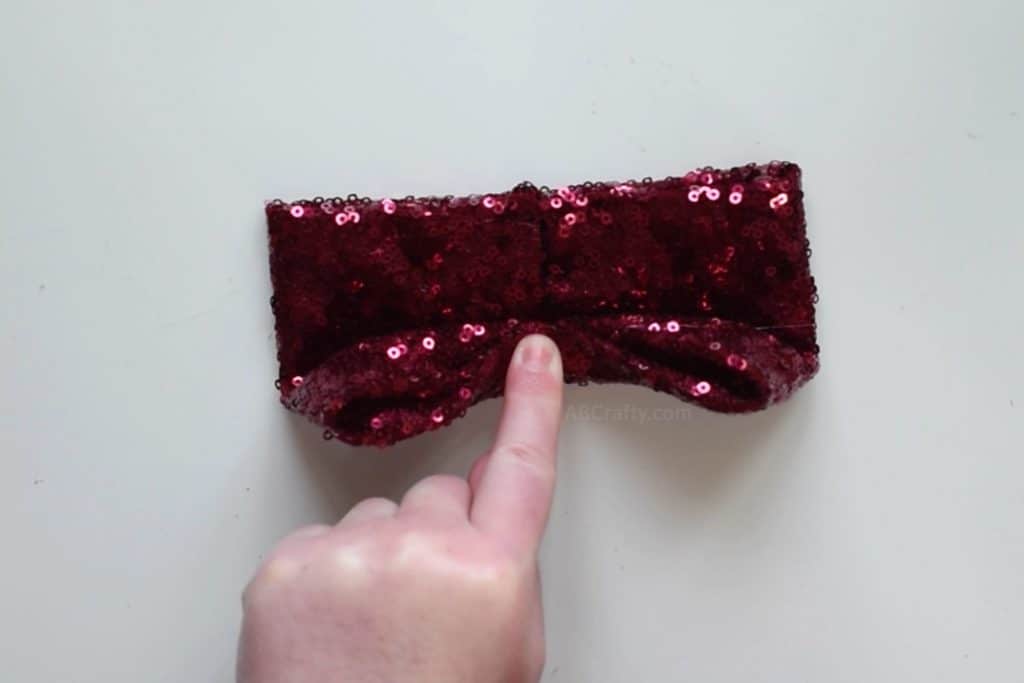
- Place glue on top of the fabric in the middle and fold it back towards the center.
- Hold it in place until it dries. You should now see the bow taking its shape.
- Repeat the same process on the other side so that you have a bow with pleats. Make sure all of the folds have glue and squeeze on the middle until it dries.
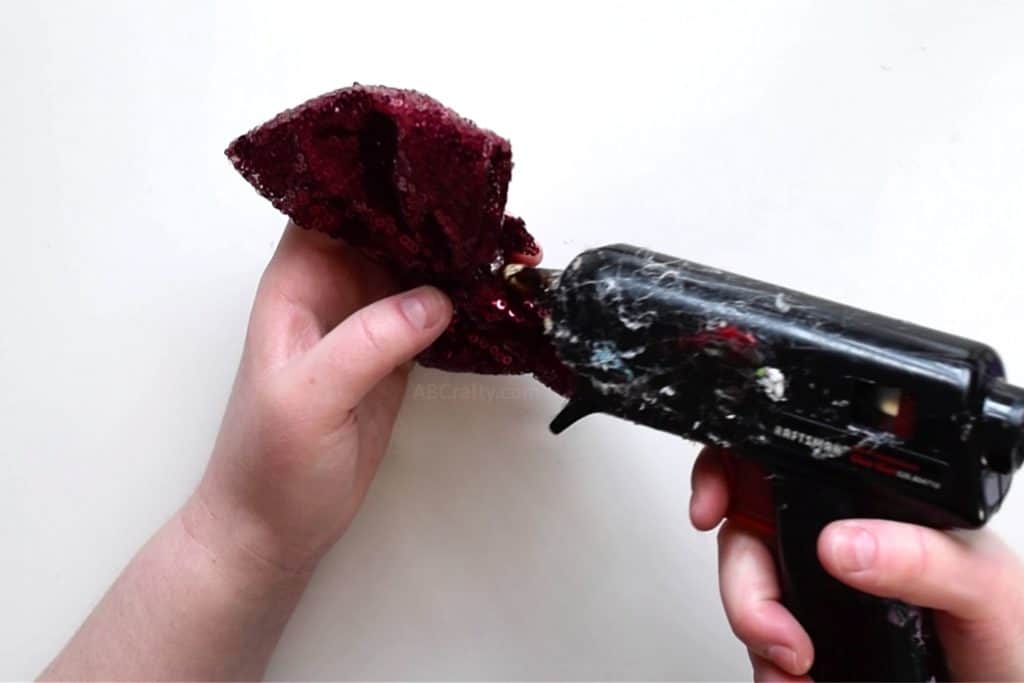
- Take the strip of red sequin fabric and do the same as you did with the rectangular piece. Fold the long edges towards the middle, overlapping one side slightly and glue in place.
- Glue one end of the strip to the bottom of the bow. Wrap the other end around the bow and cut off the excess. Then glue down this end, overlapping the first.
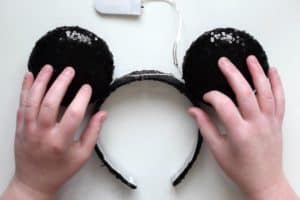
Assemble the Minnie Ears
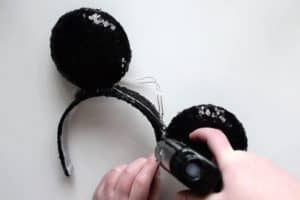
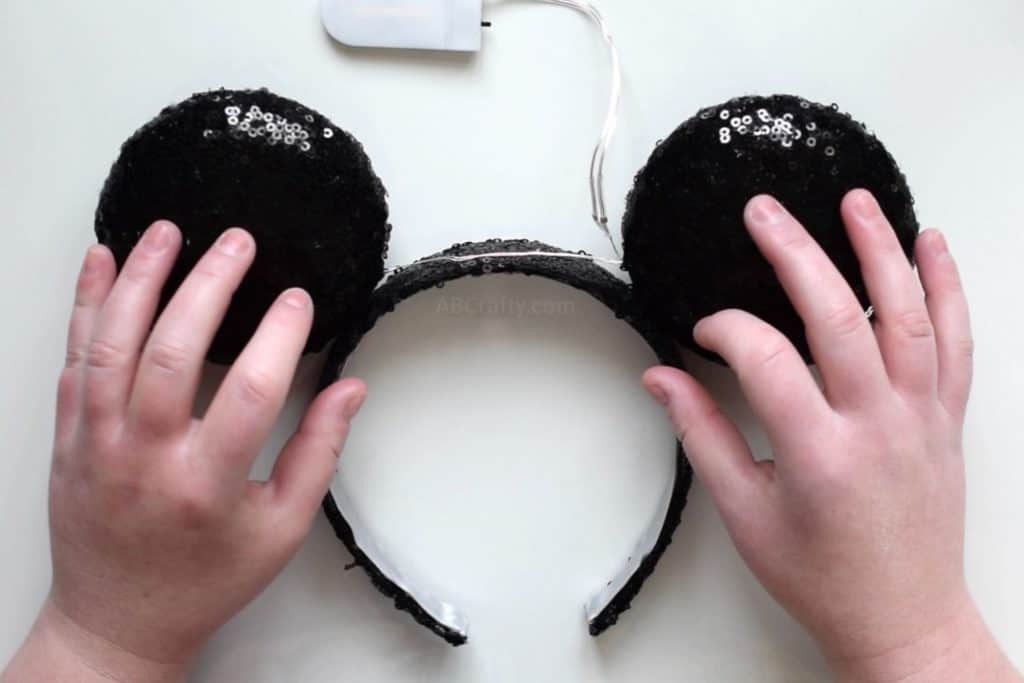
- Place the headband on the table and space evenly space the ears above it. Make sure the wire between the ears is stretched across the top of the headband.
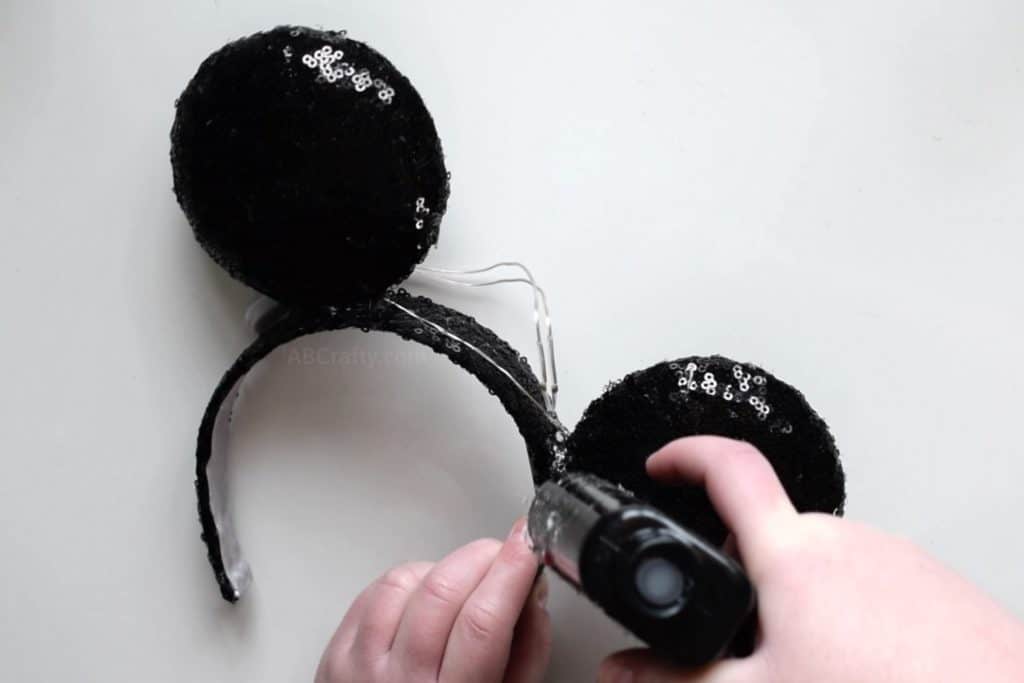
- Start glueing the ears to the headband by putting glue right under the ear and holding it in place until the glue is dry. Then go all the way around the base of the ears with the glue to make sure they won’t move.
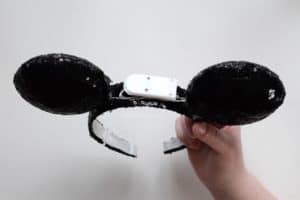
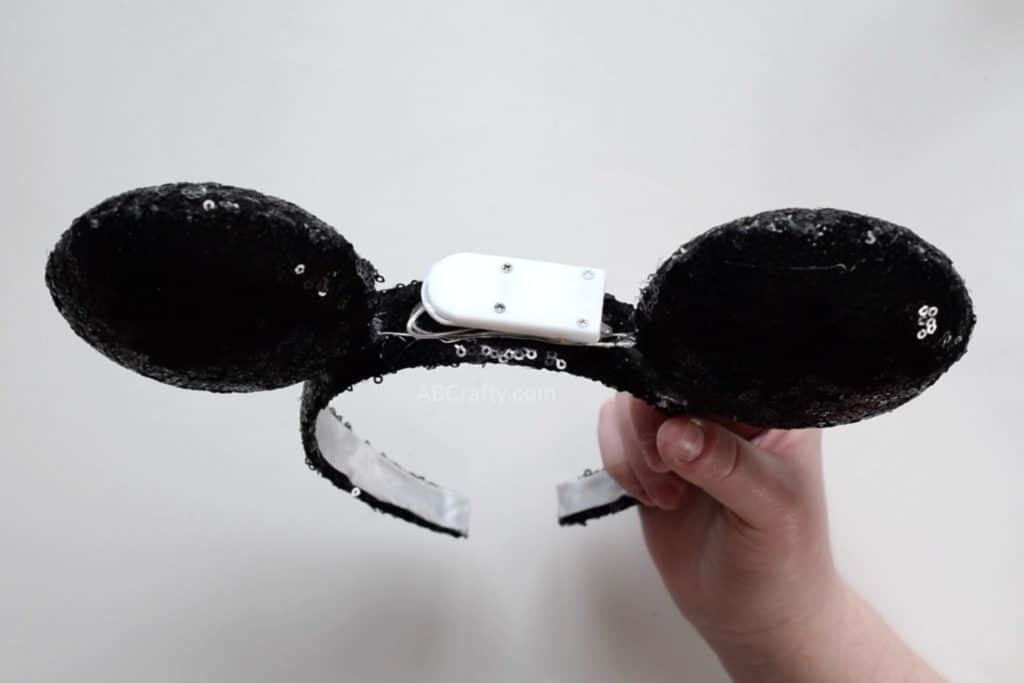
- Wrap up the wires and glue them to one side of the top of the headband. Glue the battery pack on top of the wires. Make sure to leave enough room on the headband for the bow, which means it may hang off the edge.
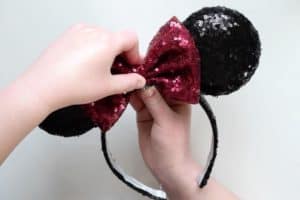
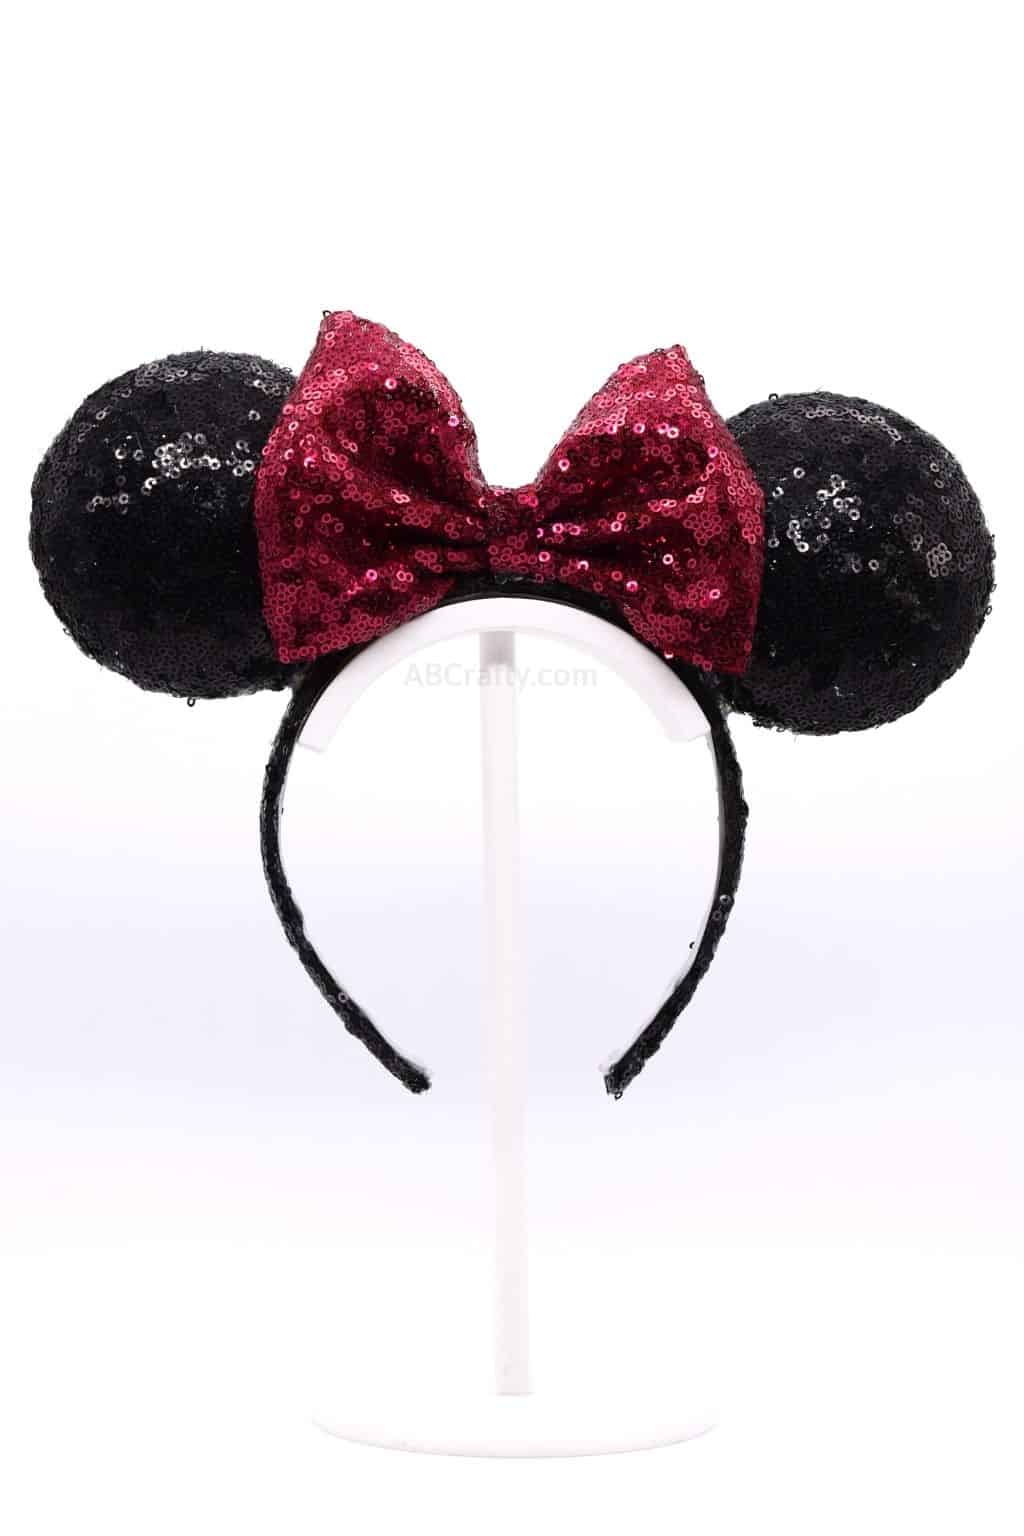
- Glue the bow to the middle of the headband in front of the battery pack.
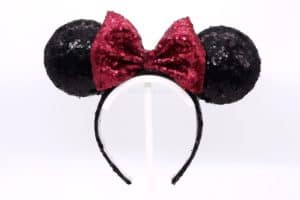
- Your ears are now complete and ready to wear!
Video
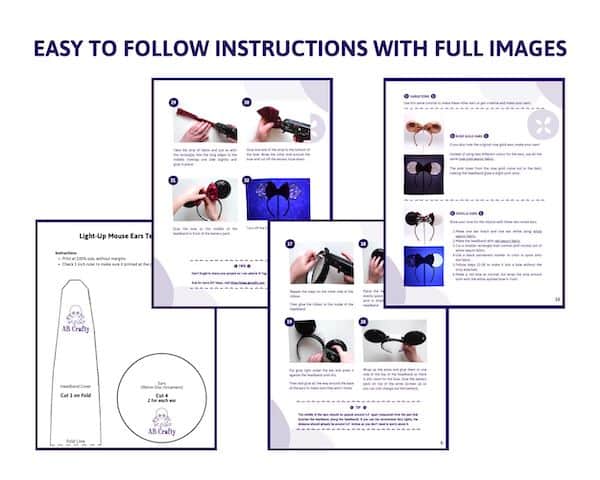
Notes
Download the free Minnie Mouse ears template to easily cut the fabric and make the headband.


2 thoughts on “DIY Light Up Minnie Mouse Ears”
These are super cute and i love them but they feel heavy and fall off my daughters head very easily. is there another way they can be done to be more secure to stay on childrens heads?
A part of why they could be slipping off is the ears may not be weighted evenly across the headband. Additionally, the battery pack will offset the weight so you can try centering rather than leaving room for the bow. Then you can put the bow on top of the battery pack or more forward on the headband. They are more heavy due to the plastic and battery pack, but making sure everything is balanced on the headband will make them less likely to fall forward or back.