Wet Felting Ultimate Guide – How to Wet Felt
Home » Blog » DIYs and Craft Projects » Fiber Crafts » Wet Felting Ultimate Guide – How to Wet Felt
-
Daniela Kretchmer
- Updated: Aug 18, 2024
- Felting, Popular Posts, Wet Felting, Wool

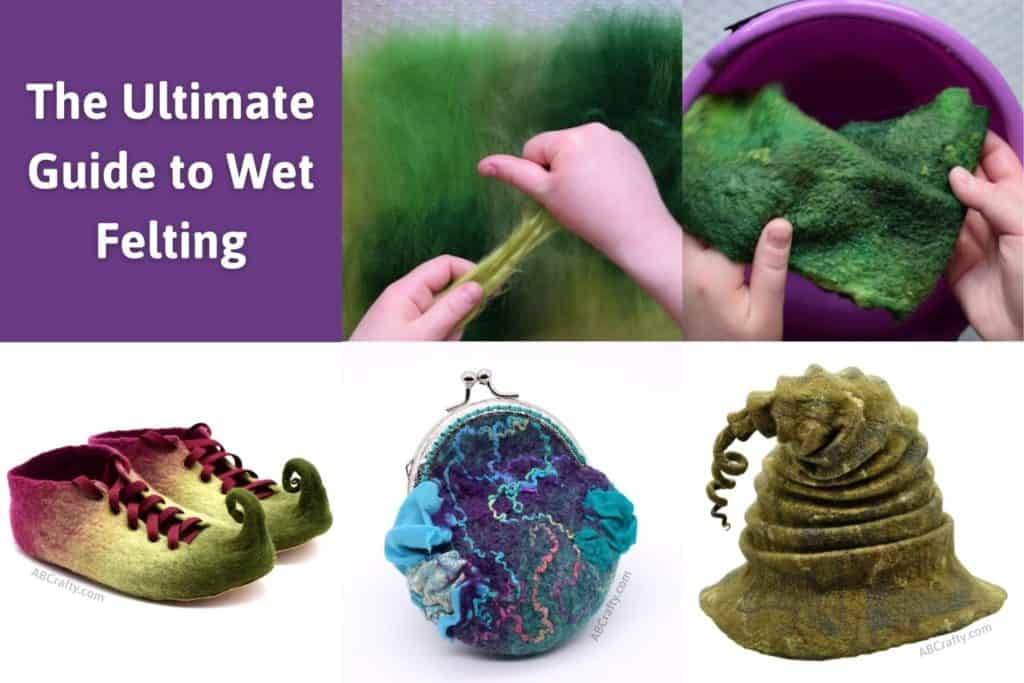
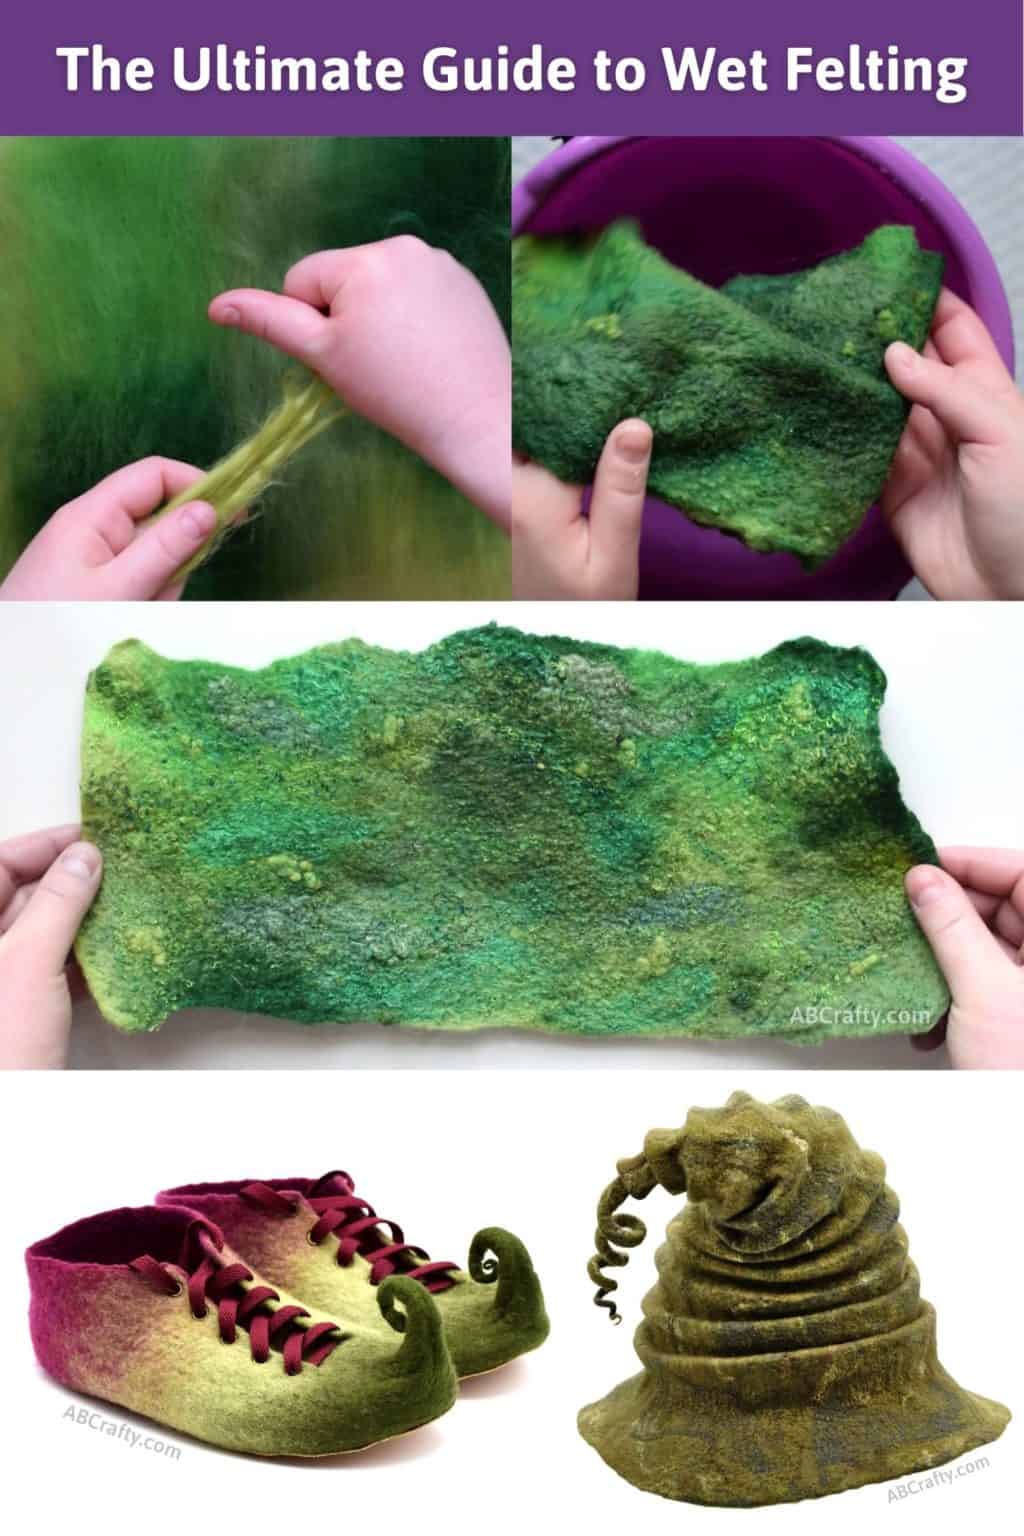
Learn everything you ever wanted to know about wet felting. I go over the best wet felting supplies and techniques. Also learn how to wet felt wool with an easy to follow step by step tutorial.
Table of Contents
Don’t forget to pin it to come back to it later!

I have gotten pretty heavy into fiber arts and especially felting wool as a craft project. My first time felting was when I was a teenager and I got a needle felting kit. I don’t do as much of it now, especially since I discovered wet felting.
Once you learn the basics of wet felting, you’ll be able to create all sorts of felt projects as wool can essentially be “sculpted” into whatever you want. Crafting with wool is extremely versatile and using different wet felting techniques you can get different effects. You can even blend your own wool and fibers to use for wet felting projects.
Note: Some links in this post may contain affiliate links, which means at no cost to you, I may earn a commission.
How I Discovered Wet Felting
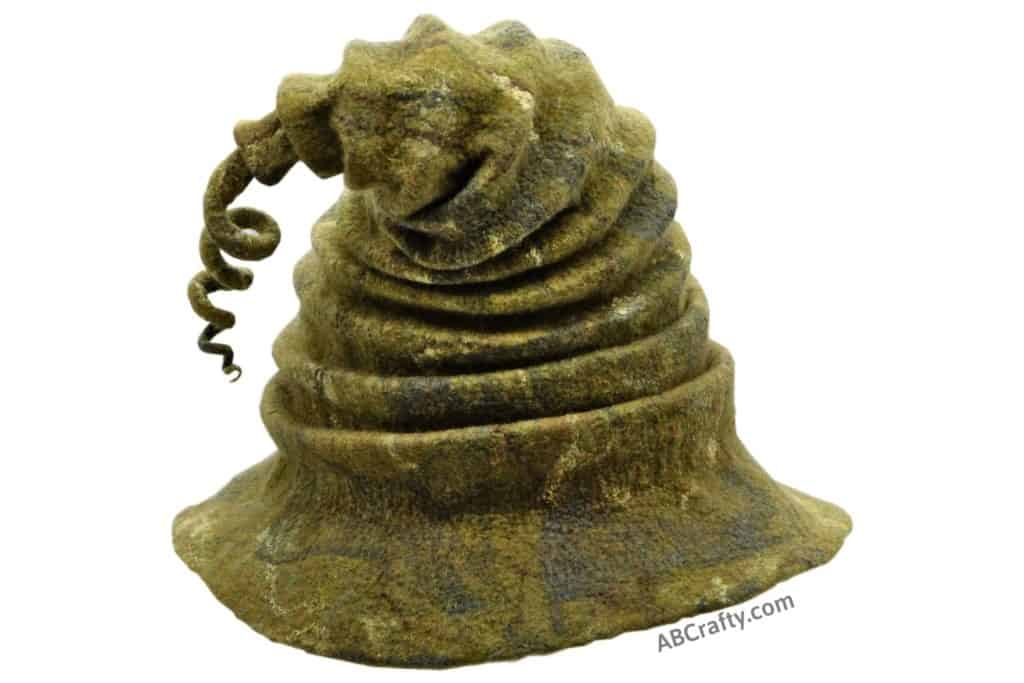
My discovery of wet felting began when I went to a Diagon Alley craft fair. Naturally as a Harry Potter fan I was pretty excited to go to Diagon Alley, thinking I would be able to get all sorts of themed crafts and goodies. There was decent theming at the entrance and of course people dressed up in Hogwarts robes. I saw that one person in particular had a beautiful dark green witch hat. Just by looking at it, I knew the hat was made of wool and got very excited thinking she had purchased it at the event.
I searched all around but after visiting every booth, I didn’t find a single store selling witch hats! (Nor robes for that matter). Aside from some ridiculously good butter beer fudge, I was thoroughly disappointed by the lack of directly themed Harry Potter crafts being sold. I did, however, come away with a super cute leather bow.
Therefore that night I went home and scoured Etsy for felted wool witch hats and was shocked again to see there were very few options. And the ones that did exist were over $200. It’s moments like this I have the snarky crafter’s thought of “I’ll just make it myself.” So I did.
After some searching, I found a witch hat tutorial made by Kate of Felt Wicked, purchased a hat shaper, wool, felting soap, and some mesh. And then panicked for several months, made a bunch of other wet felted projects and felt hats using Living Felt tutorials, but THEN enter the first wet felted witch hat I made:

What is Felting?
Felting is the process which causes wool fibers to interlock, unable to separate, creating a compact version. If you’ve ever played with a piece of hair and rolled it into a ball, what you’re doing is felting it! You’re removing the air between it and forcing it to interlock with itself, condensing it into a little ball.
If you look at hair under a microscope, you’ll see there are little barbs all along it. When these barbs are forced together, they get stuck and cause felt. This doesn’t happen immediately when a fiber simply touches another fiber, but things such as heat, moisture, and friction help the felting process go faster.
This is precisely why your wool sweater shrank in the wash – it was felted! Surprise, you’ve likely already felted wool without even realizing.
Wet Felting vs Nuno Felting vs Needle Felting
There are a few different kinds of felting, but there are differences in the processes and techniques. The most common of these are wet felting, nuno felting, and needle felting.
Wet Felting: Wet felting is when you use water and typically soap to help felt the fibers together. In this process the fibers migrate together in all directions, blending them. When wet felting, you’re typically creating a piece of handmade felt fabric. This can either be a standalone piece of felt used for a later project (like this masquerade mask) or you can sculpt the fabric into different shapes, such as hats (like this mini top hat), slippers, scarves, or this Venetian mask.
Nuno Felting: Nuno felting specifically refers to felting fabric to fibers. Typically this is done via wet felting. For my felted coin purse, for example, I actually nuno felted it in addition to wet felting. This is because I used sari silk scraps and nuno felted them into the wool.
Needle Felting: Needle felting uses felting needles to push the fibers together. This uses friction to compress the fibers and felt them. It is a dry felting process. Because needle felting is typically done by puncturing from the outside of the project, the felting happens in one direction. Therefore the fibers on top migrate to the fibers underneath. However, the fibers underneath do not migrate to the top (though the spiral felting needle will give this effect). If you’re interested in needle felting, I highly recommend my tutorial to make a felted Peep and catnip toy.
You can make all sorts of crafts and DIYs by using different felting methods. Often times you will combine different felting techniques together to get varied effects. For example, you may wet felt a piece so the colors blend together, but then you may want to needle felt a detailed design on top.
Felting and Fulling - Stages of the Felting Process
Often times the word “felting” is used when we actually mean fulling (insert me and this whole post an example). In fact, there are actually separate stages to the process of felting wool.
Felting: The is the first stage that refers simply to the fibers interlocking. It’s enough to make it difficult to pull the fibers apart. Sometimes referred to as a “prefelt,” and can be determined by the pinch test. No actual shrinkage of the fabric has occurred. In this stage you can also add more fibers or add the felt to something else.
Fulling: This is the next stage when the shrinkage happens. You move from the prefelt stage and really start to agitate the wool and cause it shrink down. Fulling is what creates durability to your handmade felt and the final felted project. Once in the fulling stage it is difficult to add additional fibers to the projects as it is too far felted (fulled) for additions to stay and felt in.
Get the latest DIY tutorials, reviews, and crafting updates
You'll never be spammed and can unsubscribe at any time
Understanding Wool Shrinkage
An important question to ask is how much will my wool shrink when wet felting? In general, you can expect the wool to shrink between 20-50% from each side. The precise amount, however, varies based on the wool, fiber, and number of layers used.
There is a maximum amount any fiber can shrink after it has been completely felted and fulled. This makes for the most durable felt because you have already agitated it as much as possible. Therefore no amount of wear will affect it. However you might not always want something felted as far as possible since it might be more stiff than you’d like. Therefore you need to balance what you want your piece to feel like with its durability.
How to Calculate How Much Your Wool Will Shrink When Wet Felting
If you want your end result to be a certain size, it’s best to first felt a sample. Follow the instructions on how to make a piece of felt fabric with the wool, embellishments, and number of layers you intend to use.
Lay out a 10in by 10in square of wool and follow the steps to felt it as far as it can go. Then measure the sides of the new square. Subtract the new length from 10 and multiply by 10 to get your shrinkage percentage.
For example, if the sides are now 7 inches, subtract 7 from 10 to get 3. Multiply 3 by 10 to get 30. This means the wool shrinkage percentage is 30%.
How to Calculate How Big Your Piece Should Be Prior to Felting
Now that you have how much your wool will shrink, you need to know how big to make your fiber layout or resist so that when it felts, it’s the correct size you want. The calculation for this is: Target Size / (1- Shrinkage Rate)
For example, if you want your final object to be 12 inches long and your shrinkage rate is 30%, (1-30%)=70% or 0.7. Then 12/0.7=17. Therefore I need to lay out my fiber to 17 inches long so that when fully felted, it ends up 12 inches long.
Using the Calculator Instead
If math isn’t your thing, I created this calculator that does the felting shrinkage calculation for you. Simply use the shrinkage rate and target size and the wet felting shrinkage calculator will calculate how big you need to make the original piece or resist in order for it to be the size you want when felted.
By default, it uses a 30% shrinkage percentage as it’s a reasonable shrinkage rate for most wool. However, to be precise I definitely recommend making a felt sample to learn your wool’s actual shrinkage rate.
Wet Felting Shrinkage Calculator
Calculate how big your wool layout or resist should be based on the size you would like it to be after felting. Input one size at a time (e.g. length/width)
Printable Wool Shrinkage Cheat Sheet
Print this wool shrinkage cheat sheet with common measurements and shrinkage rates from 20-50%. This way you can keep it with your wet felting supplies and always have it as a reference.

Download the Felting Shrinkage Rate Cheat Sheet
We’re committed to your privacy. AB Crafty uses the information you provide to contact you about relevant content and products. You may unsubscribe from these communications at any time.
How to Wet Felt - The Basics of Wet Felting
These are the wet felting supplies and instructions to make a piece of handmade felt fabric in various colors with some embellishments. This is sometimes referred to as “artful felt” since you’re making the piece of felt for the art of it. You can then use these artful felt pieces in other projects. For example, I used the one I make below to make a masquerade mask.
Once you master the basics you can then apply them to any felting project. To keep it even more simple you can leave out the embellishment fibers and multiple colors and just felt wool of a single color.
Video Instructions
Wet Felting Supplies and Materials
I tend to shop on Etsy for felting supplies and have put together a collection of my favorite wet felting supplies and materials needed. If you’re just starting out, I definitely recommend an all-in-one wet felting kit as it has everything you need to get started with wet felting.
- Wool Fiber: Wool often comes as a roving, sliver, or top. You can get it pre-dyed or you can dye the wool yourself. There are various types of wool, but the most common are merino and corriedale. You can also felt animal fibers that aren’t sheep, including alpaca, camel, rabbit, and even dog and cat hair. The only real rule is you do not want to get superwash wool – this is wool that has been treated so that it doesn’t shrink.
- Embellishment Fibers: There all sorts of fun luxury fibers and embellishments you can add while wet felting. It can be anything from yarn, silks, angelina fiber, viscose, and wool nepps. All of these serve the purpose of adding a different design or element. This could be in the form of texture, shine, or simply color.
- Bubble Wrap: Bubble wrap is used as a work surface and to help in the felting process as the bubbles work as soft agitators. I personally recycle the plastic Amazon packaging and use duct tape to tape them together if I need a bigger piece.
- Tulle or Mesh Fabric: Mesh fabric is used to cover the fiber, hold it in place, and protect it while wet felting
- Olive Oil Soap: Soap is incredibly important in wet felting as it helps expand the fibers. In theory, any soap will help. However, olive oil soap in particular is a great felting soap because it doesn’t create large bubbles. When wet felting, you want to get rid of air so the fibers can intertwine. Having lots of bubbles counteracts this so having a soap that doesn’t produce many bubbles is advantageous.
- Ball Brause or Sponge: A ball brause is simply a syringe that sprays water instead of a single stream. This allows you to soak the fibers more easily, but a sponge works just as well. You can also get one of these attachments for a water bottle.
- Hot Water: Hot water is important as it helps the fibers expand, allowing them to interlock more easily.
- Pool Noodle: You’ll wrap your felted project around this and use it as a soft agitator.
- Towel: It’s called wet felting for a reason and you’ll definitely want at least one towel around. It’s also helpful to wrap your project in it throughout the process to get a better grip.
- Vinegar: Fun fact, wool is naturally slightly acidic. However, when soap is added it brings down the acidity. Therefore by adding vinegar back to the wool after you’ve made your project you can bring the wool back to it’s more natural pH. This makes your finished felted project more durable and can even make the wool more vibrant and shiny.


