Minecraft Eraser – Using Creatibles DIY Eraser Kit
Home » Blog » DIYs and Craft Projects » Minecraft Eraser – Using Creatibles DIY Eraser Kit
-
Daniela Kretchmer
- Updated: Oct 27, 2023
- Minecraft, Nerdy Craft, School Supplies
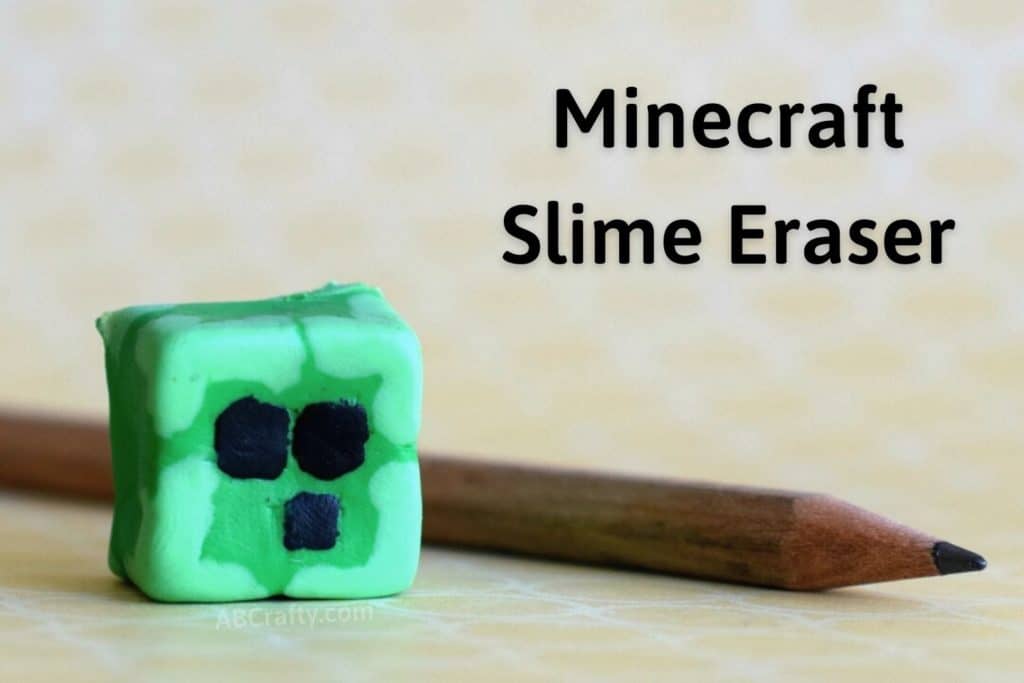
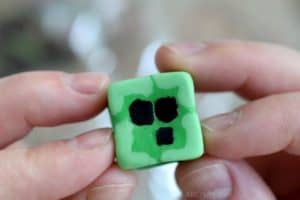
Make a DIY Minecraft eraser in the shape of a slime block. This is a great craft project for any Minecraft fan! Learn how to use eraser clay to make your own Minecraft block creations using Creatibles DIY Eraser Kit.
Table of Contents
Making homemade erasers is actually incredibly easy. I was always inspired by the Japanese style puzzle erasers and still have yet to make my own. But in the meantime I’ve discovered eraser clay. It makes homemade eraser making super easy, allowing you to make this adorable Minecraft slime block eraser.
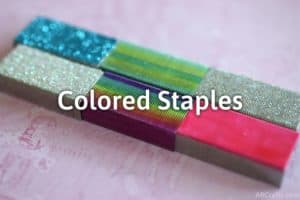
And it’s perfect to go along with the Minecraft slime squishy or other Minecraft school supplies you may have (such as matching DIY colored staples)
Note: Some links in this post may contain affiliate links, which means at no cost to you, I may earn a commission.
What is Eraser Clay?
Eraser clay is simply clay that you can bake and it turns into a functioning eraser. It works just like polymer clay such as Sculpey or Fimo, but it’s a different type of clay.
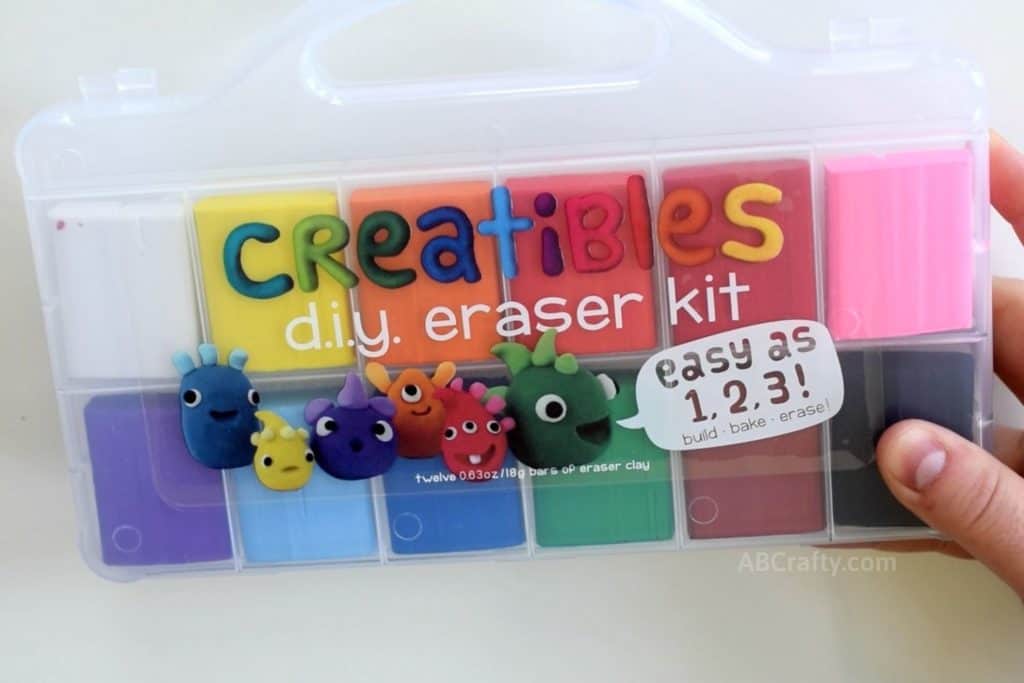
You’ll often find them as an eraser clay kit that comes with different colors, such as the Creatibles DIY Eraser Kit that you can get on Amazon. I also recommend the Klutz mini erasers kit and book, which you can also get on Amazon.
Note: Regular polymer clay is not the same as eraser clay. In order to make erasers, you need to look specifically for eraser clay.
Materials to Make a DIY Minecraft Eraser
- Eraser Clay in green, white, yellow, and black (I used the Creatibles DIY Erasers Kit from Amazon)
- Toothpick
- Aluminum Foil (optional)
Video Instructions to Make a Minecraft Eraser with an Eraser Clay Kit
Instructions to Make a Homemade Slime Block Minecraft Eraser
I started with an eraser kit so I had all the colors to work with, but you only need to use green, yellow, white, and black to make this Minecraft slime eraser.
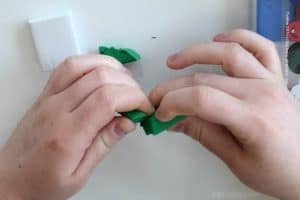
Start by tearing off a chunk of the green eraser clay.
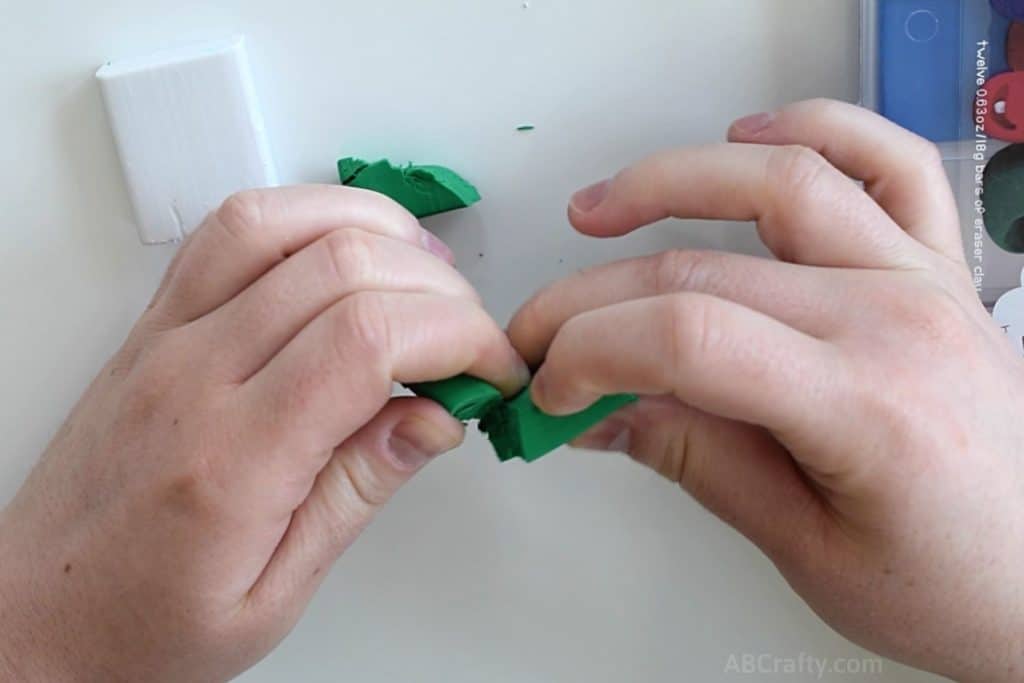
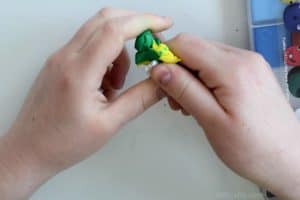
Then mix in parts of yellow and white eraser clay until you get the main Minecraft slime green color.
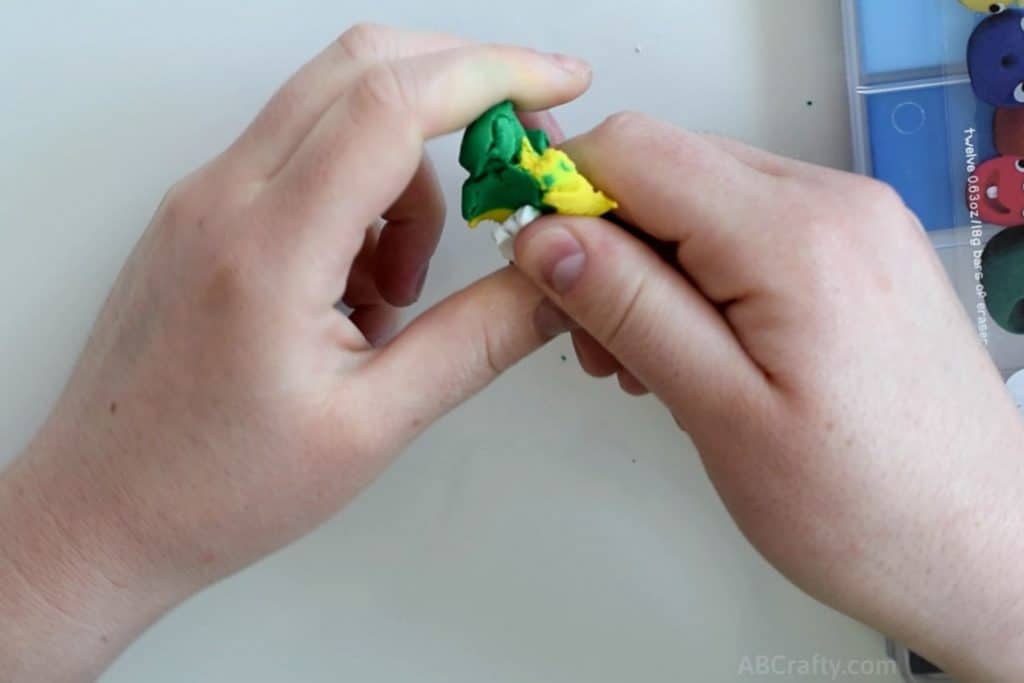
After you have the color mixed, set aside a small amount to use later.
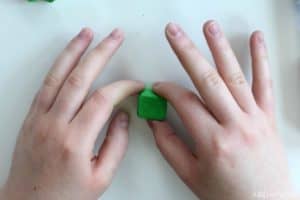
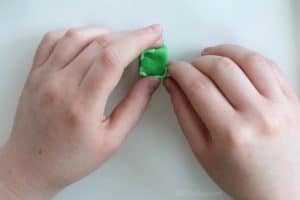
Then shape the rest into a cube. I find the easiest way to shape something into a cube is roll it into a ball and then squish it from the top, then opposite sides. Then continue to rotate it and adjust it until you have a nice even cube.
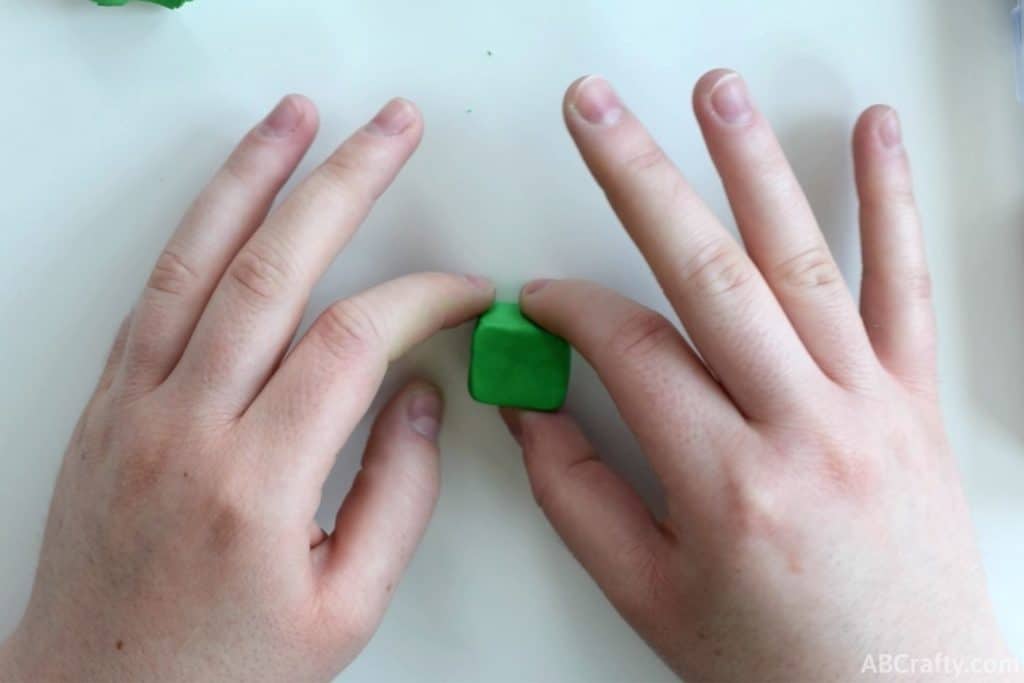
Once your cube is shaped, set it aside and grab the small amount of green eraser clay that you have left over.
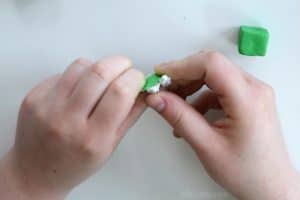
Mix it with some more white to make a pale green, which will be used for the edges of the slime block.
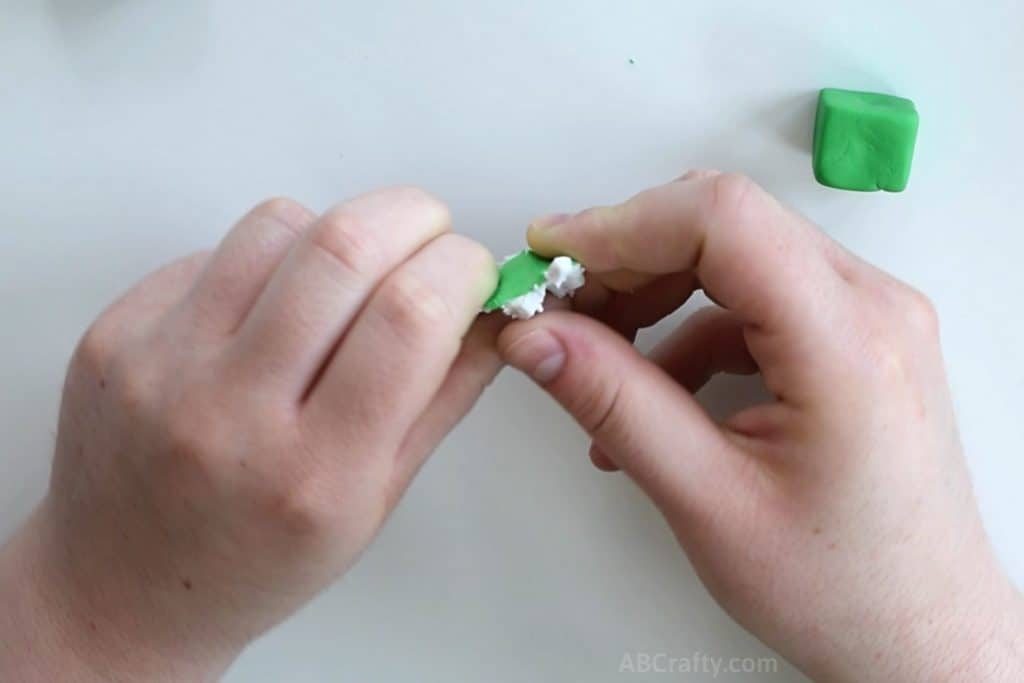
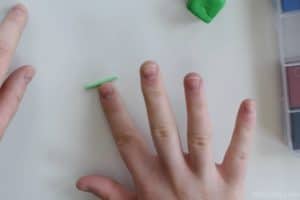
Take some of the light green and roll it into a little log.
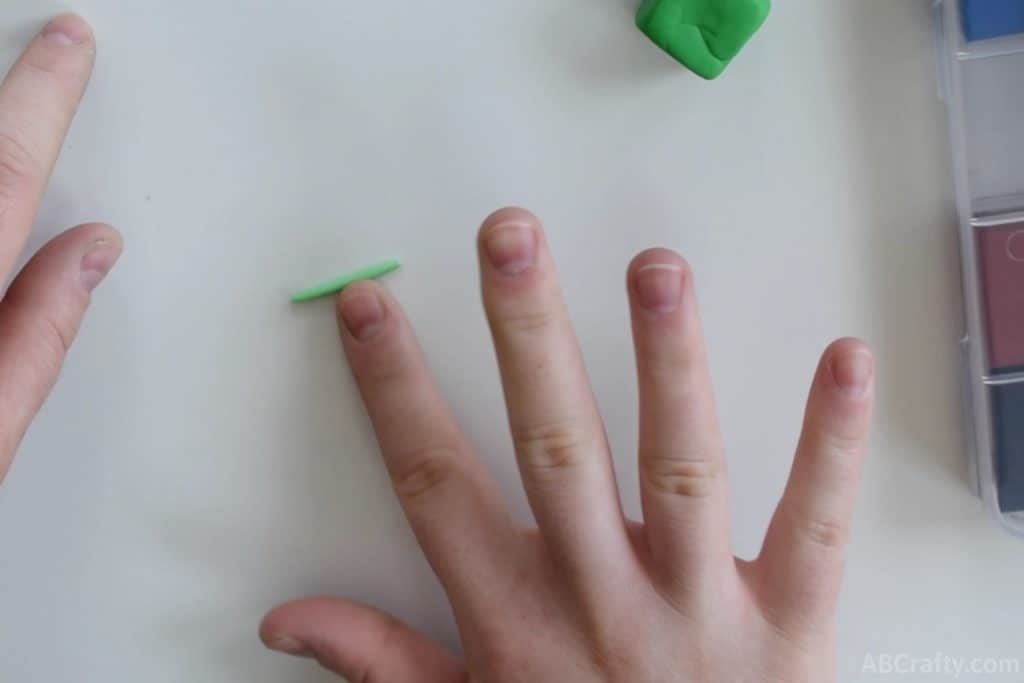
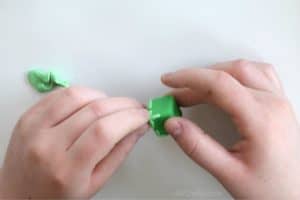
Then depending on the size of the log you can either cut it in half or use it as-is and place it along one of the corners.
Repeat the process for one side of the cube.
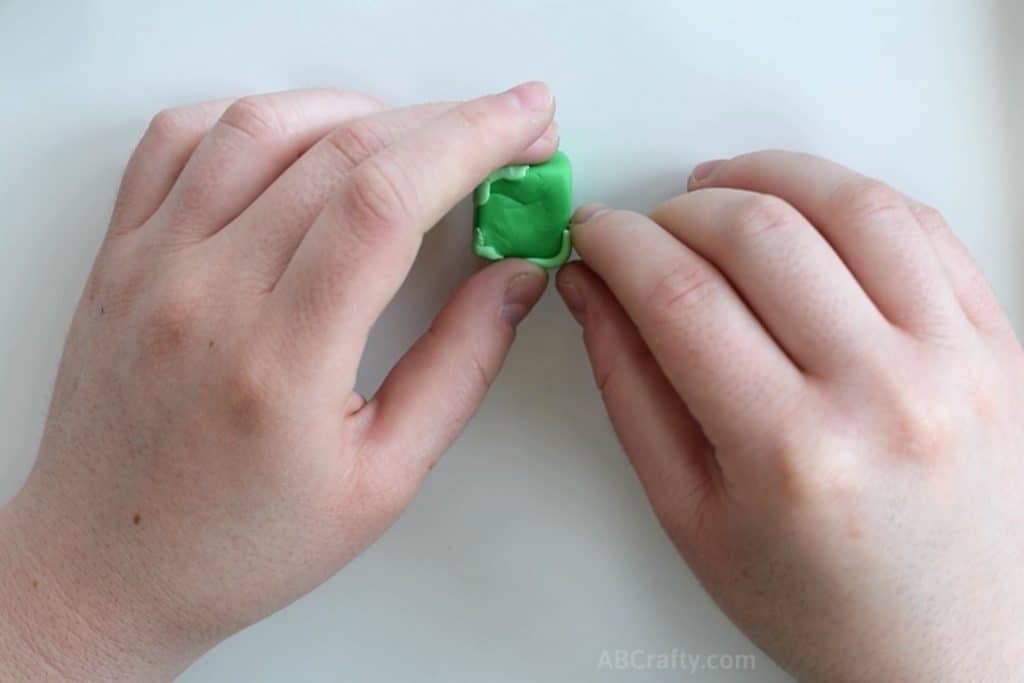
Then at each corner you placed the light green, place another little light green line along the remaining edge.
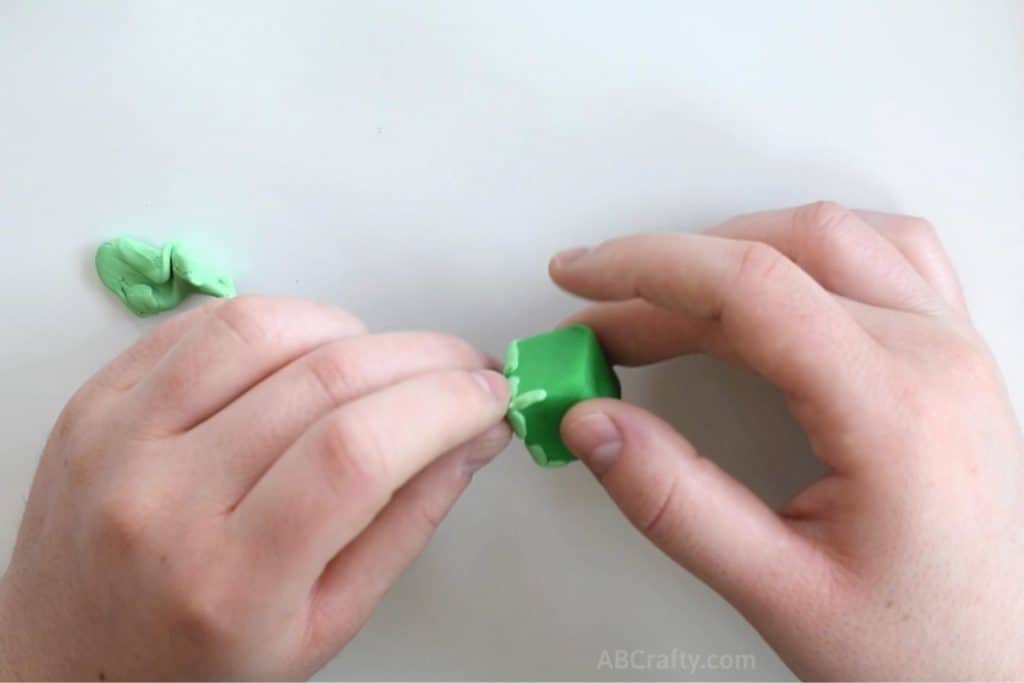
Repeat on the other side so that each corner has the light green.
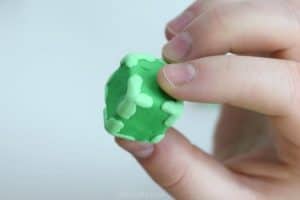
Tip: When placing the light green highlights, make sure they show on each side of the slime block. You can see in the photo below I hadn’t yet smoothed everything out. After placing all the lines you can then smooth it out with your fingers or toothpick. During this process you can also make sure it shows up on all sides.
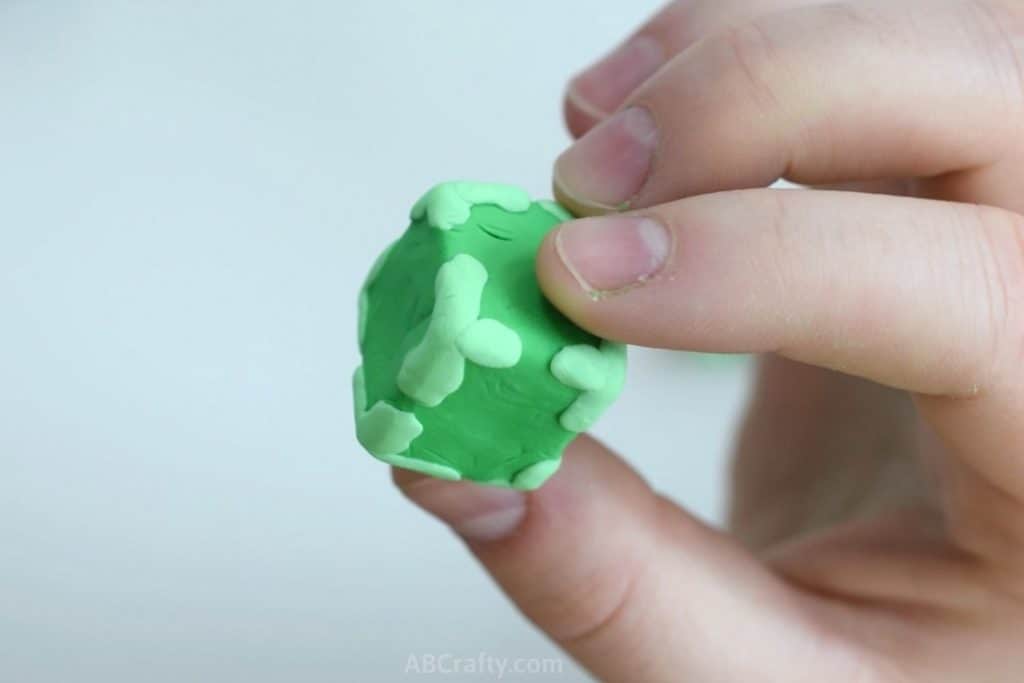
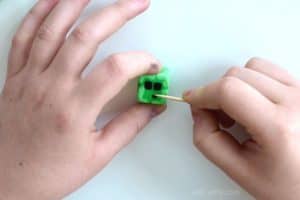
Once you’ve smoothed out the light green, break off two small pieces of black for the eyes and an even smaller piece for the mouth. Use a toothpick to shape them into squares to form the face of the slime block.
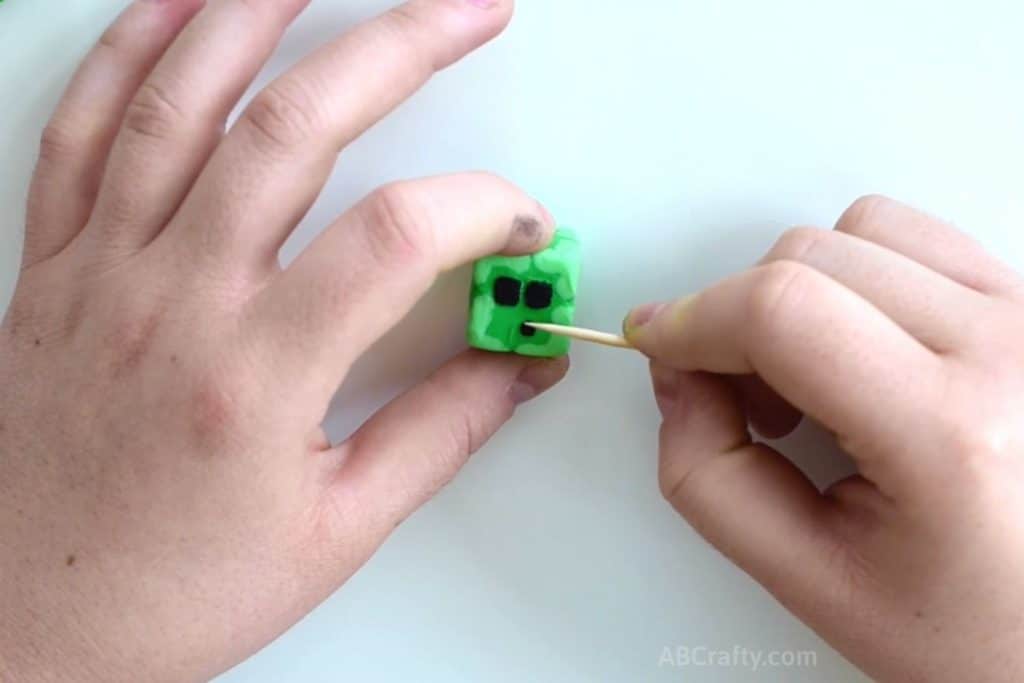
Make sure the eraser clay is all smooth and a nice even cube. Now is the time to make any last minute adjustments.
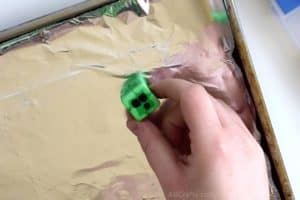
Then when you’re ready, place it onto a baking tray lined with aluminum foil and bake it according to the package instructions.
Note: The instructions on the Creatibles DIY Eraser Clay Kit say to bake it for 30min, but I learned that was way too long.
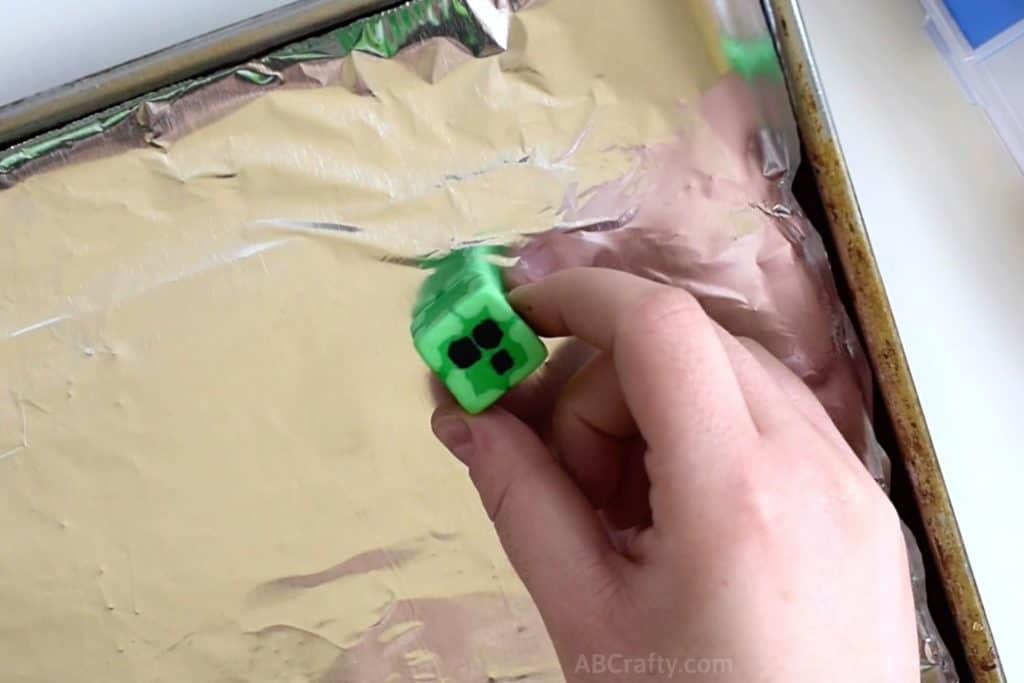
Hopefully this doesn’t happen to yours, but my little slime eraser melted. So I personally would recommend either lowering the temperature or baking it for less time and then checking on it. You can always bake it for me.
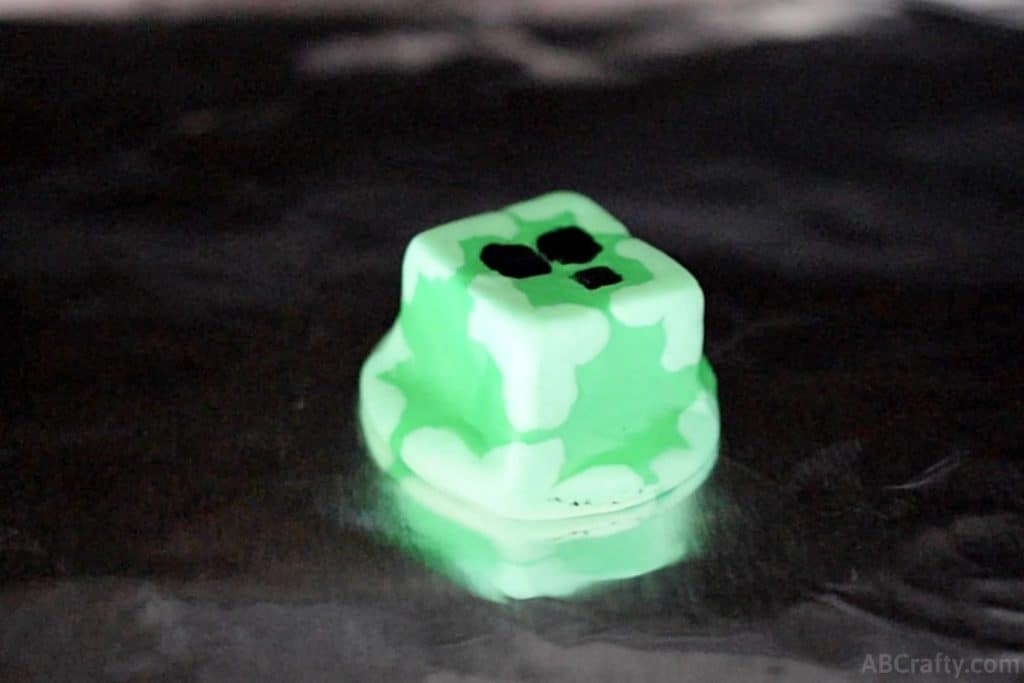
But even if your homemade eraser does melt in the oven, it’s not a problem! Simply grab a knife and cut off the melted edges.
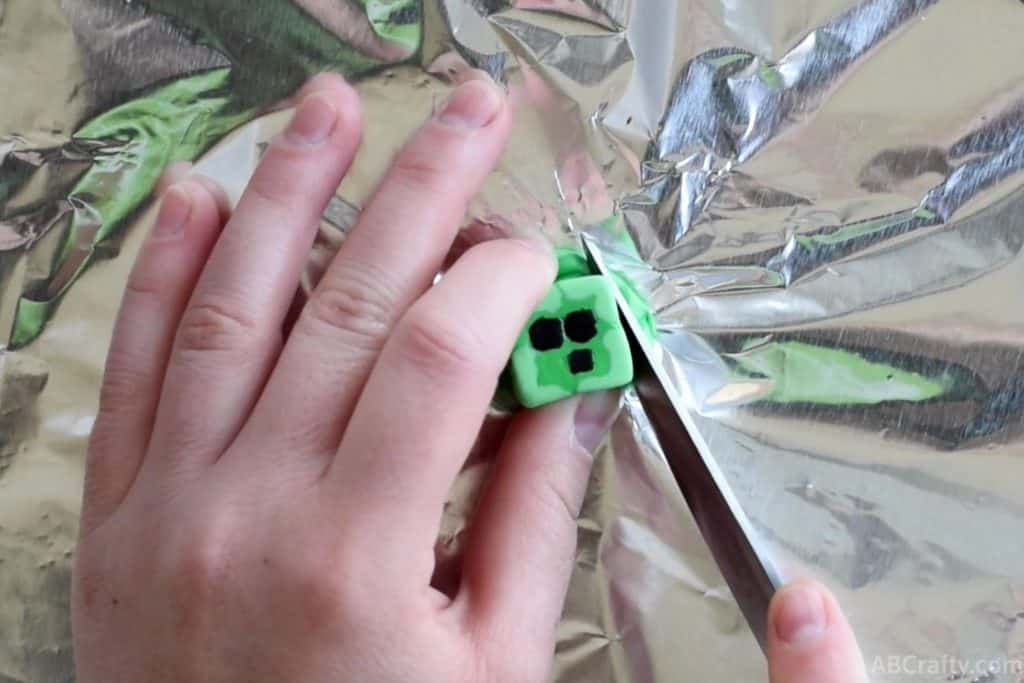
Then your homemade Minecraft eraser is complete!
Get the latest DIY tutorials, reviews, and crafting updates
You'll never be spammed and can unsubscribe at any time
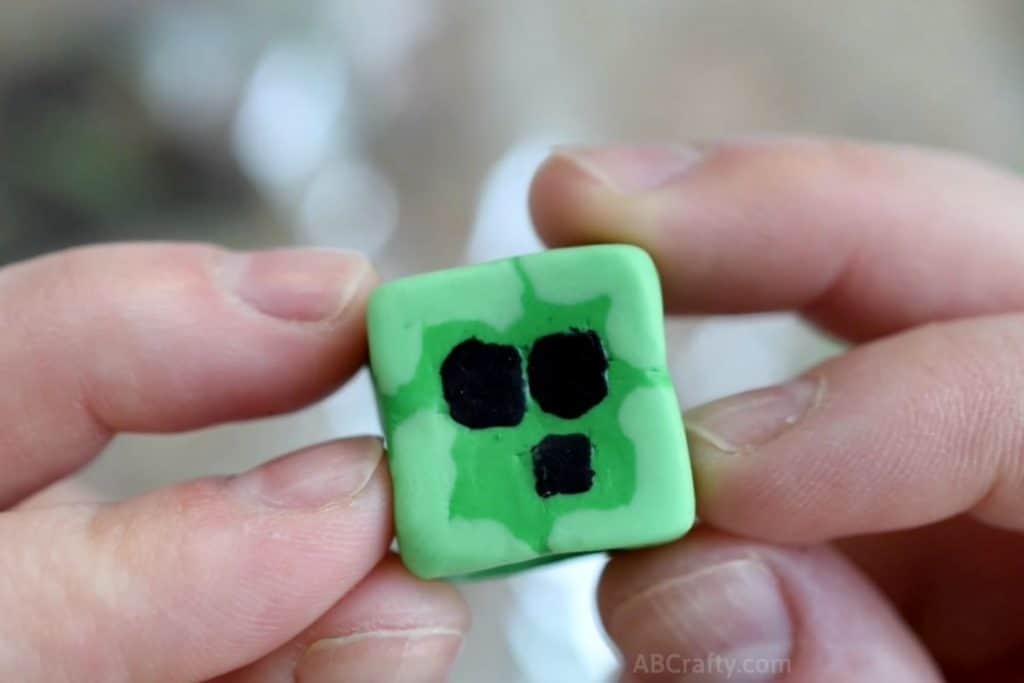
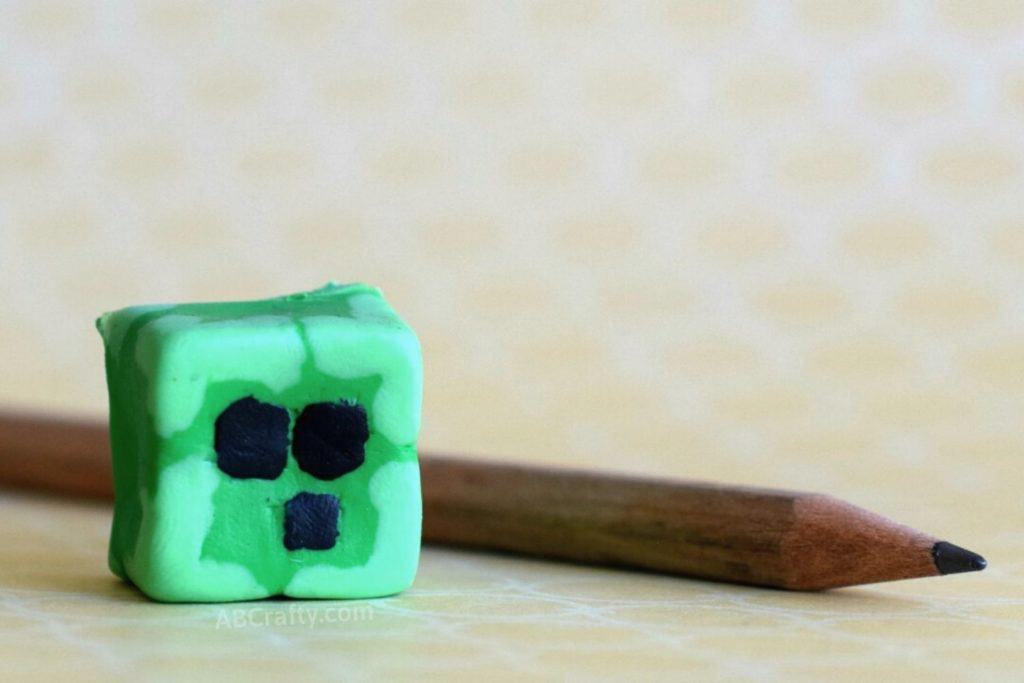
I just love how easy this Minecraft craft is. And if you have a collection of Minecraft school supplies, this would be a perfect addition!
More Nerdy Crafts to Try
Get the latest DIY tutorials, reviews, and crafting updates
You'll never be spammed and can unsubscribe at any time
Minecraft Eraser
Materials
- Eraser Clay green, yellow, white, and black
Equipment
- Oven
- Aluminum Foil
- Toothpick
Instructions
- Break off a chunk of the green eraser clay.
- Mix in parts of yellow and white eraser clay until you get the main Minecraft slime green color.
- Set aside a small amount to use later.Then shape the rest into a cube. I find the easiest way to shape something into a cube is roll it into a ball and then squish it from the top, then opposite sides. Then continue to rotate it and adjust it until you have a nice even cube.
- Once your cube is shaped, set it aside and grab the small amount of green eraser clay that you have left over.Mix it with some more white to make a pale green, which will be used for the edges of the slime block.
- Take some of the light green and roll it into a little log.
- Then depending on the size of the log you can either cut it in half or use it as-is and place it along one of the corners.Repeat the process for one side of the cube.
- Then at each corner you placed the light green, place another little light green line along the remaining edge.
- Repeat on the other side so that each corner has the light green.
- Once you’ve smoothed out the light green, break off two small pieces of black for the eyes and an even smaller piece for the mouth. Use a toothpick to shape them into squares to form the face of the slime block.
- Make sure the eraser clay is all smooth and a nice even cube. Now is the time to make any last minute adjustments.Then when you’re ready, place it onto a baking tray lined with aluminum foil and bake it according to the package instructions.
- Add your new homemade eraser to your collection of Minecraft school supplies!

