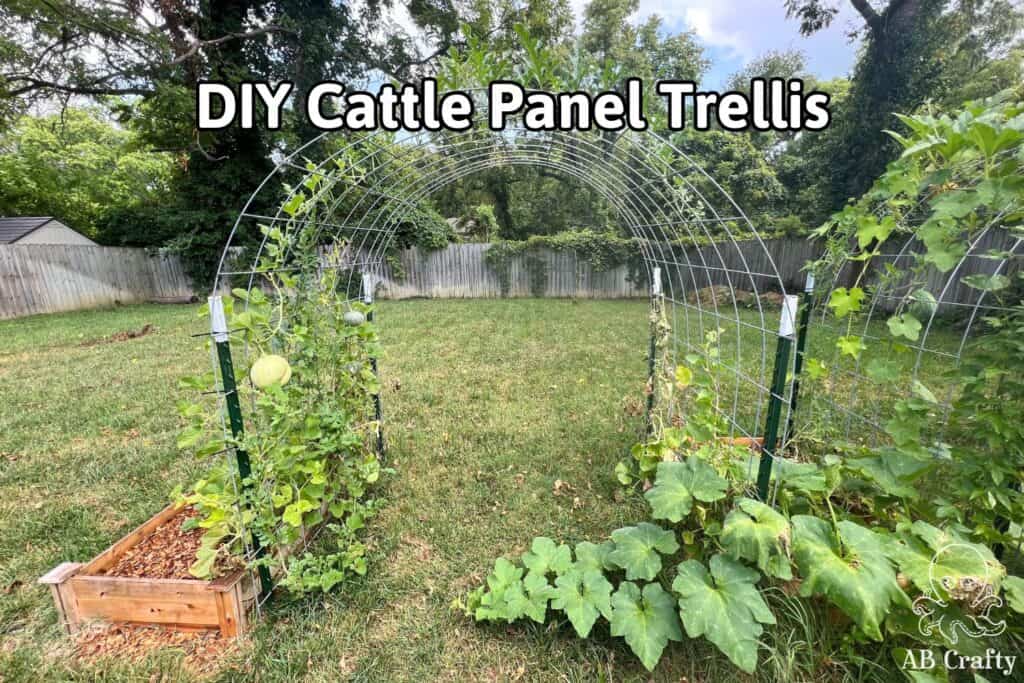
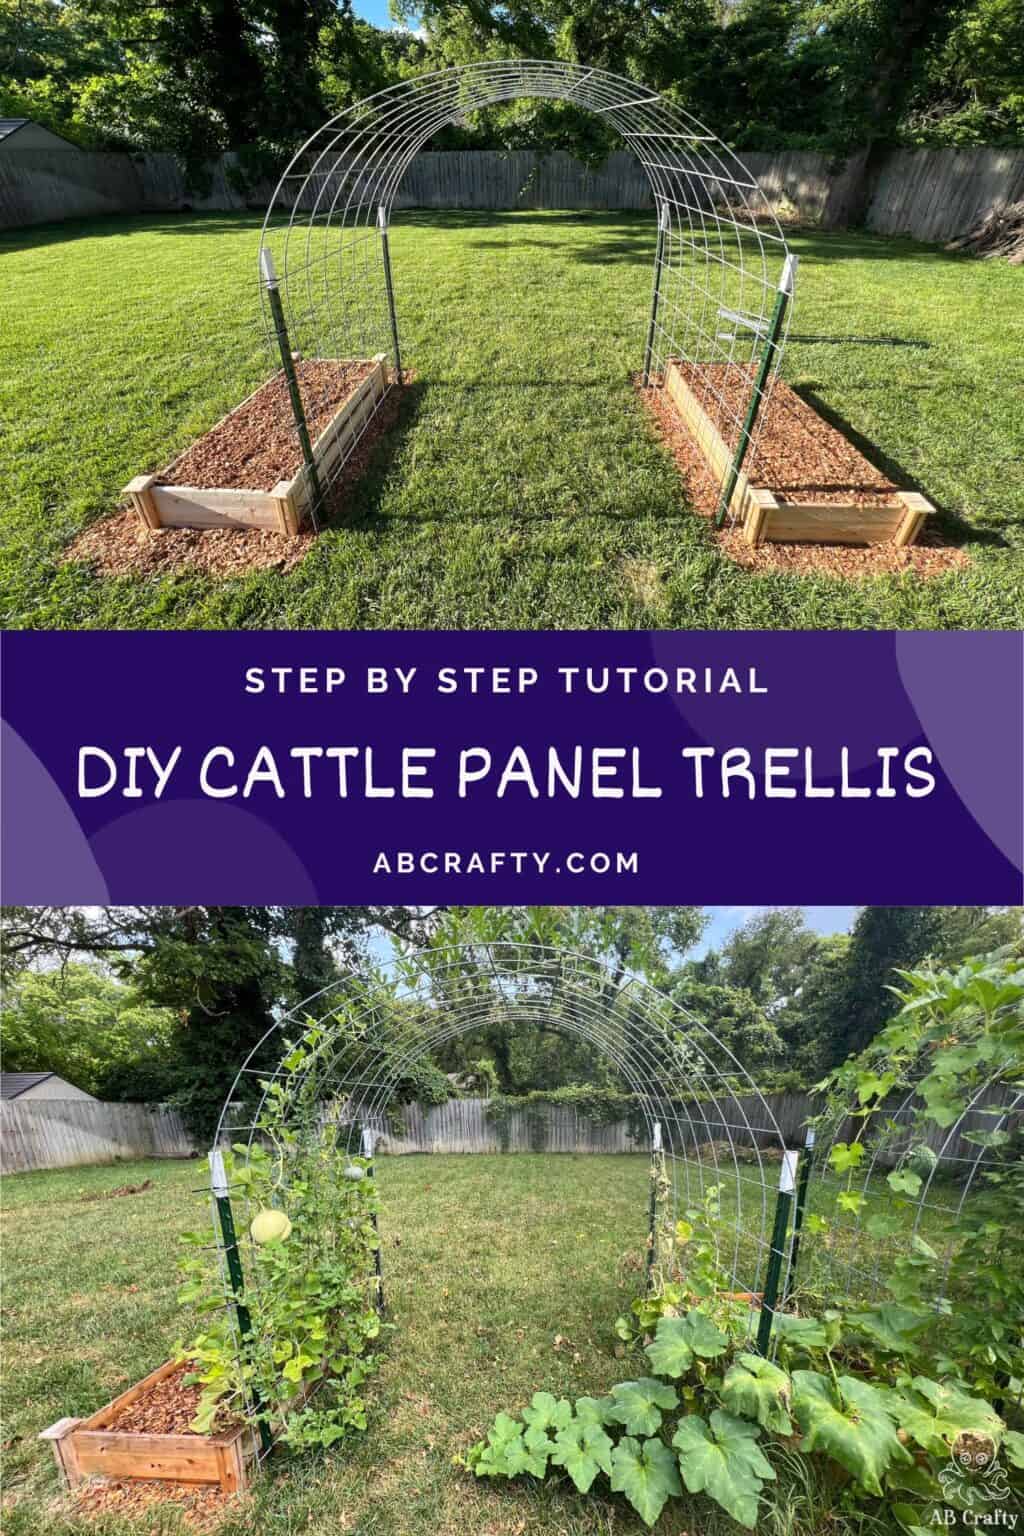
Make your own garden arch with these simple steps to set up a DIY cattle panel trellis.
Table of Contents
Creating a beautiful and functional garden space can be a rewarding experience, and a DIY cattle panel trellis is a fantastic way to achieve both. Whether you’re looking to support climbing plants, enhance your outdoor aesthetics, or even create a cozy nook in your garden, this trellis design is versatile and easy to construct. With just a few materials and simple steps, you can elevate your gardening game and enjoy the benefits of vertical gardening. Let’s dive into how you can craft your very own cattle panel trellis!
Note: Some links in this post may contain affiliate links, which means at no cost to you, I may earn a commission.
Get the latest DIY tutorials, reviews, and crafting updates
You'll never be spammed and can unsubscribe at any time
Why use a cattle panel for your trellis?
Cattle panels are typically used for fencing in livestock but have gained popularity in recent years as an excellent material for creating trellises. Here are some reasons why you should consider using cattle panels for your trellis:
Sturdy and Durable: Cattle panels are made of heavy-duty galvanized steel, making them strong and long-lasting
Easy to Find: You can easily find cattle panels at most garden stores and farm supply stores
Cost-Effective: Compared to other materials such as wood or pre-made trellises, a DIY cattle panel trellis is an affordable option for building a trellis
Versatile: Cattle panels can be cut to any size to fit your specific garden needs. They’re also typically 4 ft wide, giving you plenty of space to grow your veggies
Easy to Shape: Cattle panels are very easy to shape – they naturally form a perfect arch when secured