DIY Catnip Toy – Felted Easter Cat Toys
Home » Blog » DIYs and Craft Projects » DIY Catnip Toy – Felted Easter Cat Toys
-
Daniela Kretchmer
- Updated: Feb 16, 2024
- Felting, Needle Felting, Wool
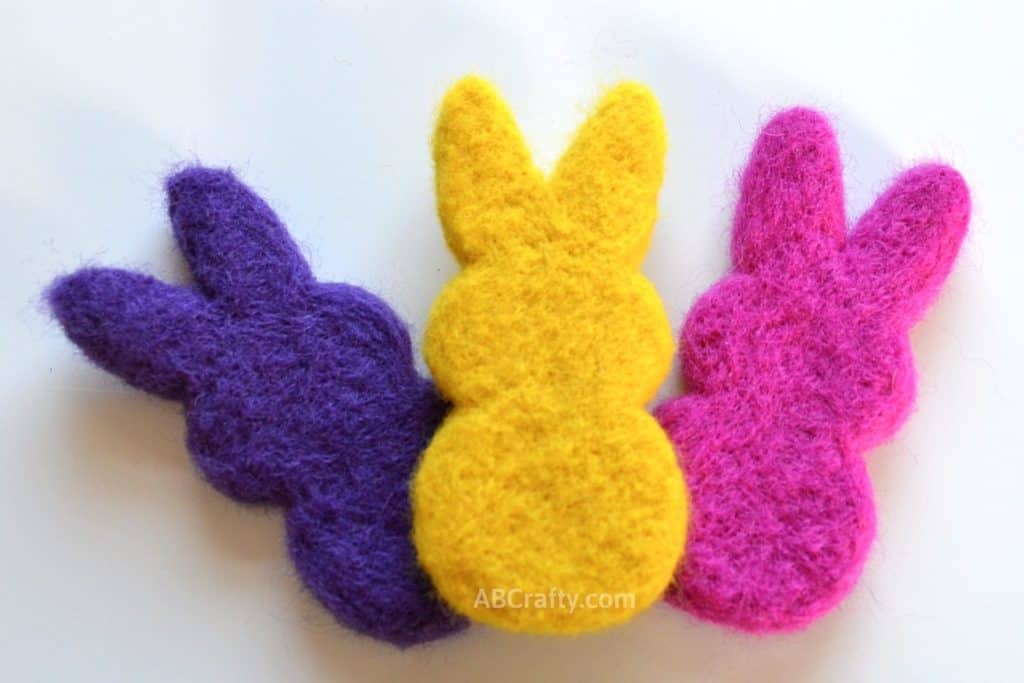
Learn how to make your own DIY catnip toy. These needle felted wool cat toys are a fun felting project that are easy to make. Make a marshmallow bunny Peep and Easter egg cat toy, perfect for springtime and Easter.
Table of Contents
I don’t do as much needle felting these days as I’ve taken up other fiber crafts, but I couldn’t resist making these adorable catnip toys. I personally am a huge fan of Peeps so when I saw these made in a felting group I’m part of, I just had to share them. Then I paired it with two different styles of felted Easter egg toys. These felted wool cat toys are a great first project if you’re just starting to learn how to needle felt.
You also don’t even need to stuff them with catnip. If you simply leave them unstuffed, this craft makes for super cute springtime and Easter decorations.
Note: Some links in this post may contain affiliate links, which means at no cost to you, I may earn a commission.
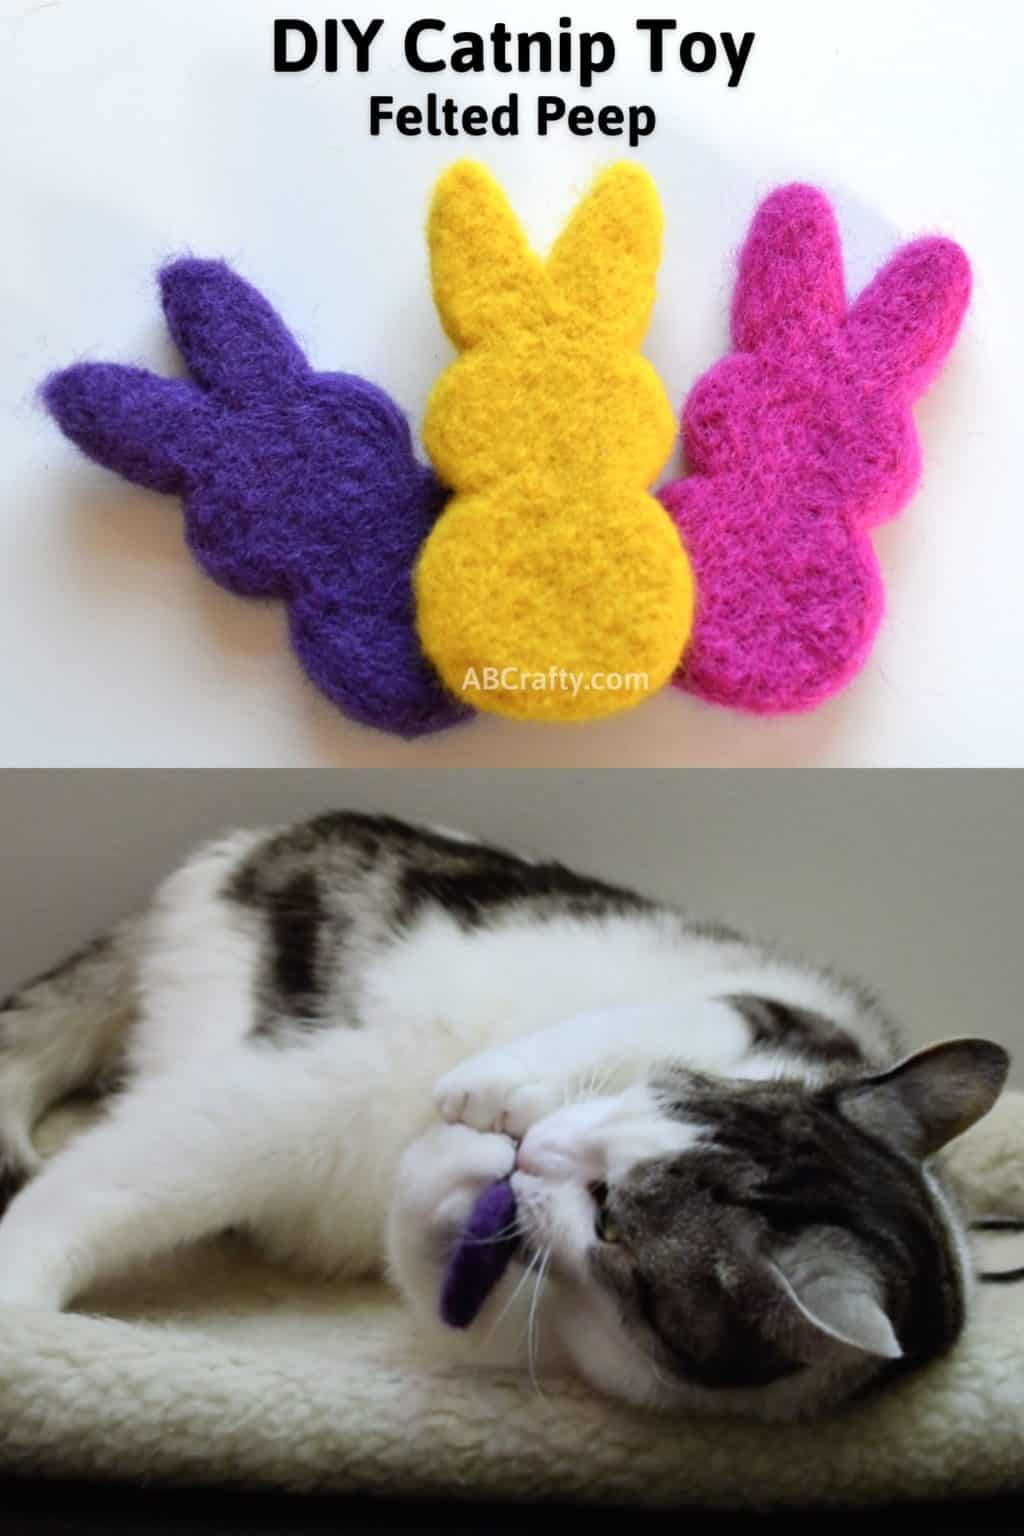
Materials for Peep Handmade Felted Cat Toys
- Wool (here’s a collection of my recommendations)
- Felting Needle (Amazon)
- Foam Block (this is the one I have)
- Peep Cookie Cutter (Amazon)
- Catnip (This is the type we got our cat and he goes crazy for it)
(If you’re new to needle felting, I recommend getting a needle felting kit as you’ll get the wool, needle, and foam block all in one)
You’ll do all of the needle felting on top of the foam block so place that on the table (this is the one I have).
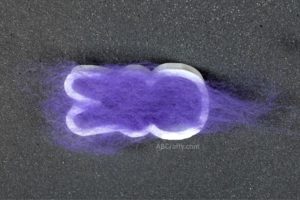
Then place the Peep cookie cutter on top of the foam.
Pull off some wool and place it across the cookie cutter. These are the ones I recommend.
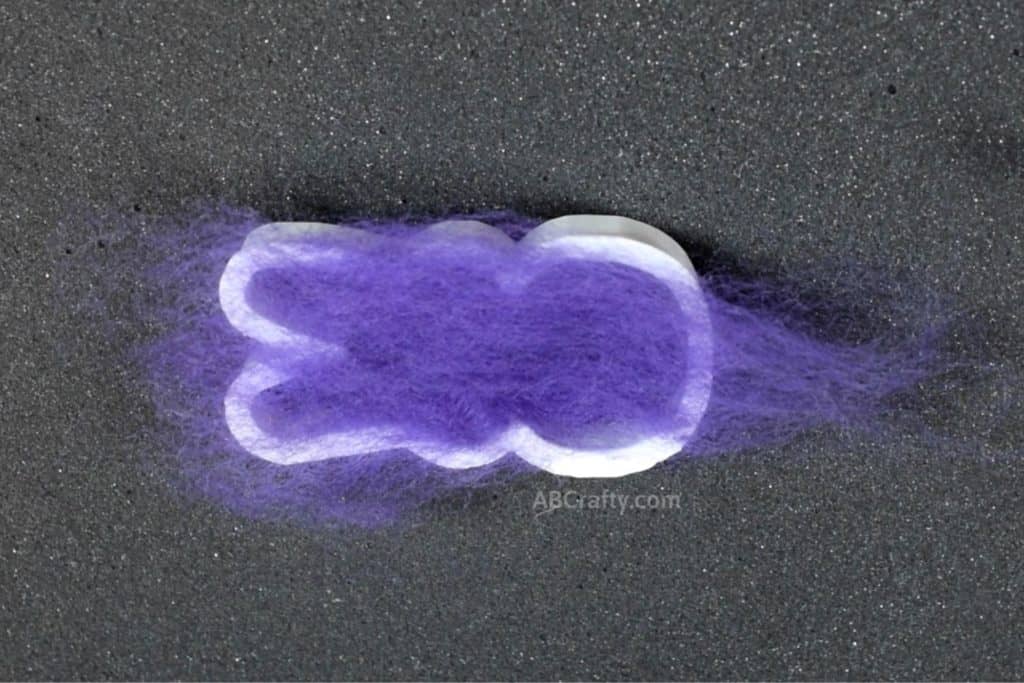
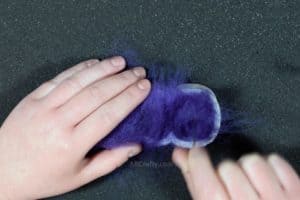
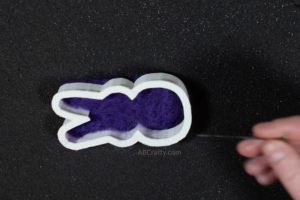
Add a layer of wool in the opposite direction. Then take a felting needle and poke the wool inside of the cookie cutter. Be sure to carefully stab all along the inside edge – this will help define the shape.
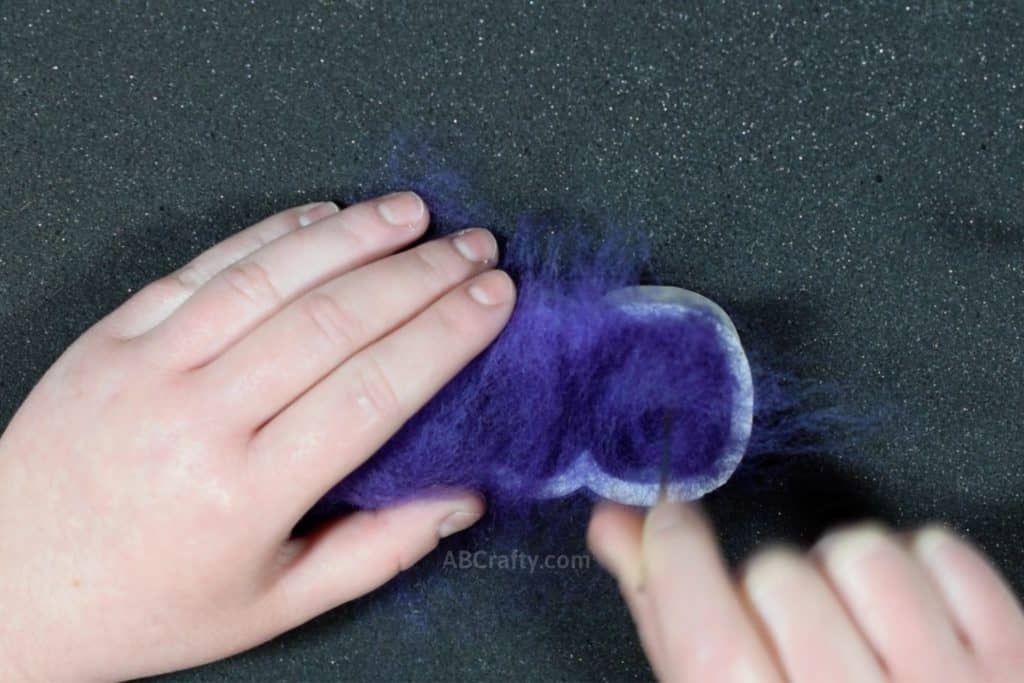
Add more layers of wool and poke it with the needle until you can no longer see through the wool. In total for my cat toy, I had four layers for this bottom half. Two going up and down and two side to side.
Tip: Be sure to not poke the needle too far, otherwise you’ll felt the wool into the foam. Check this isn’t happening by occasionally lifting the wool off of the mat. Then flip it over and place it back inside the cookie cutter.
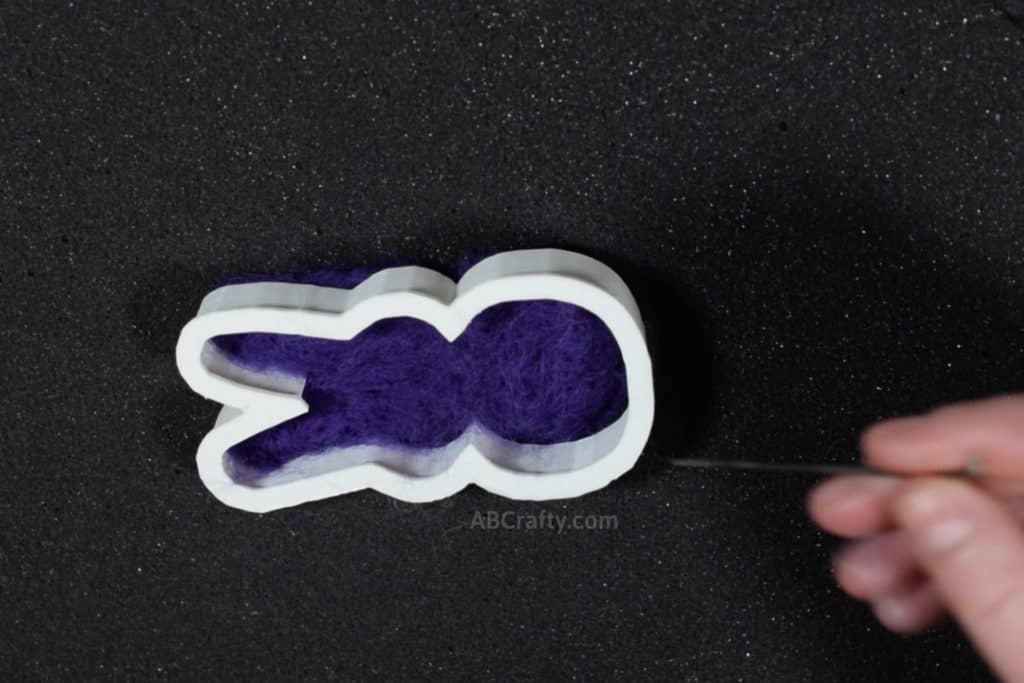
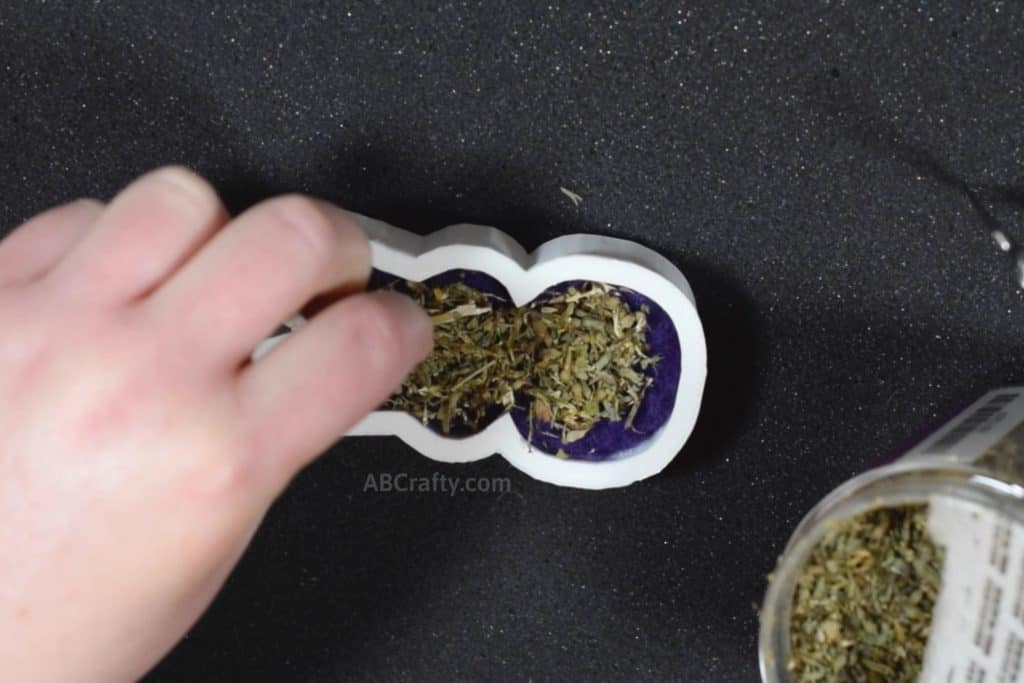
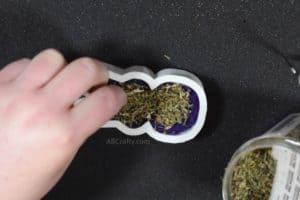
Once you have the bottom half complete, fill it with catnip. Keep it in the middle of the felt cat toy so that it doesn’t poke through the edge. This is the type we have and our cat absolutely loves it!
Tip: Felt the center of the toy more than the edges so that you create an indent to add the catnip.
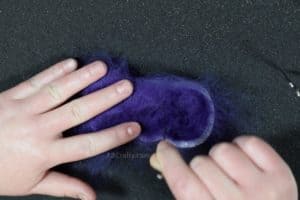
Cover the catnip with more layers of wool. Use the felting needle to felt the wool, just as with the first layer. Again, add layers until you can no longer see the catnip through the wool.
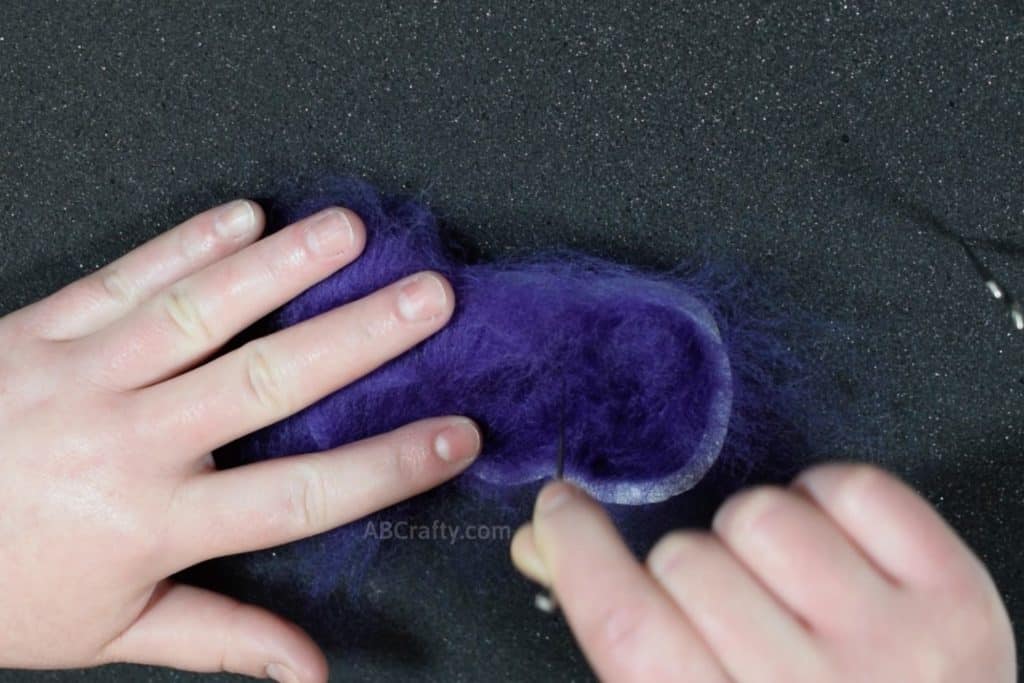
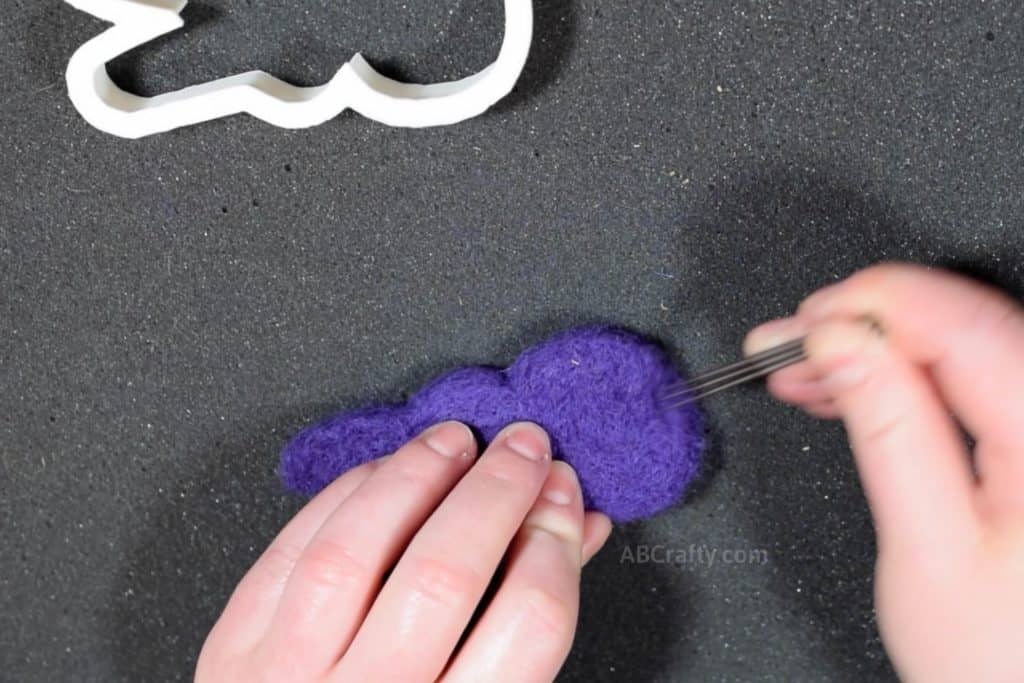
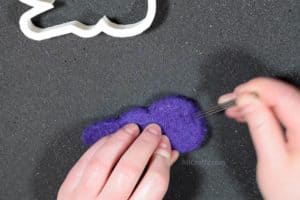
When the cat toy feels solid, take it out of the cookie cutter. Stab it all over with the felting needle until the wool is nice and compact. Make sure to focus on the indents and edges to define them. I like to hold 3 needles at a time for this to cover more area at one time.
Get the latest DIY tutorials, reviews, and crafting updates
You'll never be spammed and can unsubscribe at any time
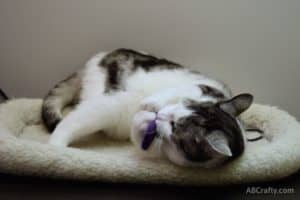
Then the only thing that’s left to do is give your DIY catnip toy to the cat.
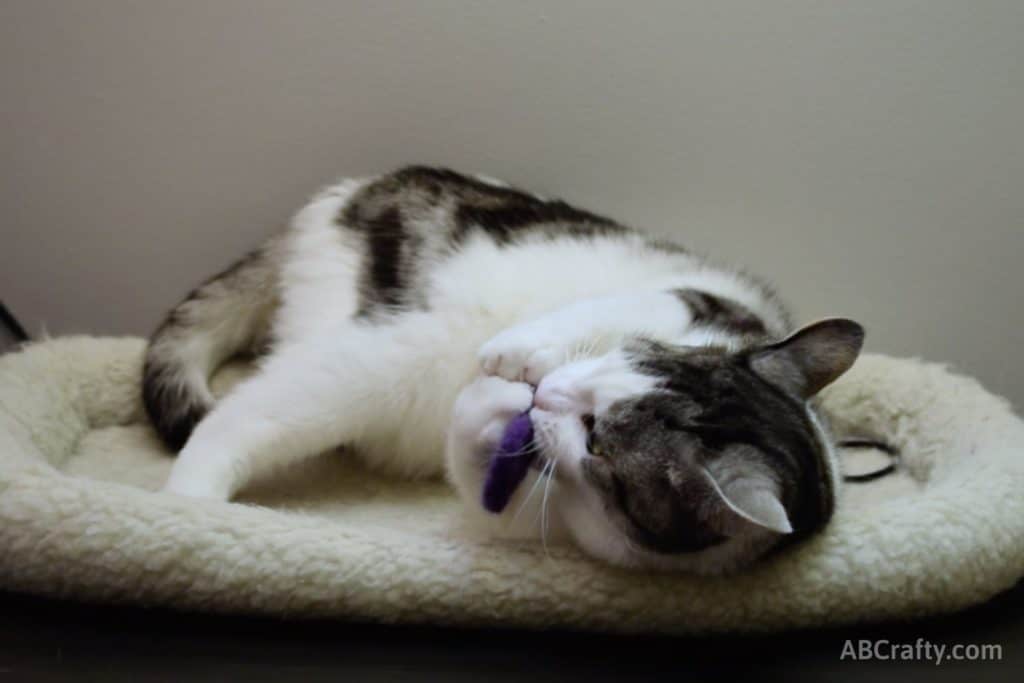
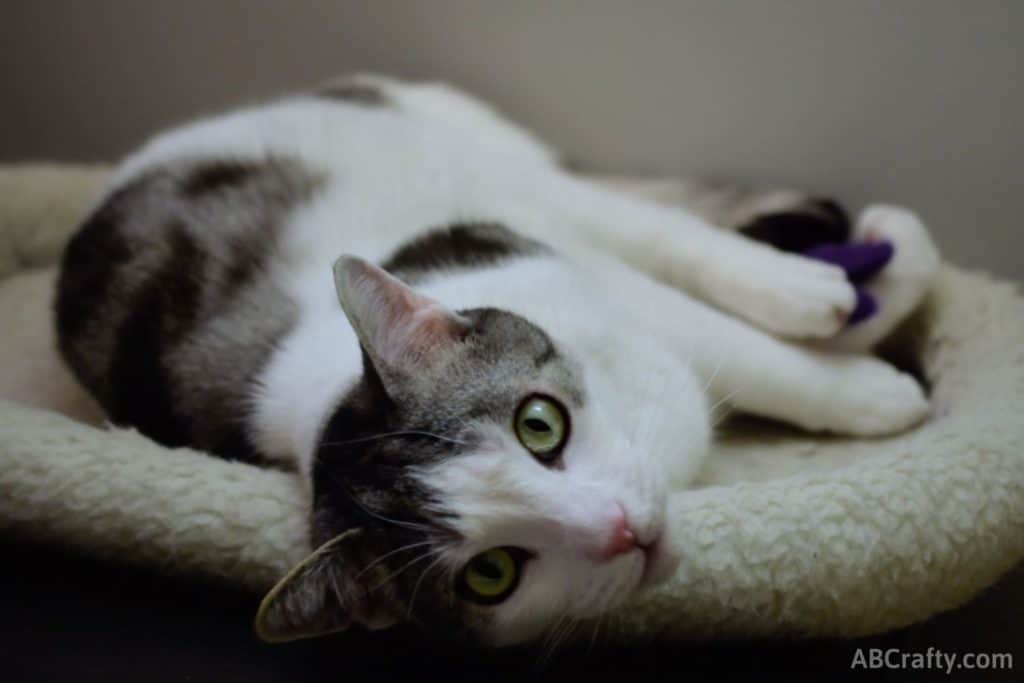
For my cat, Rufio, I gave him a whole pile of the handmade cat toys and he rolled around on them for a good 4 seconds. Then stopped. Then freaked out grabbing one of them and chewed on it for 3.5 seconds. Then got up and walked away to his pretty cat tree. So basically he absolutely loved his new felted catnip toy, making it one of his top catnip toys. Cats, man, cats. Now if I only I knew how to stop cats from jumping on counters.
Instructions for Easter Egg Catnip Cat Toys
For this Easter cat toy, the process is the same as with the Peep toy. However, instead of a Peep shaped cookie cutter, use an egg cookie cutter.
You can use multiple colors for a colorful Easter egg or keep it one solid color and add some designs. I made two different needle felted Easter egg cat toys using both techniques.
Multi-Colored Felted Easter Egg Toy
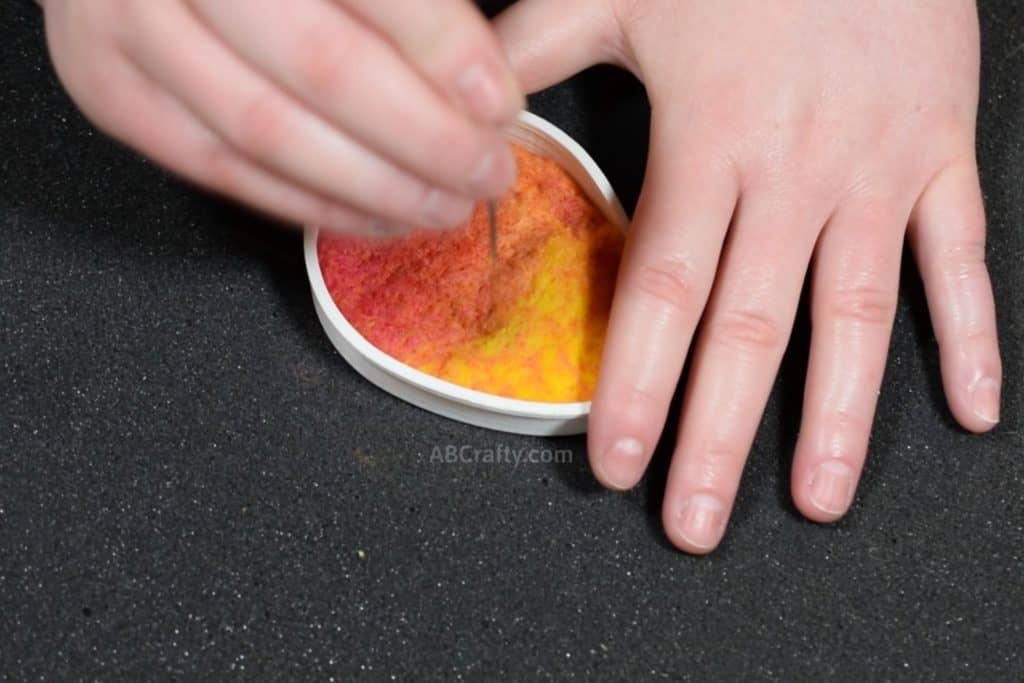
Instead of using a single color of wool, use several and lay them next to each other. To give a nice blended effect, overlap them slightly. Or don’t overlap them to create stripes.
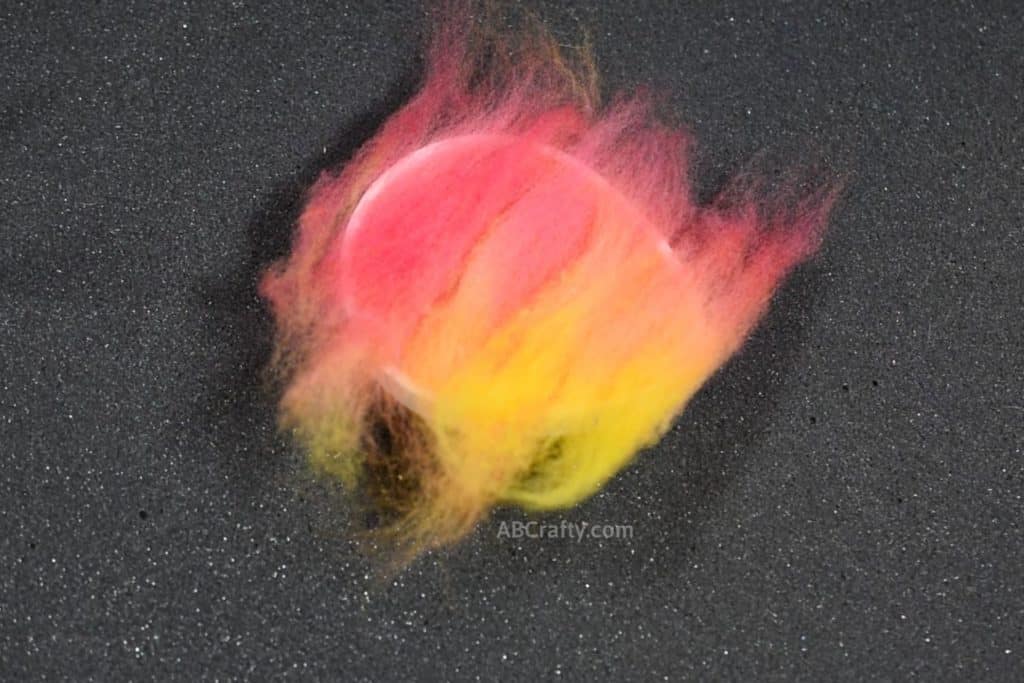
Another option is to use wool that is already multiple colors just like I have. This creates a nice ombre look to the felted toy. You could also blend your own wool in advance.
Zig-Zag Felted Easter Egg DIY Catnip Toy
Felt a catnip toy using the egg cookie cutter and a single color of wool.
Then take a small piece of a wool of a contrasting color and lay it diagonally across the side of the egg. Use the felting needle to felt the small stripe to the egg. Go only as far as you would like the zig-zag to be.
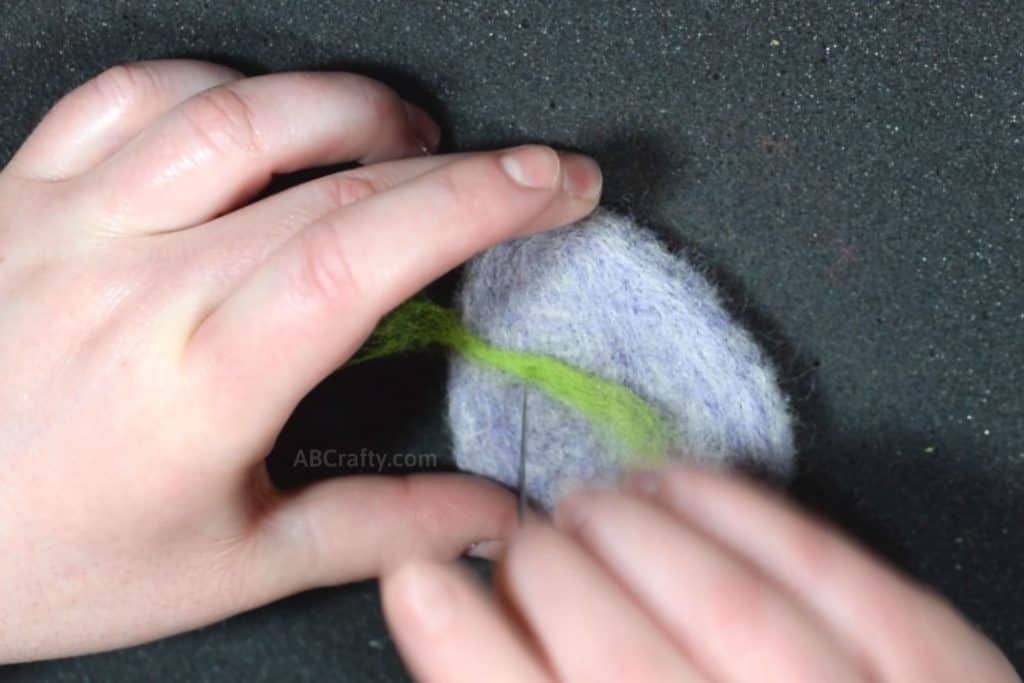
Fold the rest of the wool back up at an angle and felt it down. You’ll now start to see the zig-zag taking shape.
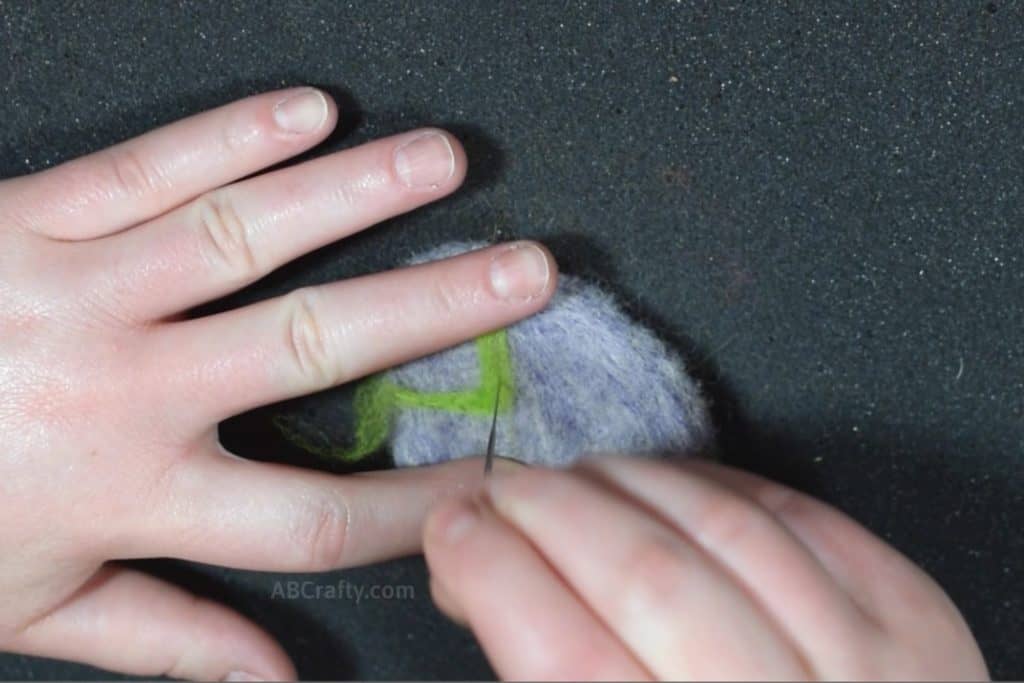
Continue this process with more strips of wool and for however many zig-zags you would like on your felted Easter egg. Be sure to do the other side as well! In total I had 2 sets of zig-zags on both sides of my Easter egg catnip toy.
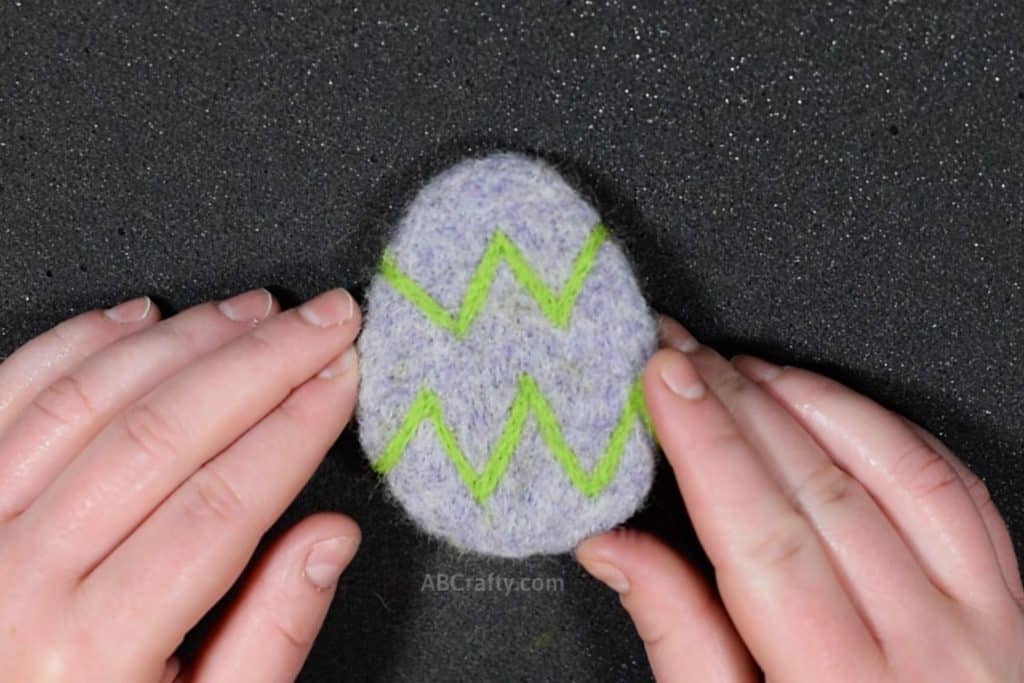
You can make a whole bunch of them use them for a cat easter egg hunt or as part of an outdoor Easter scavenger hunt. By the way, have you ever tried the trick of hatching store bought eggs with an egg incubator? I’m so tempted!
And if you’re looking to get free photos during the holiday, check out where you can get Easter Bunny pictures.
More Felting Projects and Other Crafts to Try
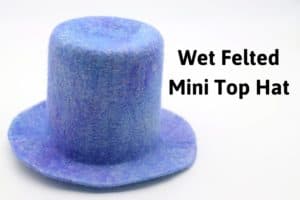
- Wet Felted Tiny Hat
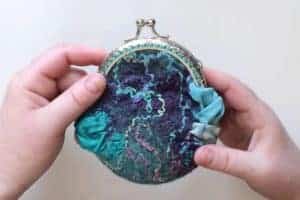
- Wet Felted Coin Purse
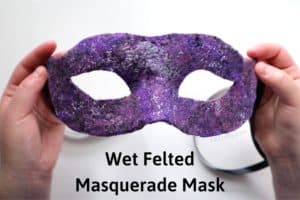
- Wet Felted Venetian Mask
- If you’ve never wet felted before, learn how to make wool fabric and everything you need to know about wet felting with my ultimate guide to wet felting.
- Use that fabric to make a masquerade mask
- Blend Wool with a Drum Carder
- Or if you’d like to do more pet crafts, make something for your favorite pup with these frozen dog treats.
Get the latest DIY tutorials, reviews, and crafting updates
You'll never be spammed and can unsubscribe at any time
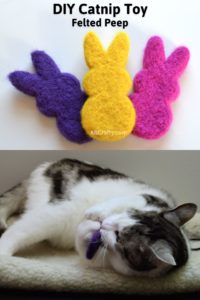
DIY Catnip Toy - Felted Easter Cat Toy
Materials
- Wool
- Catnip
Equipment
- Felting Needle
- Foam Block
- Peep Cookie Cutter
Instructions
- Pull off some wool and place it across the Peep cookie cutter.
- Add a layer of wool in the opposite direction. Then take a felting needle and poke the wool inside of the cookie cutter. Be sure to carefully stab all along the inside edge - this will help define the shape.
- Add more layers of wool until you can no longer see through the wool.
- Once you have the bottom half complete, fill it with catnip. Be sure to keep it in the middle of the felt cat toy so that it doesn't poke through the edge.
- Cover the catnip with more layers of wool. Use the felting needle to felt the wool, just as with the first layer. Again, add layers until you can no longer see the catnip through the wool.
- When the cat toy feels solid, take it out of the cookie cutter. Stab it all over with the felting needle until the wool is nice and compact. Be sure to focus on the indents and edges to define them.
- Then the only thing that's left to do is give your DIY catnip toy to the cat.


2 thoughts on “DIY Catnip Toy – Felted Easter Cat Toys”
I like the way you teach, nice and clear.
Thank you.
Thanks so much, glad you like it!