Easy Masquerade Mask
Home » Blog » DIYs and Craft Projects » Easy Masquerade Mask
-
Daniela Kretchmer
- Updated: Oct 27, 2023
- Accessory, Costume, Felting, Popular Posts, Upcycle, Wet Felting, Wool
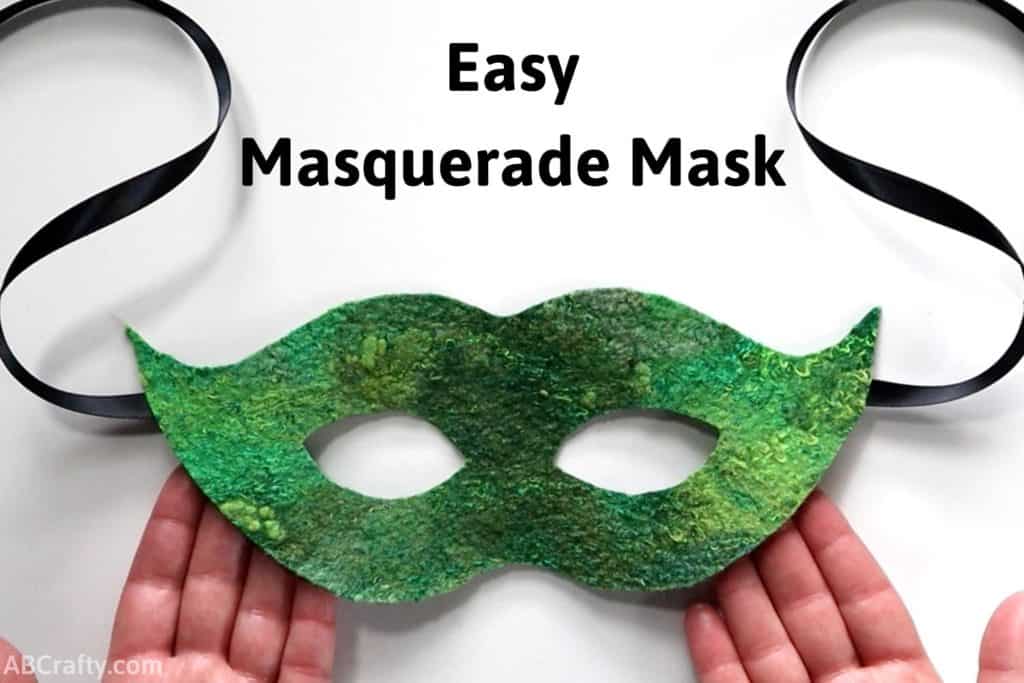
Learn how to make a super easy masquerade mask using a printable pattern. You can either use homemade felt or store-bought felt to make this adorable mask.
Table of Contents
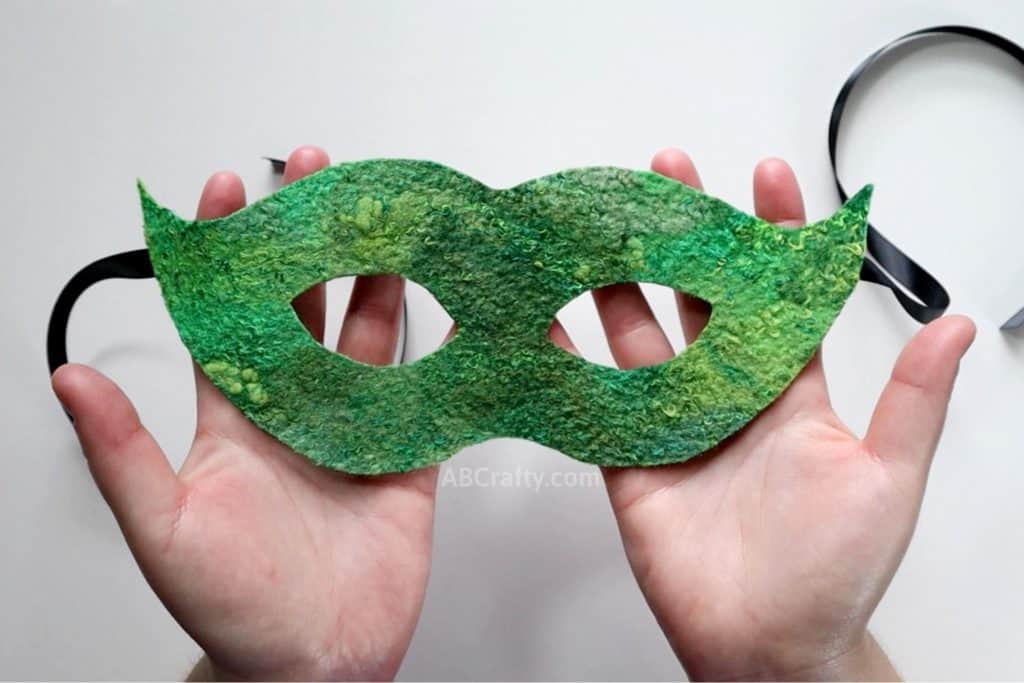
I have finally figured out how to use my handmade felt from my Ultimate Guide to Wet Felting! It’s always difficult to cut up a piece of fabric you made yourself, but I knew if I made it into a unique masquerade ball mask, I could be happy with the outcome.
And while I upcycled a previous project and used my own wet felted felt, you can either make your own as well or use store bought felt to make your own masquerade masks. The advantage to felting your own wool is you can add unique textures and make it look however you want, making for a very unique and one of kind mask!
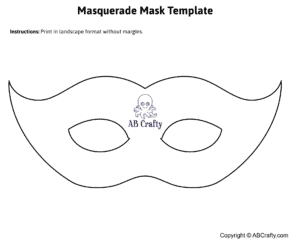
And to make it super easy to make your own costume masks, I made this handy printable masquerade mask template.
You can also take it a step further to wet felt a fully shaped mask with this Venetian Mask.
Note: Some links in this post may contain affiliate links, which means at no cost to you, I may earn a commission.
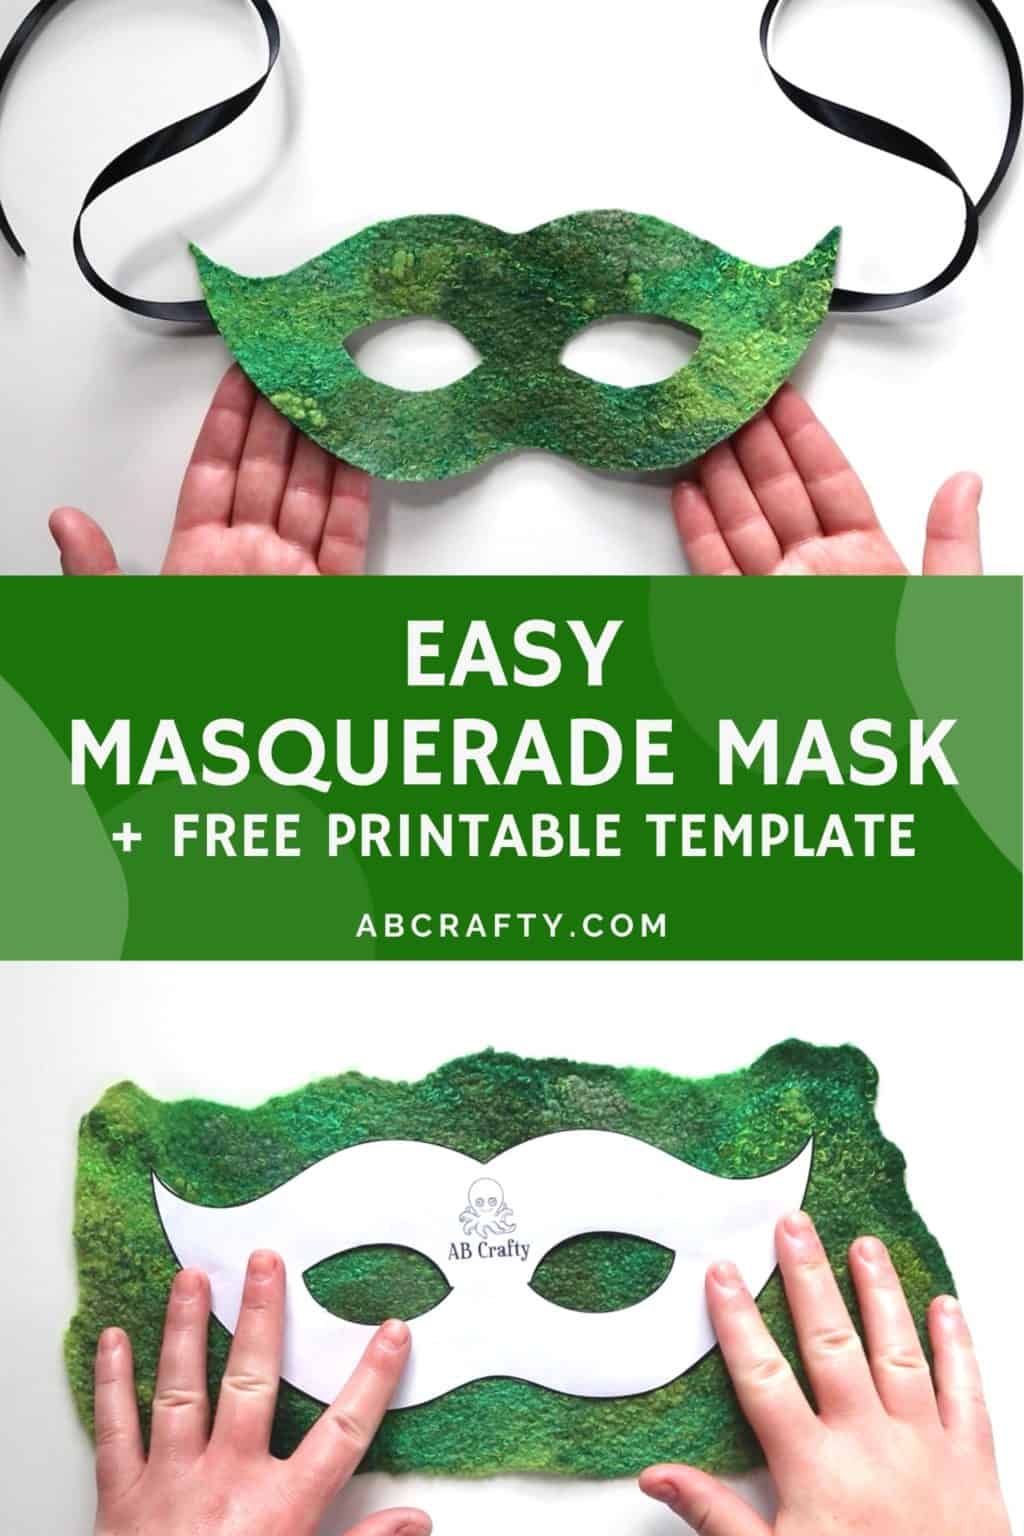
Materials to Make an Easy Masquerade Mask
- Felt (I used handmade wool felt I had previously made)
- Masquerade Mask Template
- Sulky Transfer Pen (optional) (Amazon)
- Iron (optional)
- Scissors
- Thin Satin Ribbon – 30cm in total (Amazon)
- Glue Gun
Free Printable Masquerade Mask Template
Download this free printable template right here or from the shop.
When printing, be sure to print it in landscape mode and without margins.
For a child’s mask, print it at 80% scale.
Download the Free Masquerade Mask Template
We’re committed to your privacy. AB Crafty uses the information you provide to contact you about relevant content and products. You may unsubscribe from these communications at any time.
Instructions to Make a DIY Masquerade Mask
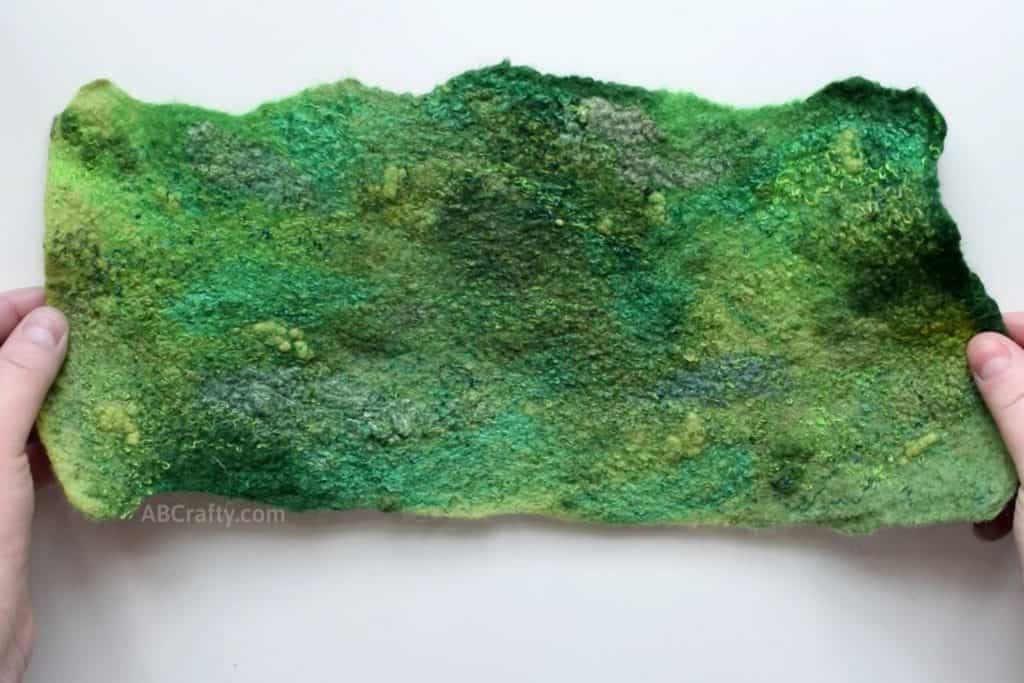
Begin with a piece of felt. The whole reason for this project was to use my piece of green handmade felt from my guide to wet felting.
So for the wet felters out there, this is a great way to use your artful felt fabric. Otherwise, select the piece of store bought felt you want to use.
Two Ways to Use the Masquerade Mask Template
Next, print out the masquerade mask template. If you want to make a child’s costume mask, print it at 80% scale.
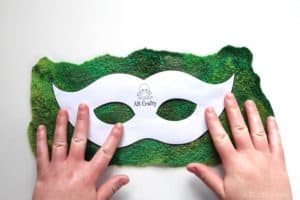
There are two ways you can use this template. The first is to cut out the template and place it on top of your felt.
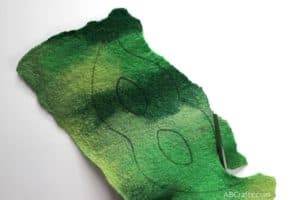
Then trace around the template and around the eye holes.
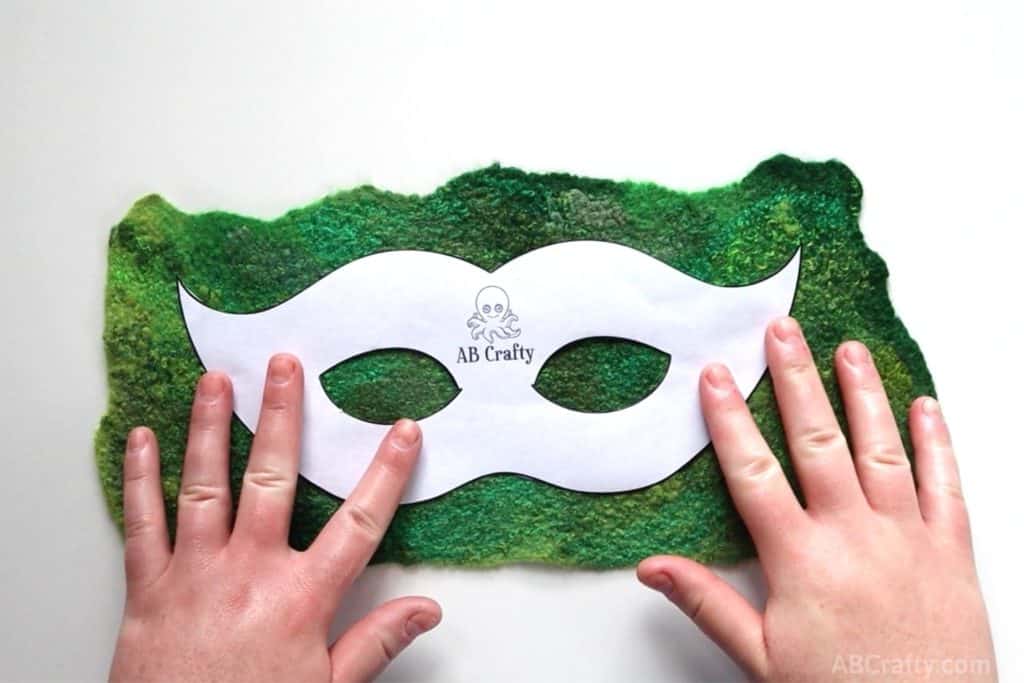
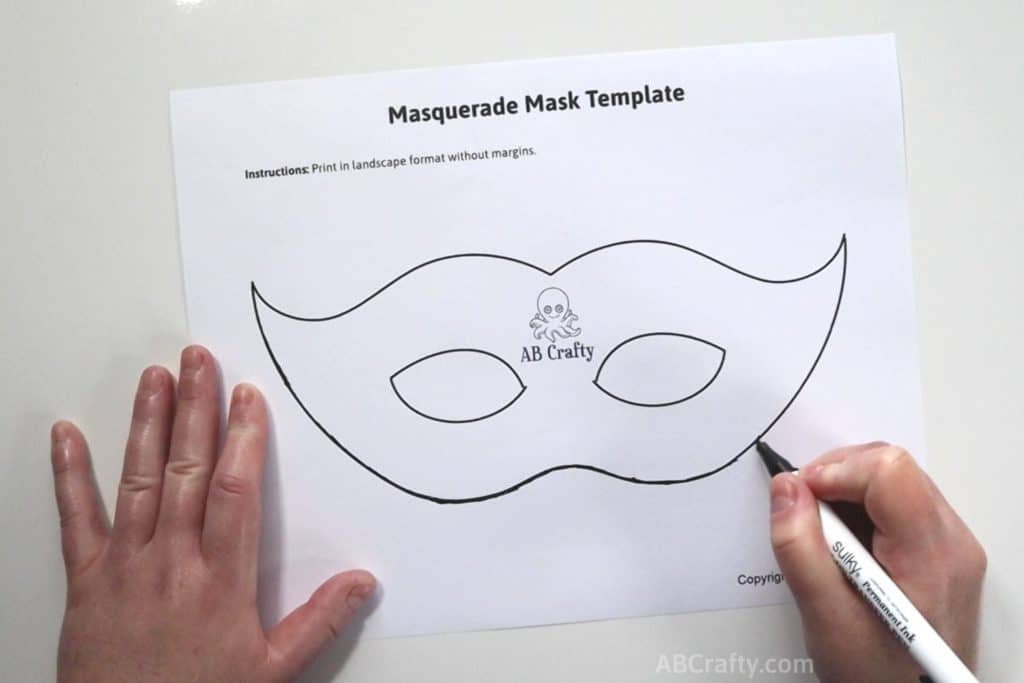
The second way is to use a Sulky transfer pen. As someone who does a lot of fiber arts and felting, this is one of my new favorite tools.
To use it, shake it up and then draw on the outline of the mask template, directly on the paper. Be sure to also draw over the eye holes.
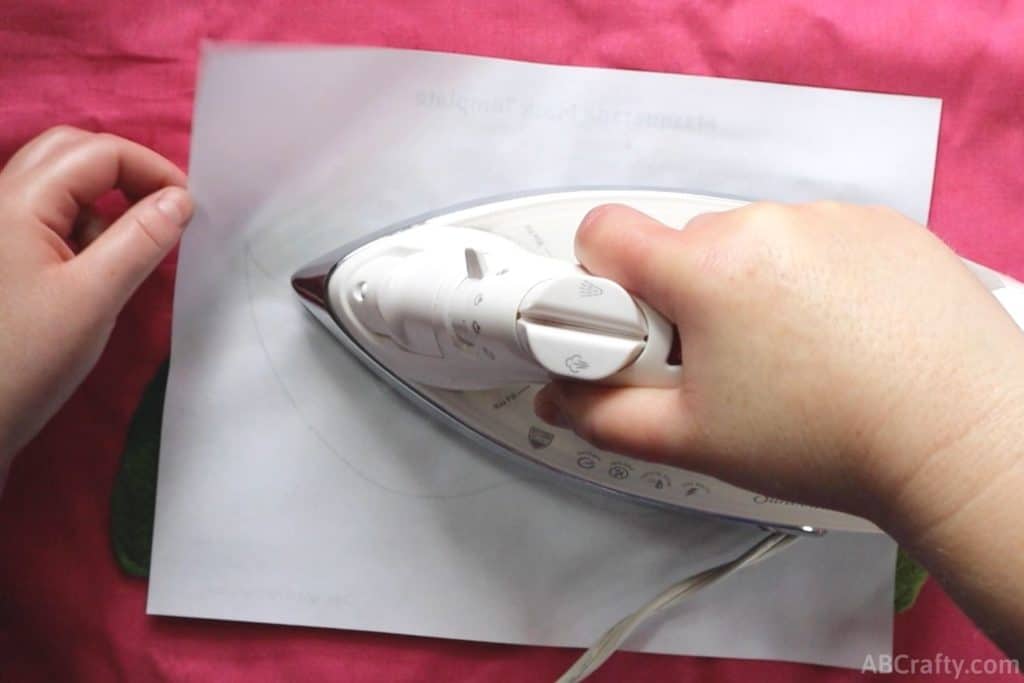
Then place the paper on the back of your felt, ink side down.
Heat up your iron to the appropriate setting for your fabric and iron the back of the paper.
Tip: Be sure to not shift the paper around or the transfer from the Sulky transfer pen will smudge. If you want to check to see if your pattern transferred, very carefully lift up one corner.
Cutting Out the Mask
Once you have the pattern transferred, either by tracing the masquerade mask template or by using the Sulky transfer pen, cut along the outer edge.
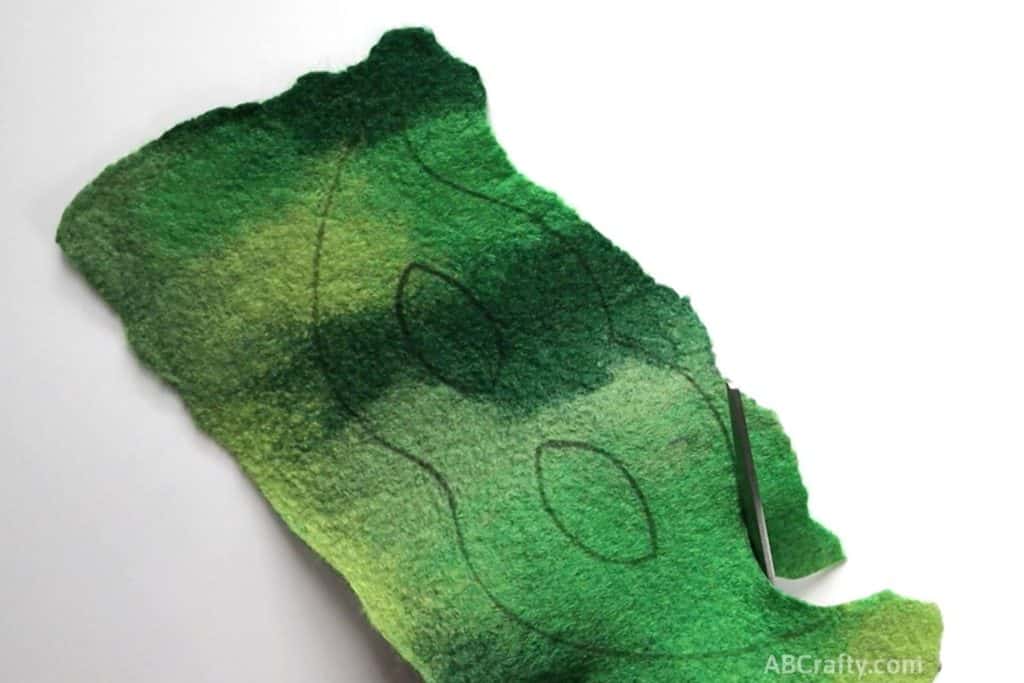
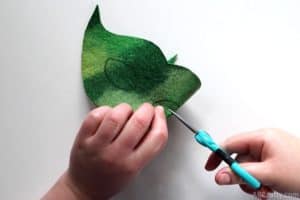
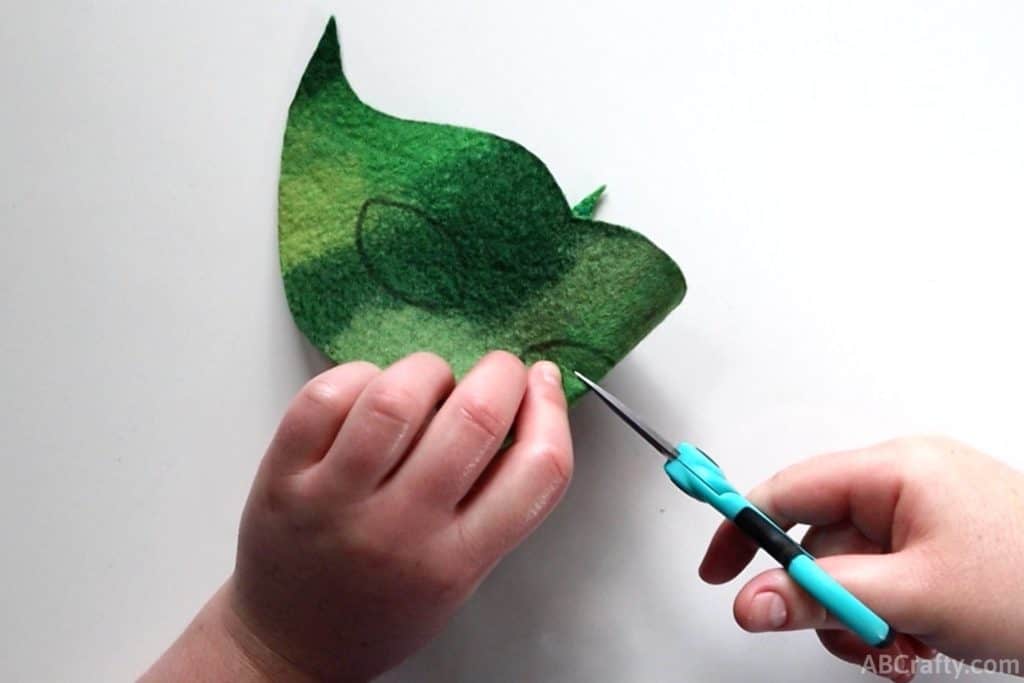
To cut out the eye holes, the easiest way to do it is to fold the mask at the eye. Then cut a slit in the middle.
Make sure you don’t cut past the outline!
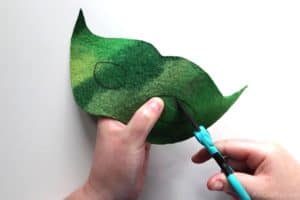
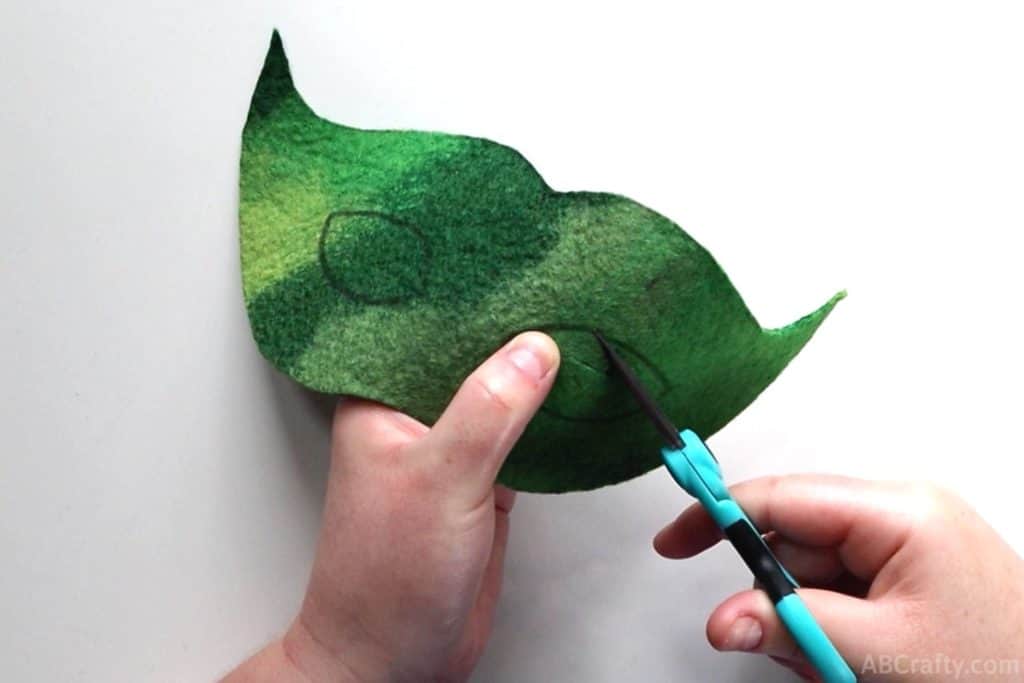
Now unfold the mask and use the slit you just cut to insert your scissors. Then cut along the outline of the eye holes. Repeat on the other side.
Tip: Mini fabric scissors for projects like this. I absolutely love mine! This is an Amazon link to the one I have.
Adding the Ribbon to the Mask
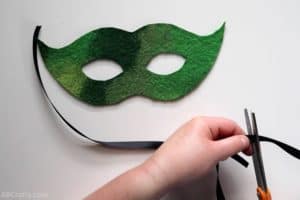
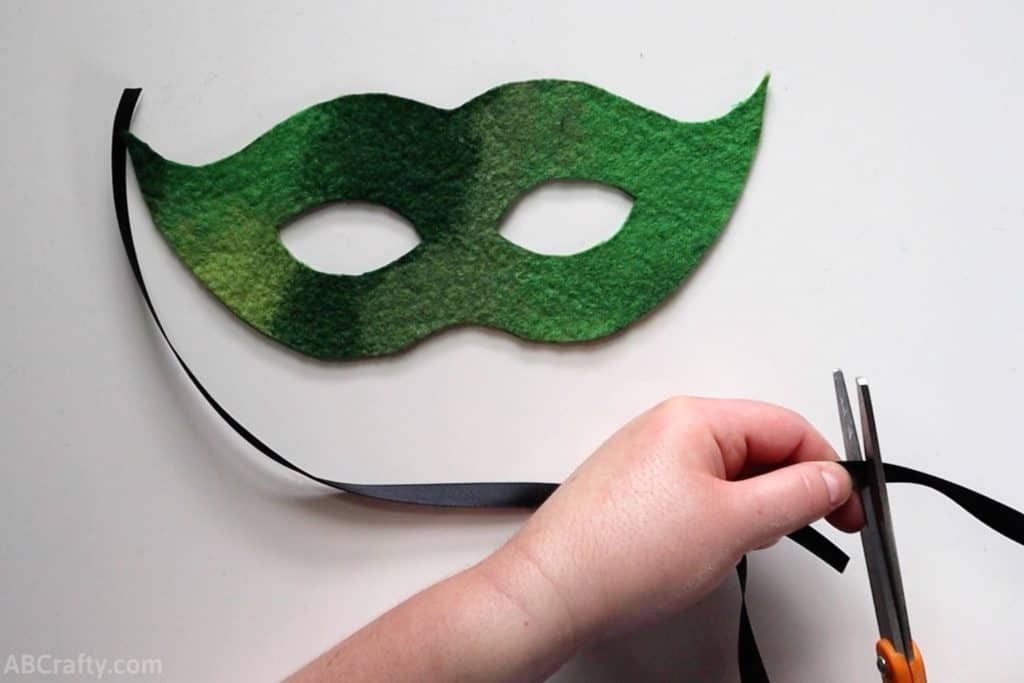
Next up is to cut the ribbon. I’ve found that 15cm is a good length for each side as it gives enough room to easily tie it in the back.
For a kid’s mask you can get away with 10cm for each side.
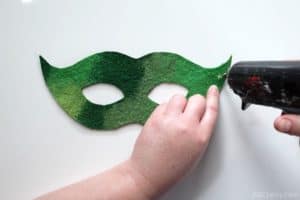
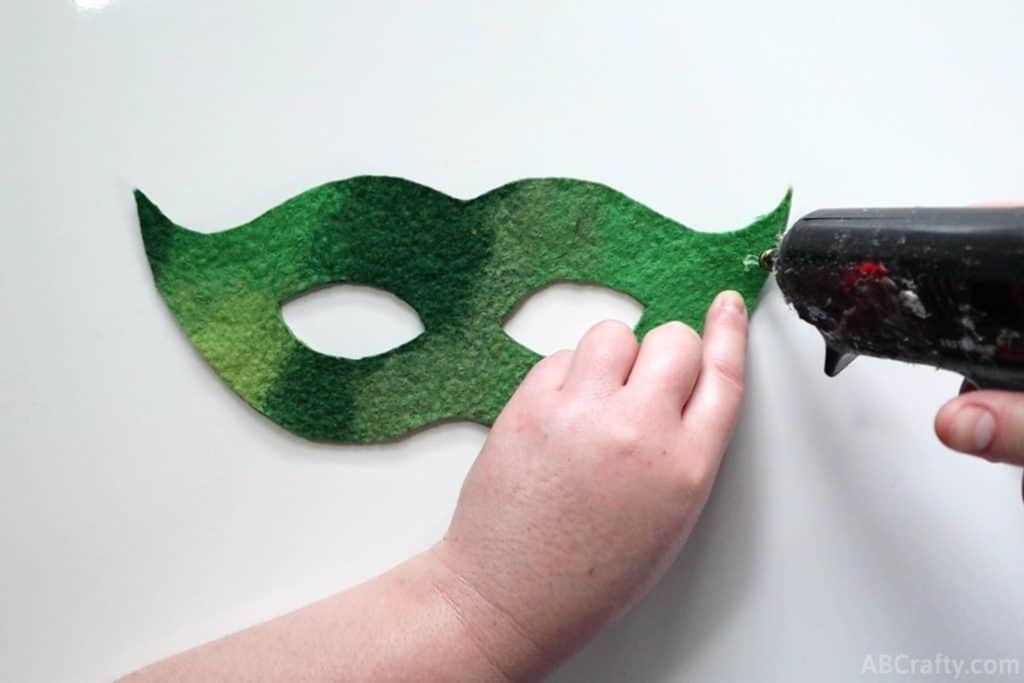
Once the ribbons are cut, add a dab of hot glue on each side of the back of the mask and attach 1-2cm of the end of the ribbon. Repeat on the other side.
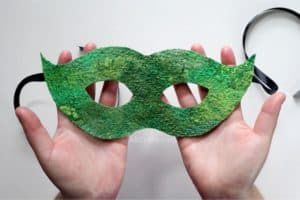
Let the glue dry and your felt masquerade mask is now complete!
Get the latest DIY tutorials, reviews, and crafting updates
You'll never be spammed and can unsubscribe at any time
More Felting Crafts to Try
- Get started with wet felting and learn how to make the exact felt I used in this project with the Ultimate Guide to Wet Felting
- Wet Felted Venetian Mask
- Wet Felted Mini Top Hat
- Felted Coin Purse
- Needle Felted Catnip Cat Toys
Get the latest DIY tutorials, reviews, and crafting updates
You'll never be spammed and can unsubscribe at any time
Easy Masquerade Mask
Materials
- Felt Use handmade felt or store-bought
- Masquerade Mask Template
- 30 cm Satin Ribbon
Equipment
- Scissors
- Glue gun
Instructions
- Print out the masquerade mask template, cut it out, and place on top of the back of the felt.Masquerade Mask Template
- Trace the template on the back of the felt. Don't forget the eye holes!Cut the outside of the templateFelt
- To cut out the eye holes, the easiest way to do it is to fold the mask at the eye. Then cut a slit in the middle.
- Now unfold the mask and use the slit you just cut to insert your scissors. Then cut along the outline of the eye holes. Repeat on the other side.
- Cut two pieces of ribbon measuring 15cm30 cm Satin Ribbon
- Add hot glue to each side of the back of the mask.
- Press the 1-2cm of the end of the ribbon onto the glue. Repeat on the other side. Enjoy your newly made felt masquerade mask!

