Green Slime – Classic and Easy Slime Recipe

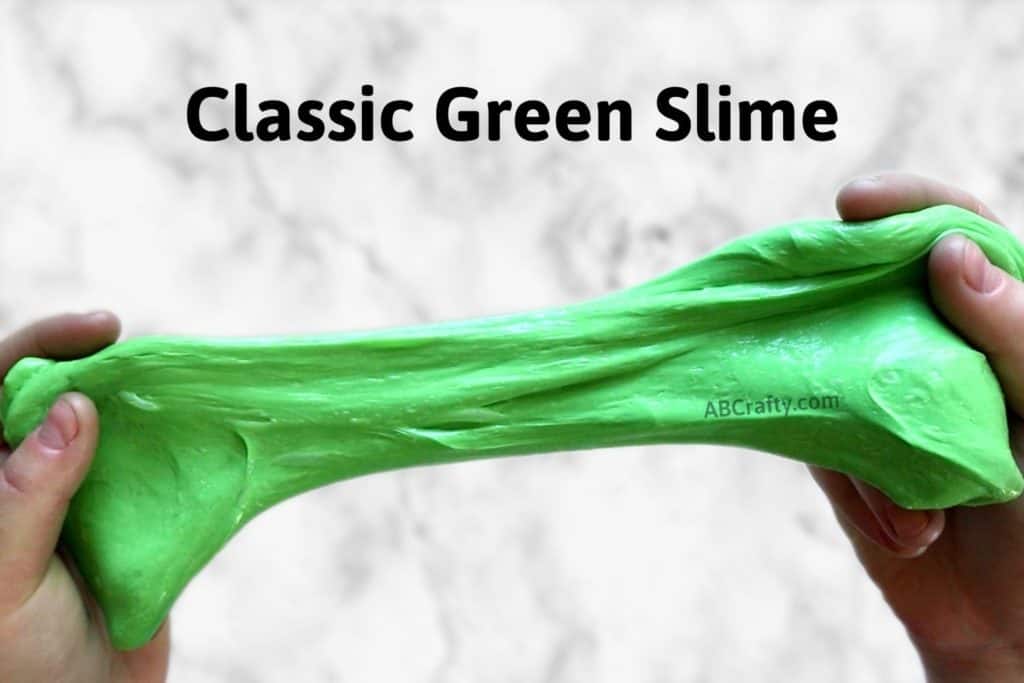
two hands stretching green slime

Learn how to make classic green slime at home with this easy DIY slime recipe. It’s a quick and easy project to make your own gooey and stretchy green slime.

Table of Contents

When you think of slime, chances are you’re thinking of classic gooey and stretchy green slime. Well here’s a quick and easy slime recipe so you can make your own DIY green slime. It uses a basic slime activator so you if you already have some, you can use that.

This is the kind that you can play with and stretch vs the Nickeloden slime that is more liquid and splashes everywhere when getting poured. I’m personally a fan of something you can play with rather than a slime that’s impossible to get out of a carpet.

So if you’re a fan of all things slime, this is the DIY for you! You can also check out my other slime recipes, such as this beautiful gold slime, clear slime, fluffy slime, snow slime, or color changing slime.

And if you’d rather eat your slime, I recommend my edible slime recipes.

I’ve also created a handy set of slime recipe cards to print and cut out. Download them below or from the shop.
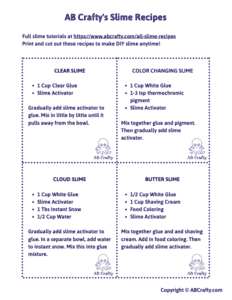
image of slime recipe cards

14+ Slime Recipe Cards - Printable PDF

We’re committed to your privacy. AB Crafty uses the information you provide to contact you about relevant content and products. You may unsubscribe from these communications at any time.

Note: Some links in this post may contain affiliate links, which means at no cost to you, I may earn a commission.
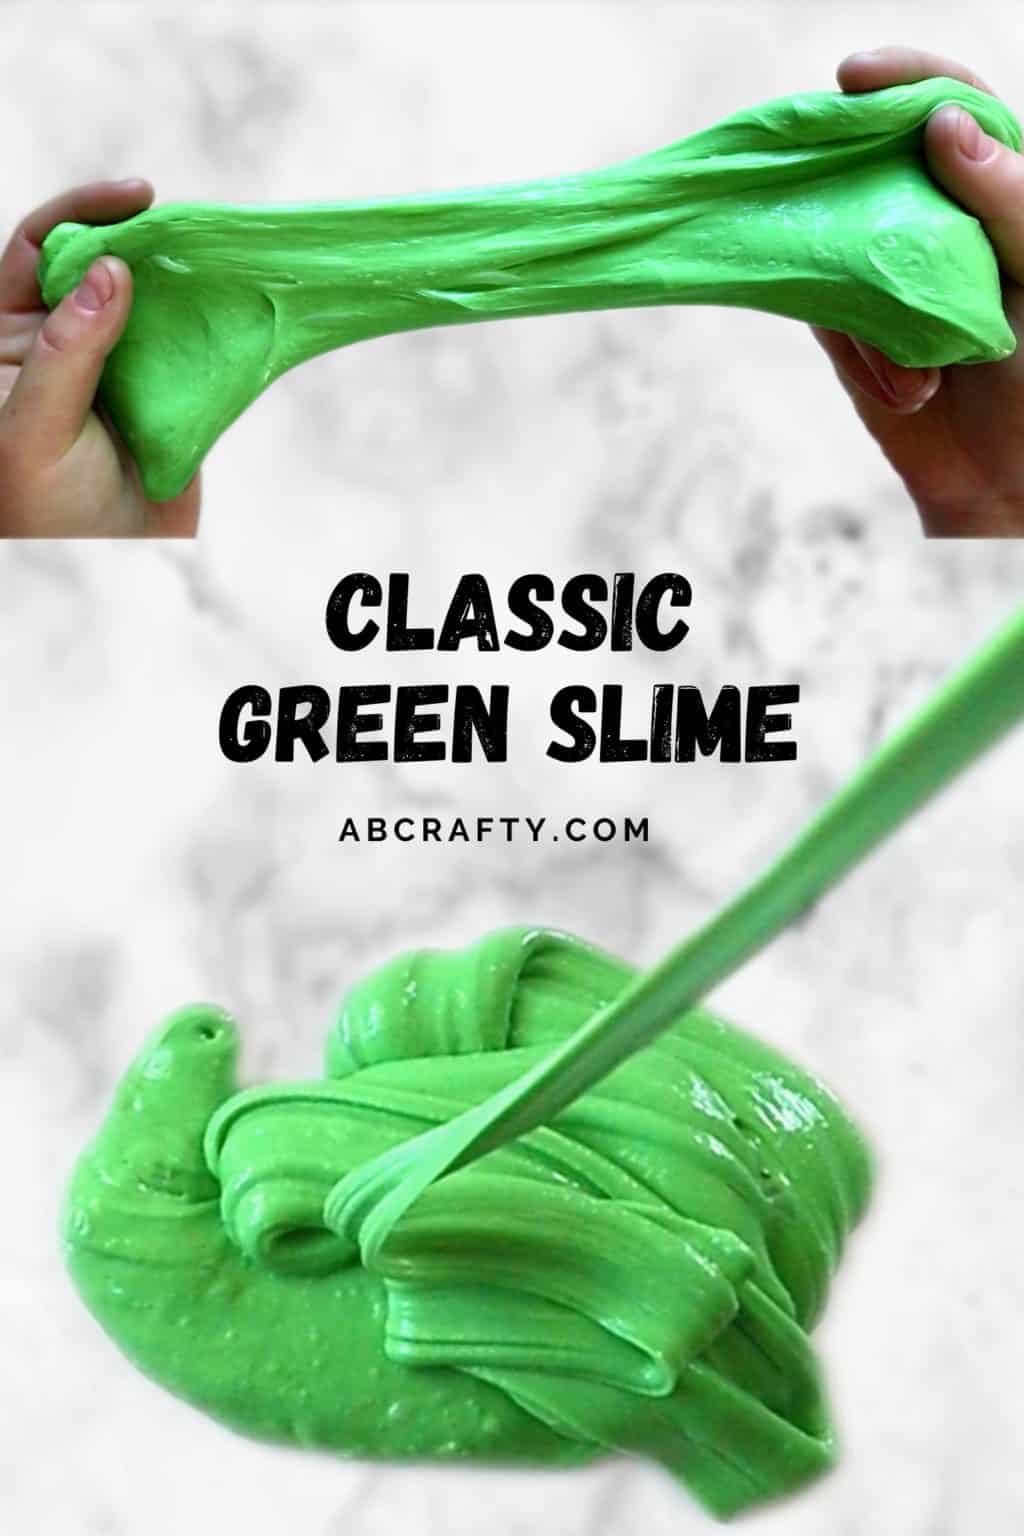
two hands stretching green slime in the top photo and the bottom image shows the slime oozing into a pile

Materials for Green Slime

I used a slime activator that I had previously made and had on hand, but I’ve included the materials assuming you don’t have a pre-made slime activator.

  • 1 Cup Warm Water
  • 1 tsp Borax (Amazon)
  • 1 Cup White PVA glue (Amazon)
  • Green Food Coloring (Amazon)
  • Yellow Food Coloring

How to Make Classic Green Slime

Make the Slime Activator

Mix together the warm water and borax until the borax is dissolved. Set aside.

This is your slime activator. You will only use some of it so you can save the rest in an airtight container for another slime project.

holding a teaspoon of borax powder over a clear measuring cup with water
using a teaspoon to stir a measuring cup with clear liquid

Make the Green Slime Base

Add about a cup of white PVA glue into a bowl.

pouring white glue into a clear pyrex bowl

Then mix in a few drops of green and yellow food coloring.

dropping green food coloring into a clear bowl with white glue

Keep adding food coloring until you get the color you like. I ended up using quite a lot and surprising amount of yellow to make sure I got that great classic green slime color.

adding drops of green food coloring to a bowl with green liquid with a plastic spoon in it

Activate the Green Slime

Once you get the color you like, add in a little bit of the water and borax mixture (slime activator).

Tip: I recommend only adding ~ 1 teaspoon at a time. Otherwise your slime will be too hard.

pouring clear slime activator into a bowl of green liquid made of glue

Carefully stir it in. I say carefully because you’ll find the liquid can easily splash everywhere.

Keep adding the liquid until it starts to pull away from the sides and get chunky.

stirring a bowl of green goo with a plastic spoon so that there are chunks forming

At this point, it’s probably easier to mix it with your hands. I actually ended up breaking a spoon on one of my slimes since it was too thick to mix!

Stretch and mix it together until all the chunks are gone.

pulling a blob of green goo that has some lumps in it

Once it’s all smooth, your green slime is ready to play with!

Get the latest DIY tutorials, reviews, and crafting updates

You'll never be spammed and can unsubscribe at any time

stretching classic green slime apart with two hands

One of my favorites is to hold it high up and let it flow down to the table, making little waves as it falls.

letting green goo fold over itself by letting it drop from holding it above a table

How to Store DIY Green Slime

I like to keep my slime in an air-tight container. Air is not slime’s friend so keeping as much air out as possible is the best option to keep your slime fresh for weeks. Therefore you want to choose a container that is just big enough to hold your slime.

The best part is it won’t even stick to the container!

green goo in a plastic container with a red top to the side of it

More Slime Projects to Try

Get the latest DIY tutorials, reviews, and crafting updates

You'll never be spammed and can unsubscribe at any time

two hands stretching green slime in the top photo and the bottom image shows the slime oozing into a pile

Green Slime

Learn how to make classic green slime at home with this easy DIY slime recipe. It's a quick and easy project to make your own gooey and stretchy green slime.
Yield 1 Cup of Slime
Project Time 5 minutes
Total Time 5 minutes

Materials
  

  • 1 Cup Warm Water
  • 1 tsp Borax
  • 1 Cup White Glue
  • Yellow Food Coloring
  • Green Food Coloring

Equipment

  • Bowl
  • Spoon
  • Measuring Cup

Instructions
 

Mix Slime Activator

  • Mix together the warm water and borax until the borax is dissolved. Set aside.
    This is your slime activator. You will only use some of it so you can save the rest in an airtight container for another slime project.
    1 Cup Warm Water, 1 tsp Borax
    holding a teaspoon of borax powder over a clear measuring cup with water

Make Slime

  • Add about a cup of white PVA glue into a bowl.
    1 Cup White Glue
    pouring white glue into a clear pyrex bowl
  • Mix in a few drops of green and yellow food coloring until you get the color that you like.
    Yellow Food Coloring
    adding drops of green food coloring to a bowl with green liquid with a plastic spoon in it
  • Once you get the color you like, add in a little bit of the water and borax mixture.
    Green Food Coloring
    pouring clear slime activator into a bowl of green liquid made of glue
  • Carefully stir it in. Keep adding the liquid until it starts to pull away from the sides and get chunky.
    stirring a bowl of green goo with a plastic spoon so that there are chunks forming
  • Stretch and mix it together with your hands until all the chunks are gone.
    pulling a blob of green goo that has some lumps in it
  • Once it’s all smooth, your green slime is ready to play with!
    stretching classic green slime apart with two hands
Keyword Slime, Slime Activator
Picture of Daniela Kretchmer

Daniela Kretchmer

Daniela is a lifelong crafter who loves to share her passion for crafting. Through classes or learning on her own, she likes to say she'll do pretty much any craft aside from scrapbooking. Her current personal obsessions include garden crafts, felting, and spinning yarn.

More Craft Projects and Ideas

Leave a Comment

Your email address will not be published. Required fields are marked *

Rating