Laser Cut Box
Home » Blog » DIYs and Craft Projects » Laser Cut Box
-
Daniela Kretchmer
- Updated: Feb 10, 2025
- Home Decor, Laser Cutter
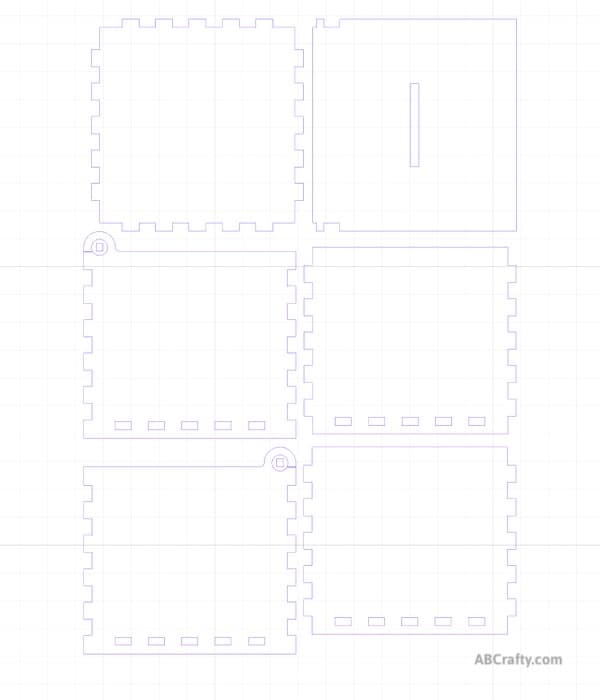
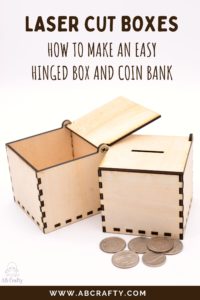
Make a simple laser cut box in just a few minutes! Includes free patterns to make a hinged box and piggy bank.
Table of Contents
Note: Some links in this post may contain affiliate links, which means at no cost to you, I may earn a commission.
Did you just get a laser cutter or are curious about making your own laser cut boxes? Making boxes is a perfect starting project since it’s useful and the assembly is easy. This step by step guide will show you how to make a laser cut box in just a few minutes using plywood and a laser cutter. Plus, I’ve included free patterns to make a hinged box and piggy bank that you can download for free.
This was actually my very first project made on my Xtool M1 using basswood. I wanted to make something easy, but also something practical. My fiance and I are constantly leaving change around and keep saying we should get a piggy bank and figured this was a perfect opportunity. I modified the template of a hinged box to add a coin slot and now we have our laser cut piggy bank!
You can pair it with a laser cut plant propagation station!
Get the latest DIY tutorials, reviews, and crafting updates
You'll never be spammed and can unsubscribe at any time
Free Downloadable Laser Cut Box Templates
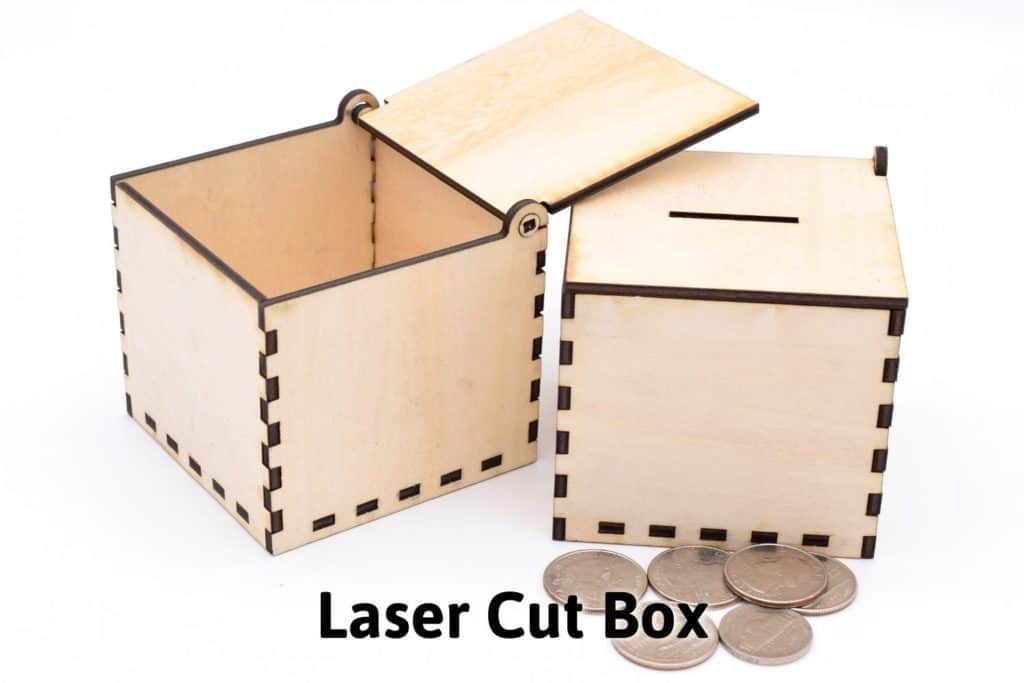
Now that I have the laser cut box down, you can make your own in just a few minutes. Download my free laser cut box patterns to get started. The first is for a basic hinged laser cut box and the second is for the laser cut piggy bank with a coin slot.
The one with the coin slot is an xTool file, but the regular box template can be used with any machine. And big thank you to UniversalBox as I designed both boxes based on their templates!
Download the Free Laser Cut Box Templates
We’re committed to your privacy. AB Crafty uses the information you provide to contact you about relevant content and products. You may unsubscribe from these communications at any time.
Don’t forget to pin it so you can easily come back to it later!
Materials to Make a Laser Cut Box
- Laser Cutter (I used my Xtool M1 10W)
- Box Template (download them for free here)
- 3mm Plywood (I used the basswood from Xtool)
- Rubber Hammer, optional (Amazon)
- Glue, optional
- Paper Towels
Instructions to Make a Laser Cut Box and Coin Box
Set Up the Laser Cutter
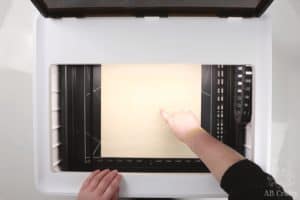
My laser cutter is the Xtool M1 10W so I needed to first place the triangle prisms on the laser bed of the machine. This allows air to flow underneath.
Note: Be sure to connect the exhaust pipe to outside. It’s out of camera-view, but I do have my exhaust pipe out the window.
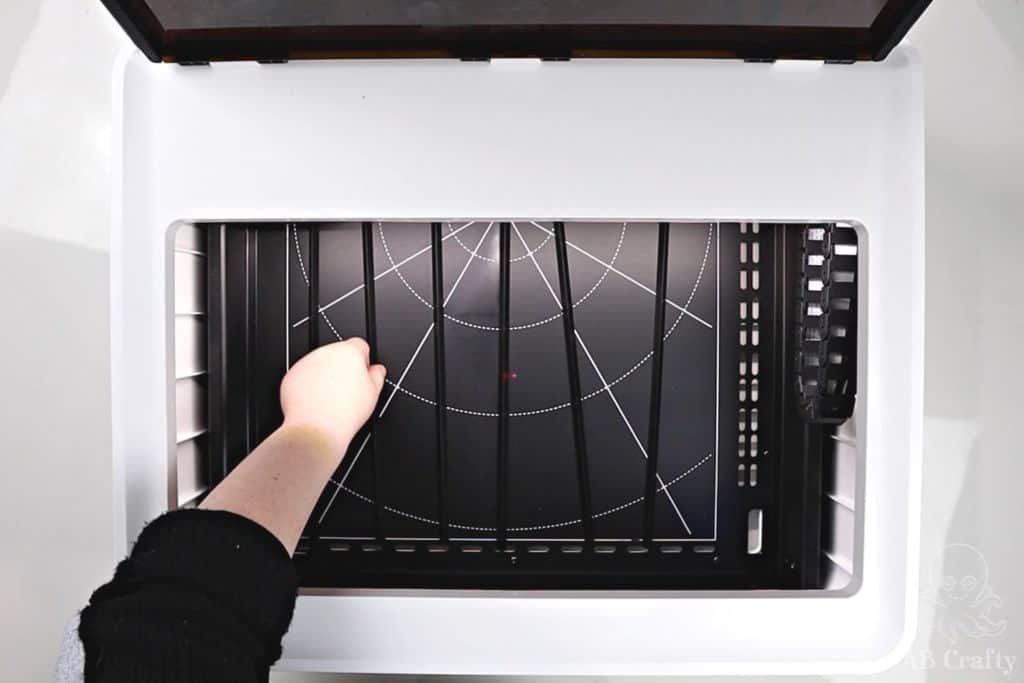
Place your plywood on top of the prisms, making sure you can see the red dot (you can see it faintly above the tip of my finger). I used one sheet of Xtool’s basswood and still had some left over.
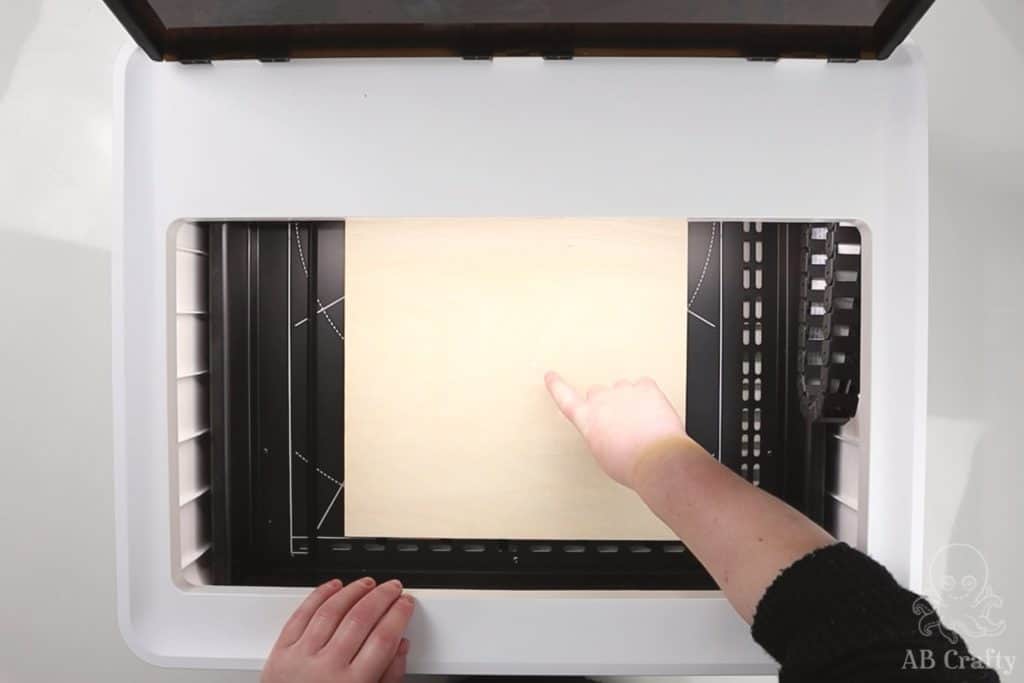
Set Up the Laser Cut Box Image
Close the lid of your laser cutter and connect it to your computer.
Make sure if you’ve downloaded the free patterns (there’s a pdf for the plain laser cut box and an xTool file for the coinbox). You can use the pdf for a different laser cutter, but since I used the xTool, I’m going to continue the instructions as though you’re also using one.
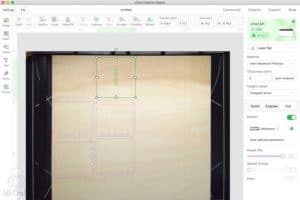
Open the file in xTool Creative Space and drag the images onto the basswood. In case the settings didn’t load or you’re using the pdf, these are the settings:
- Material: 3mm Basswood Plywood
- Thickness: 3mm
- Height Raised: Triangular prism
- Cut: Power=100%, Speed=5, Pass=1
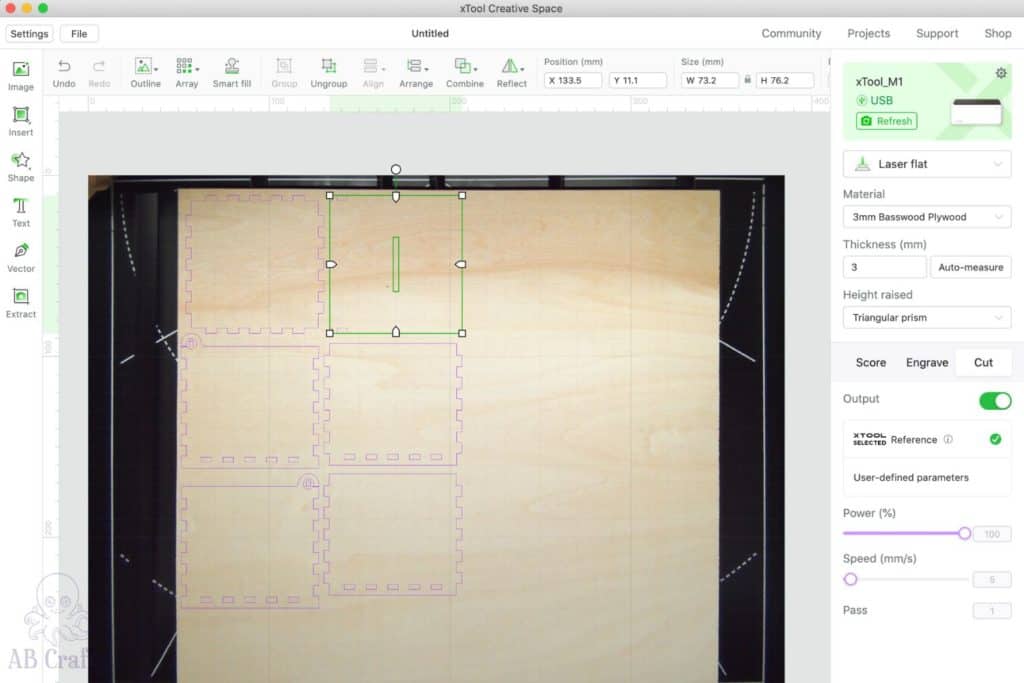
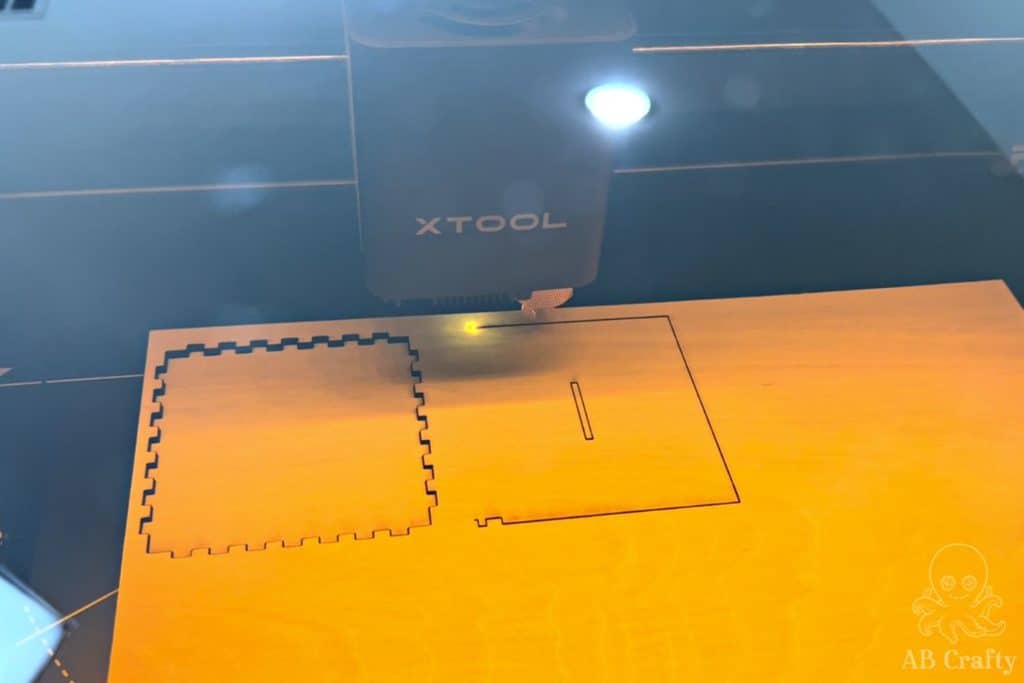
When you’re ready, click “Process.” Then it’s always a good idea to select “Framing” to make sure your image is truly completely on the material. You’ll want to watch as the laser draws a square of white light to show the outline of where it will cut. As long as you can see the white light the entire time, you’re all set.
If the light falls off the side of the material, adjust image in xTool Creative Space and test the framing again.
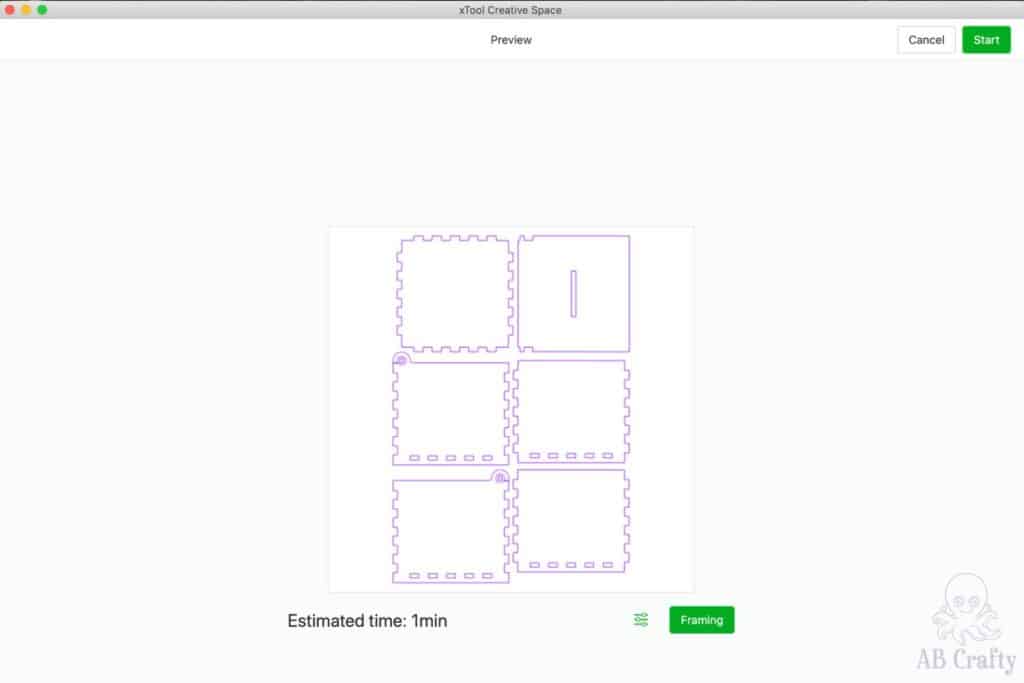
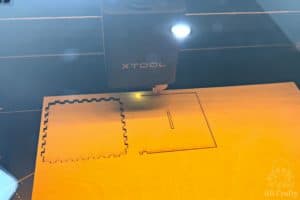
As long as you’re good with the framing, go ahead and start the laser cutting process. Make sure to stay nearby in case of any issue!
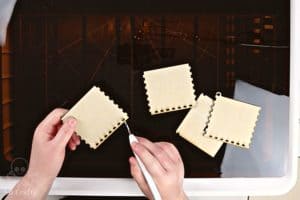
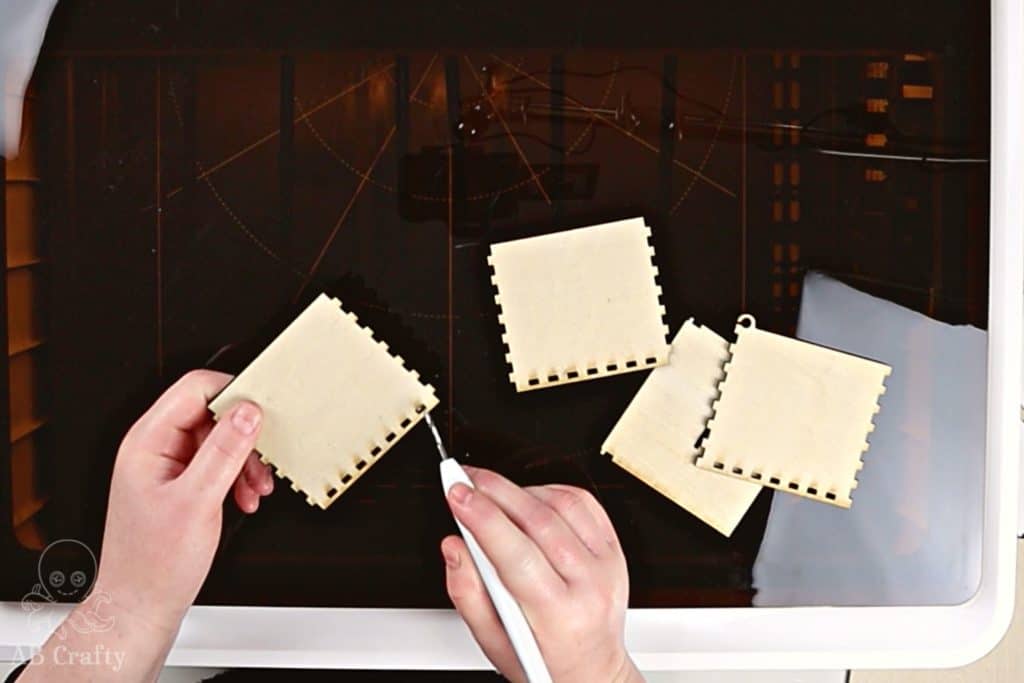
Carefully remove the laser cut box pieces from the laser bed and poke out any necessary holes. You’ll see I’m actually using a Cricut weeding tool for this, but a toothpick works great too!
If you’re interested in the tool, you can easily find it on Amazon.
Get the latest DIY tutorials, reviews, and crafting updates
You'll never be spammed and can unsubscribe at any time
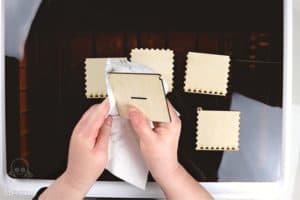
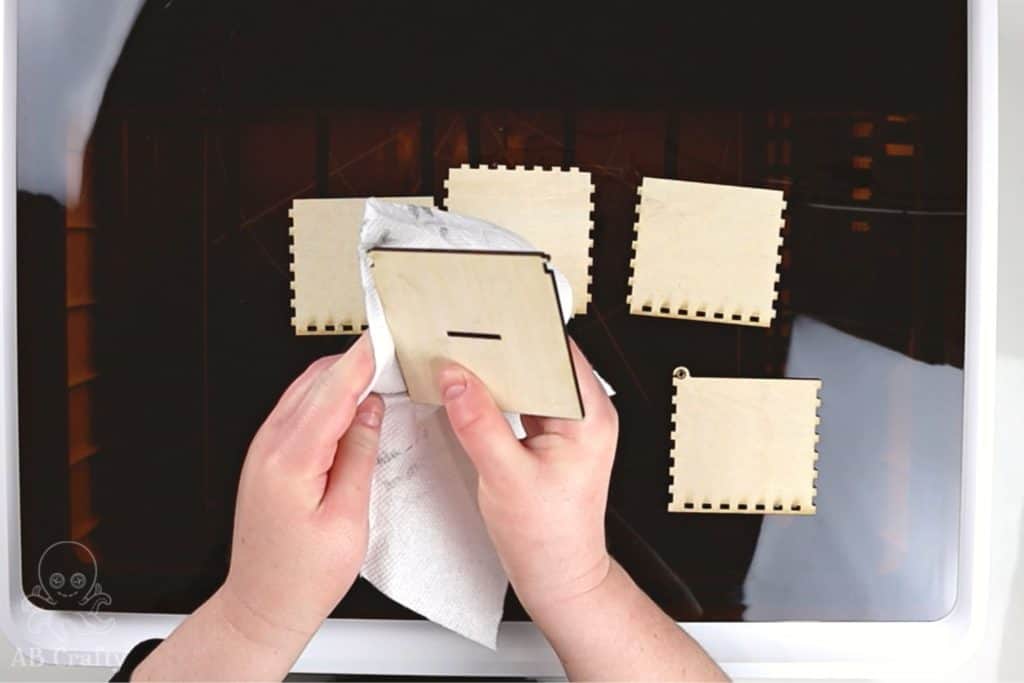
Then use a paper towel to wipe the sides of each piece as they’ll have soot on them.
Assemble the Laser Cut Box
The assembly of the laser cut box and piggy bank are exactly the same.
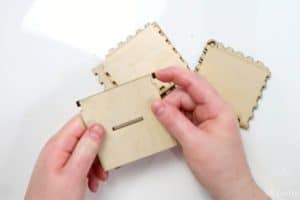
Start by taking the circular pieces from the sides and pushing them onto the ends of the top (make sure you popped out the center piece from the circles).
Tip: If you want it to be extra secure, use a small amount of glue.
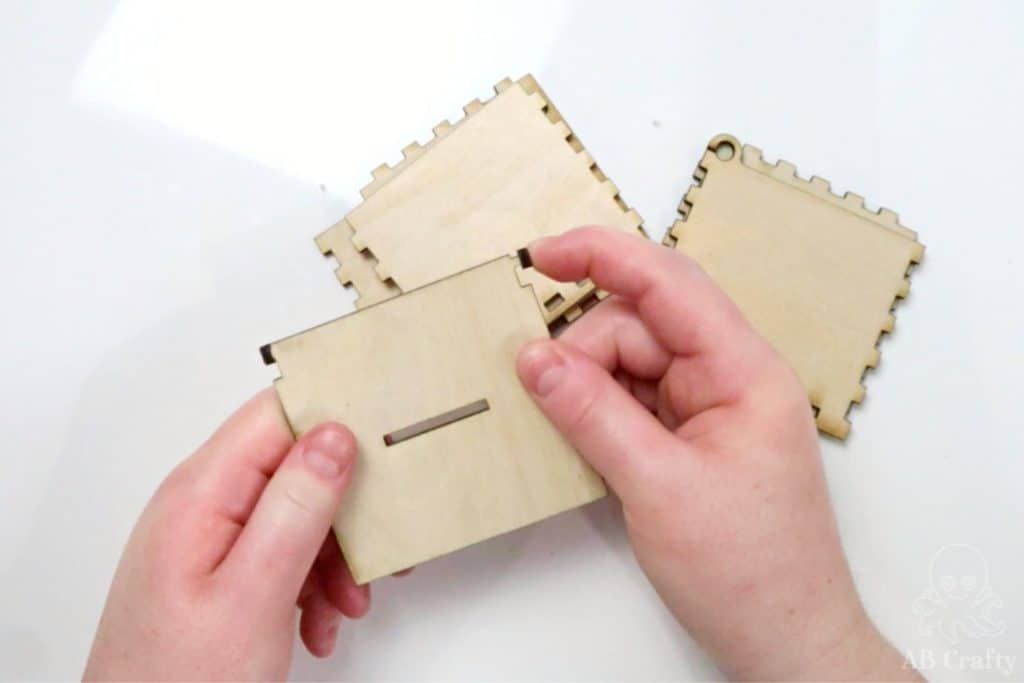
Next, place the bottom piece on the table and attach a side piece. Again, if you want it extra secure you can add a small amount of glue.
Tip: Don’t push them together 100% as that will make it harder to fit all the other sides.
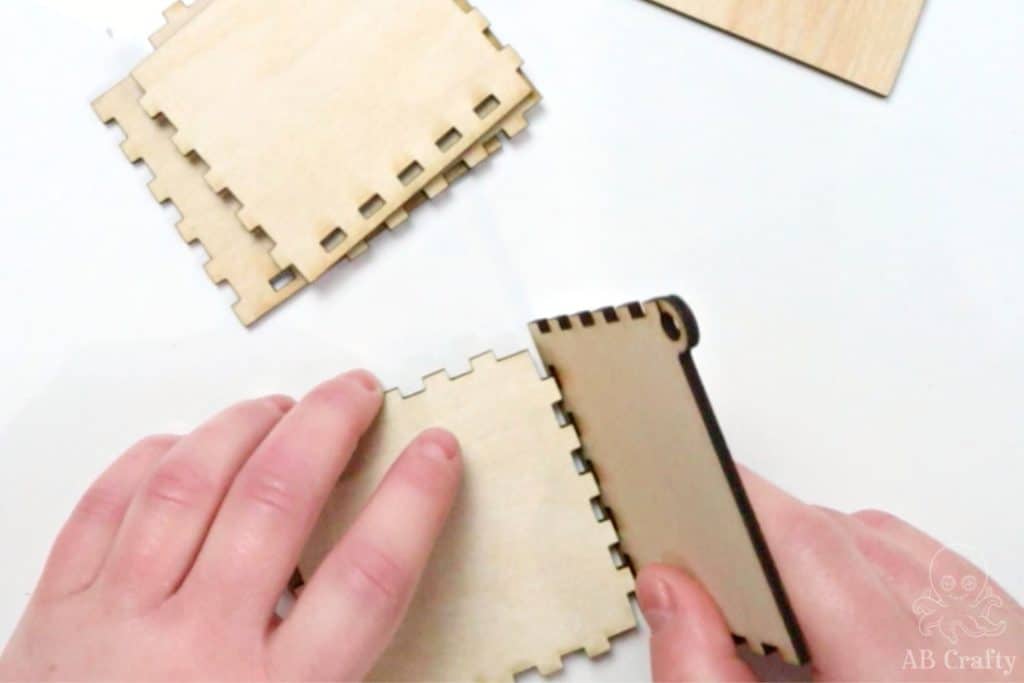
Then add the front and back pieces to the side piece.
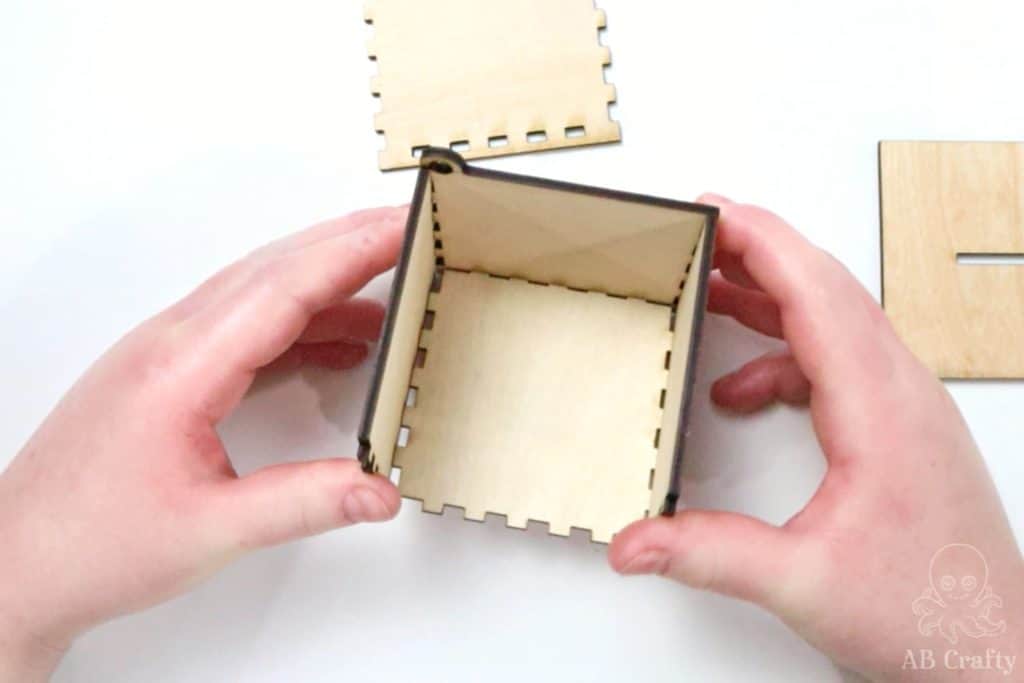
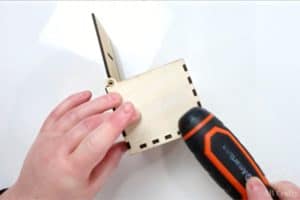
You can use a rubber hammer to push the pieces together. Since I didn’t have a rubber hammer at the time I used the end of a screwdriver. Here’s the hammer I recommend getting.
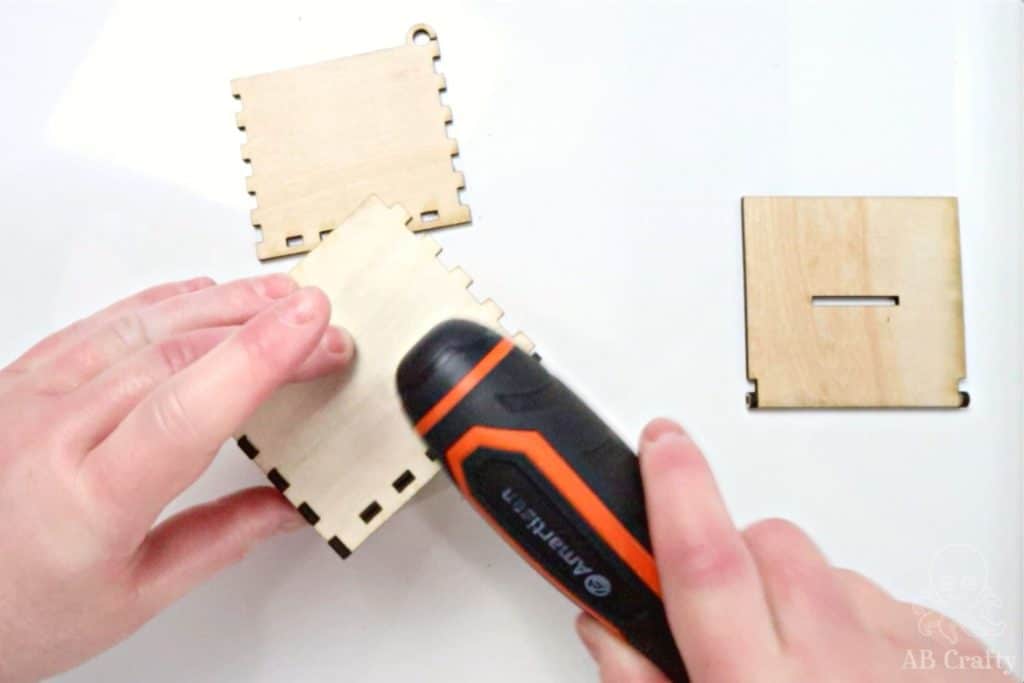
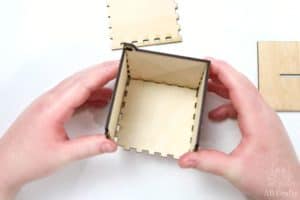
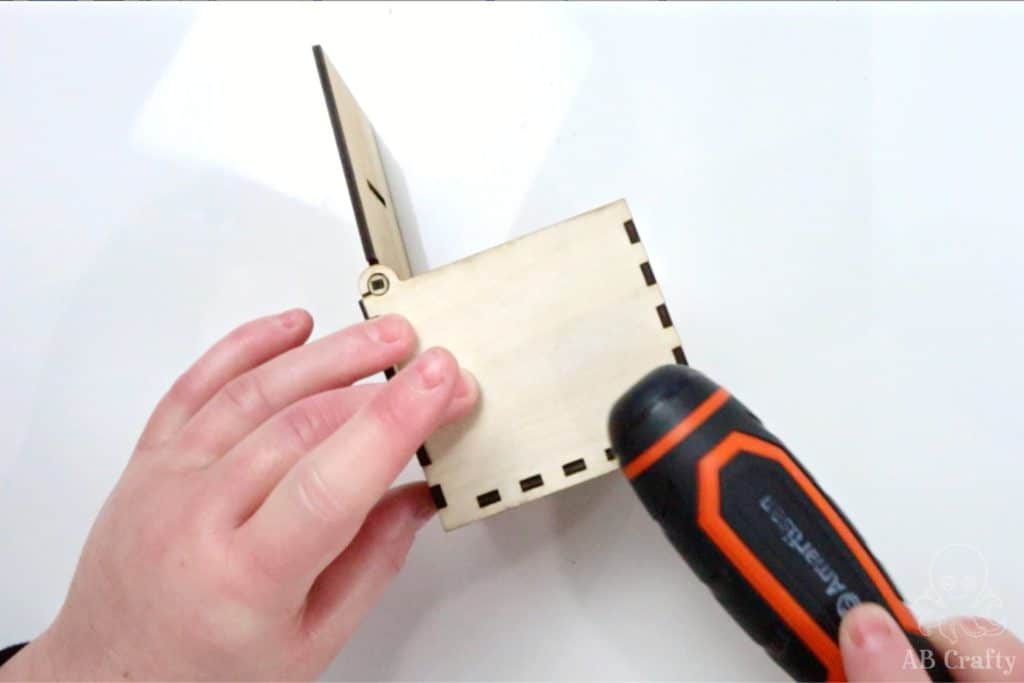
Lastly, slide the top into one side and then add the last side.
Then go all around and hammer everything nice and tight so all the sides are flush together.
Get the latest DIY tutorials, reviews, and crafting updates
You'll never be spammed and can unsubscribe at any time
Now your laser cut box or piggy bank is ready to use!
If you make your own, I’d love to see it! Tag me on Instagram @ab.crafty!
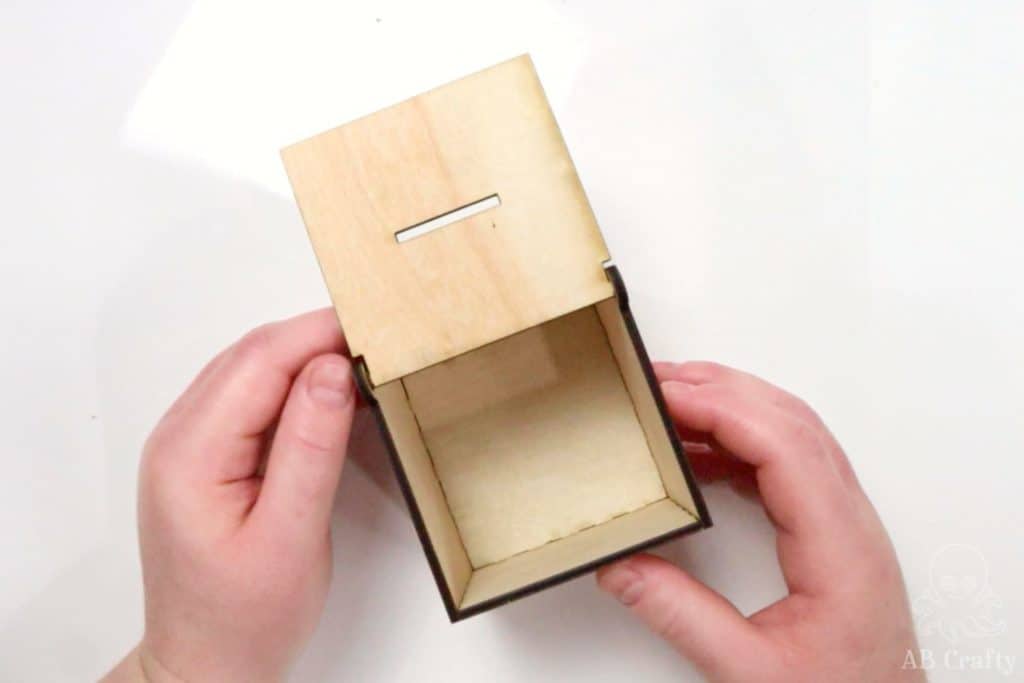
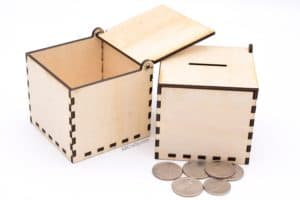
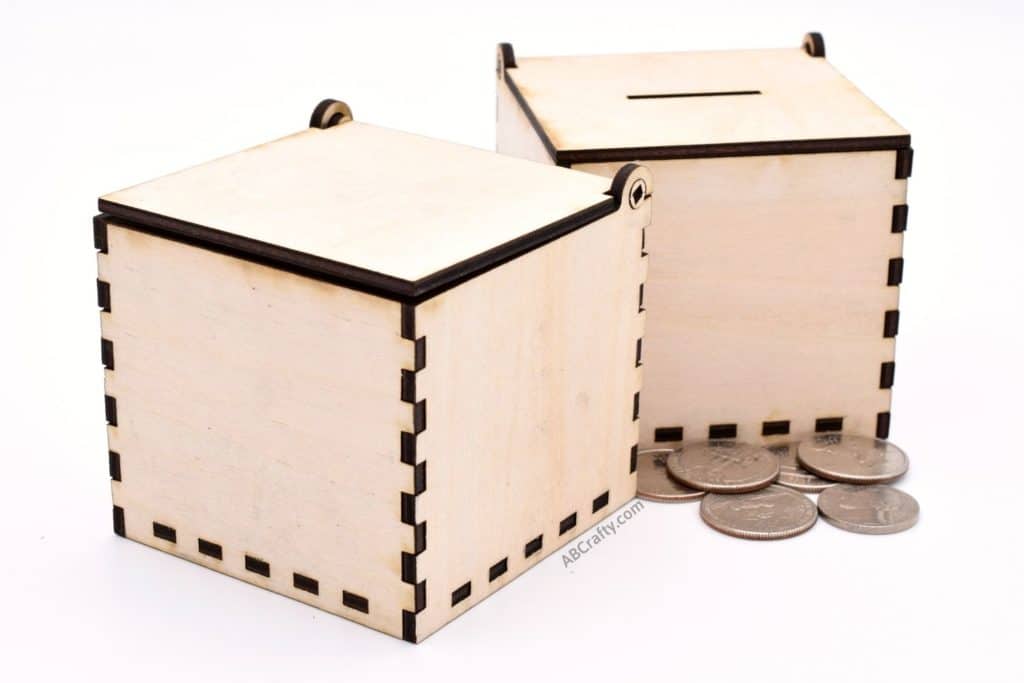
I just love how simple and cute these laser cut boxes are! You can even take it a step further and engrave them as well.
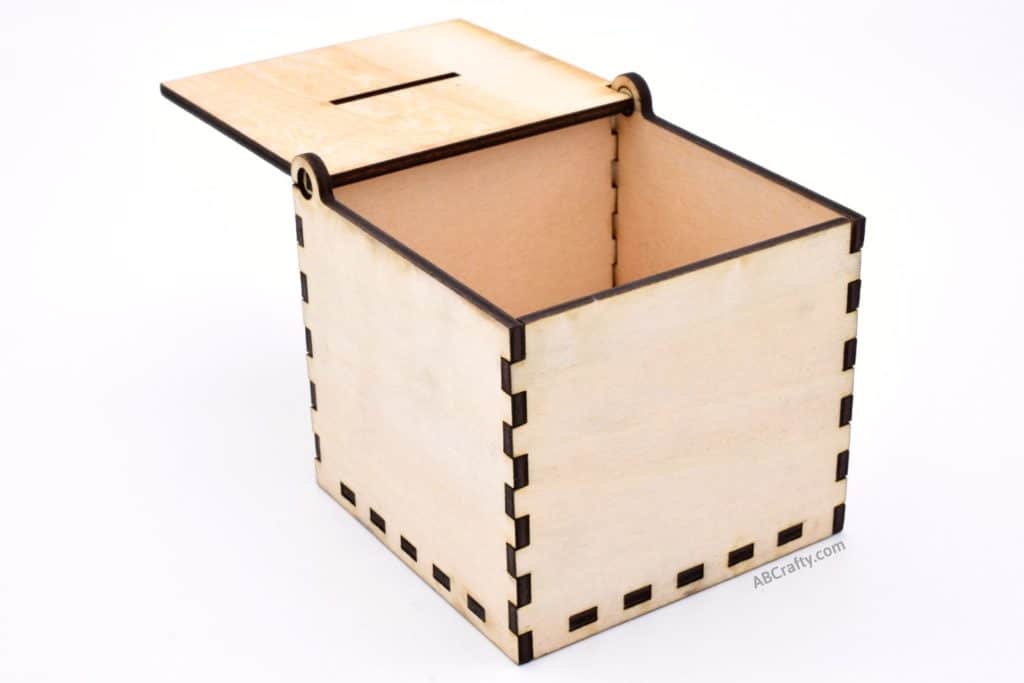
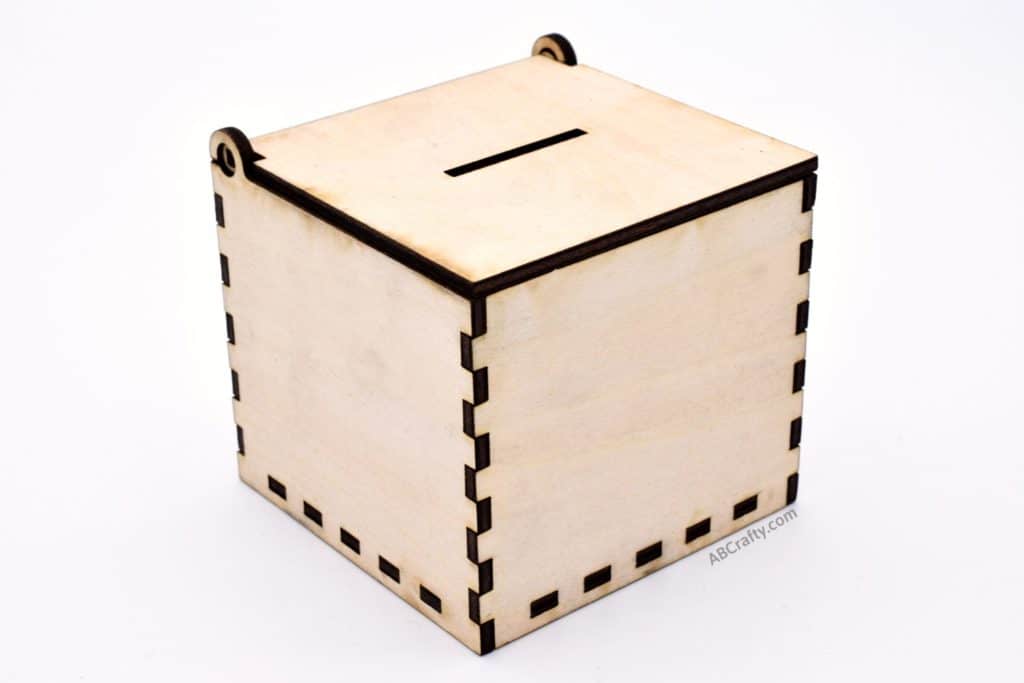
And here’s the basic laser cut box without the slot for coins.
More Crafts to Try
Get the latest DIY tutorials, reviews, and crafting updates
You'll never be spammed and can unsubscribe at any time
Laser Cut Box
Materials
- 1 Box Template
- 1 sheet 3mm Plywood
- Paper Towels
- Glue optional
Equipment
- 1 Laser Cutter
- 1 Rubber Hammer optional
Instructions
Set Up the Laser Cutter
Set Up the Laser Cut Box Image
- Download the free template to make the boxes.1 Box Template
- Open the files in xTool Creative Space and drag onto the basswood. In case the settings didn't load, these are the settings to use:Material: 3mm Basswood PlywoodThickness: 3mmHeight Raised: Triangular prismCut: Power=100%, Speed=5, Pass=1
- Check the framing and then start the laser cut. Make sure to stay nearby in case there are any issues!
- Once laser cutting is complete, remove laser cut box pieces from laser bed and poke out any necessary holes.
- Wipe the pieces with a paper towel to clean off soot.Paper Towels
Assemble the Laser Cut Box
- Assemble the laser cut box by pushing circular pieces onto the sides of the top piece.Tip: If you want it to be extra secure, use a small amount of glue.Glue
- Then place the bottom on table and attach a side piece. Then add the front and back pieces. Use the rubber hammer to push all pieces together tightly
- Slide in the top and the last side piece. Hammer everything around laser cut box or piggy bank so sides are flush and secure.
- Enjoy your laser cut box or piggy bank!


