Magic 8 Ball
Home » Blog » DIYs and Craft Projects » Magic 8 Ball
-
Daniela Kretchmer
- Updated: Oct 27, 2023
- Fabric Paint Crafts
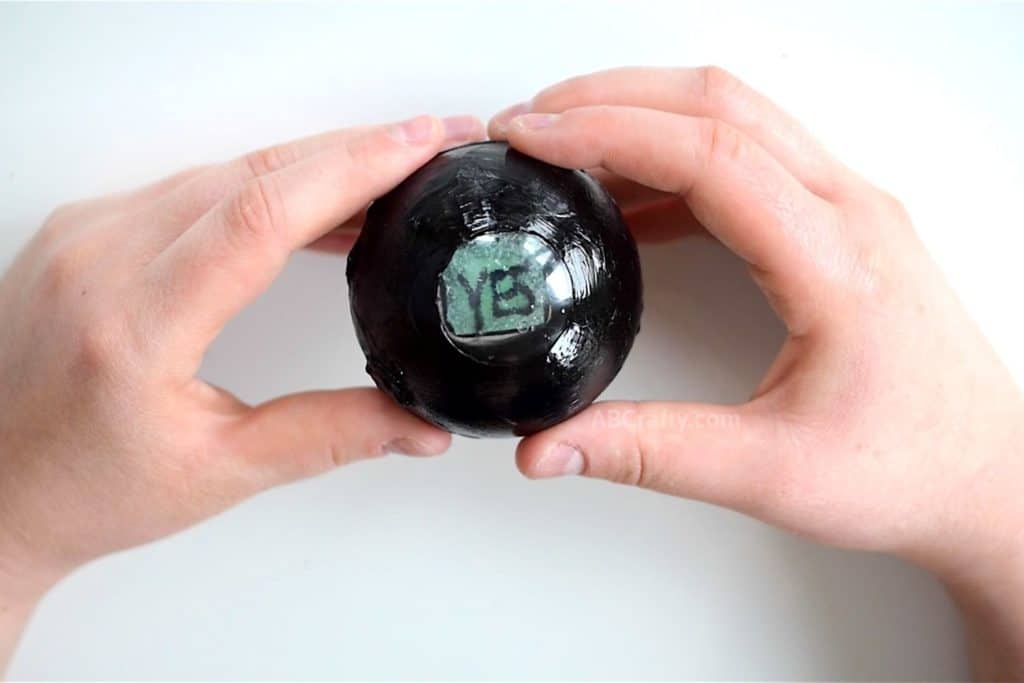
Learn how to make a DIY magic 8 ball and start fortune telling. Customize it with your own fortunes – it’s like having your own crystal ball.
Table of Contents
Before we get to the project, I want to clarify that a standard magic 8 ball has 20 answers or sayings. Inside is a D20 (a 20 sided die) so there is an opportunity for twenty different responses. This doesn’t mean, however, that the creator made 20 unique fortunes. For example, half of them could be “Try Again Later,” which always seems to be the one I get.
When making your own, you can have as many or as few answers as you would like. For mine, I opted for 6 different answers to keep things simpler (since the typical magic eight ball answers tend to fall in “yes,” “no,” “maybe,” and “try again later.”)
Note: Some links in this post may contain affiliate links, which means at no cost to you, I may earn a commission. It will most likely be for unique items, making it easy for you to find the supplies you need.
Materials for a Magic 8 Ball
- Fillable Plastic Ornament
- Wood Burning Tool
- Foam (I used seat cushion foam like this one)
- Black Fabric Paint (such as this one)
- Water Repellent Glue (I used GO2)
- Water
- Glue Gun
Video Instructions
Step by Step Instructions
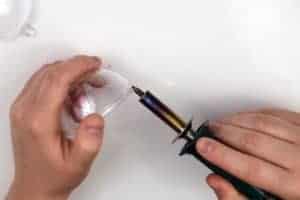
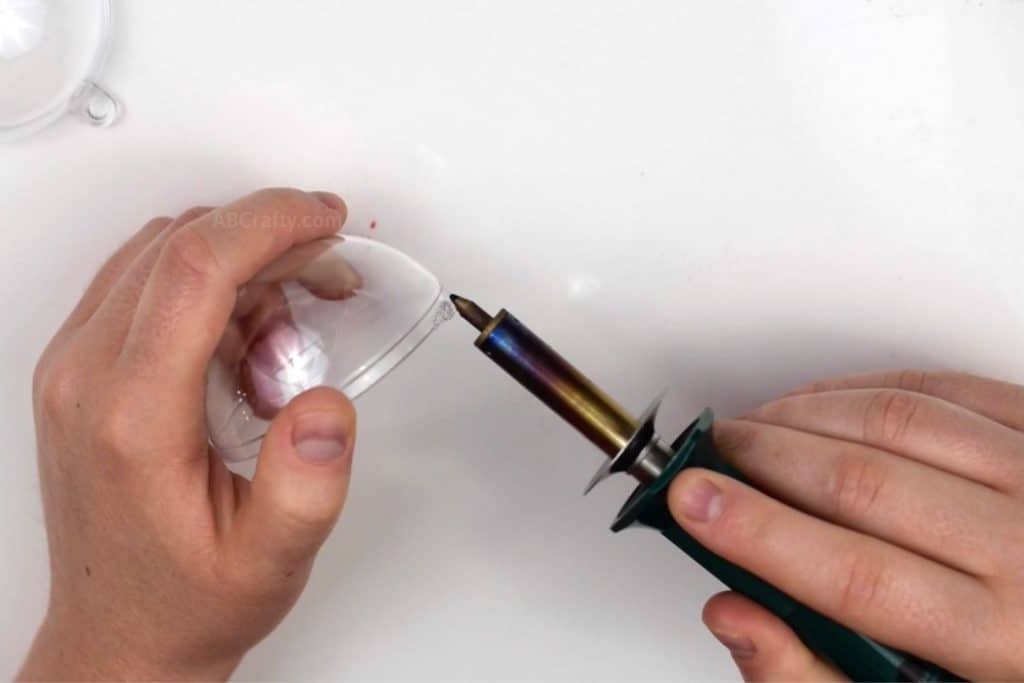
Start by preparing the plastic ornament. Use a hot knife or a wood burning tool to cut off the bit that sticks out at the top – the part you would normally tie the string to.
Tip: I found using a hot tool made the process much easier, though it could also be achieved with a very sharp knife – just be extremely careful!
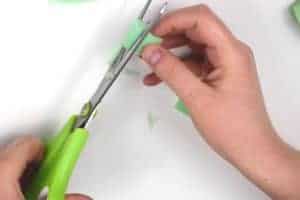
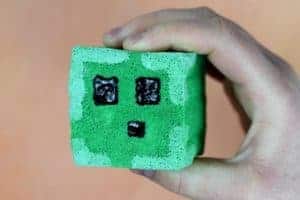
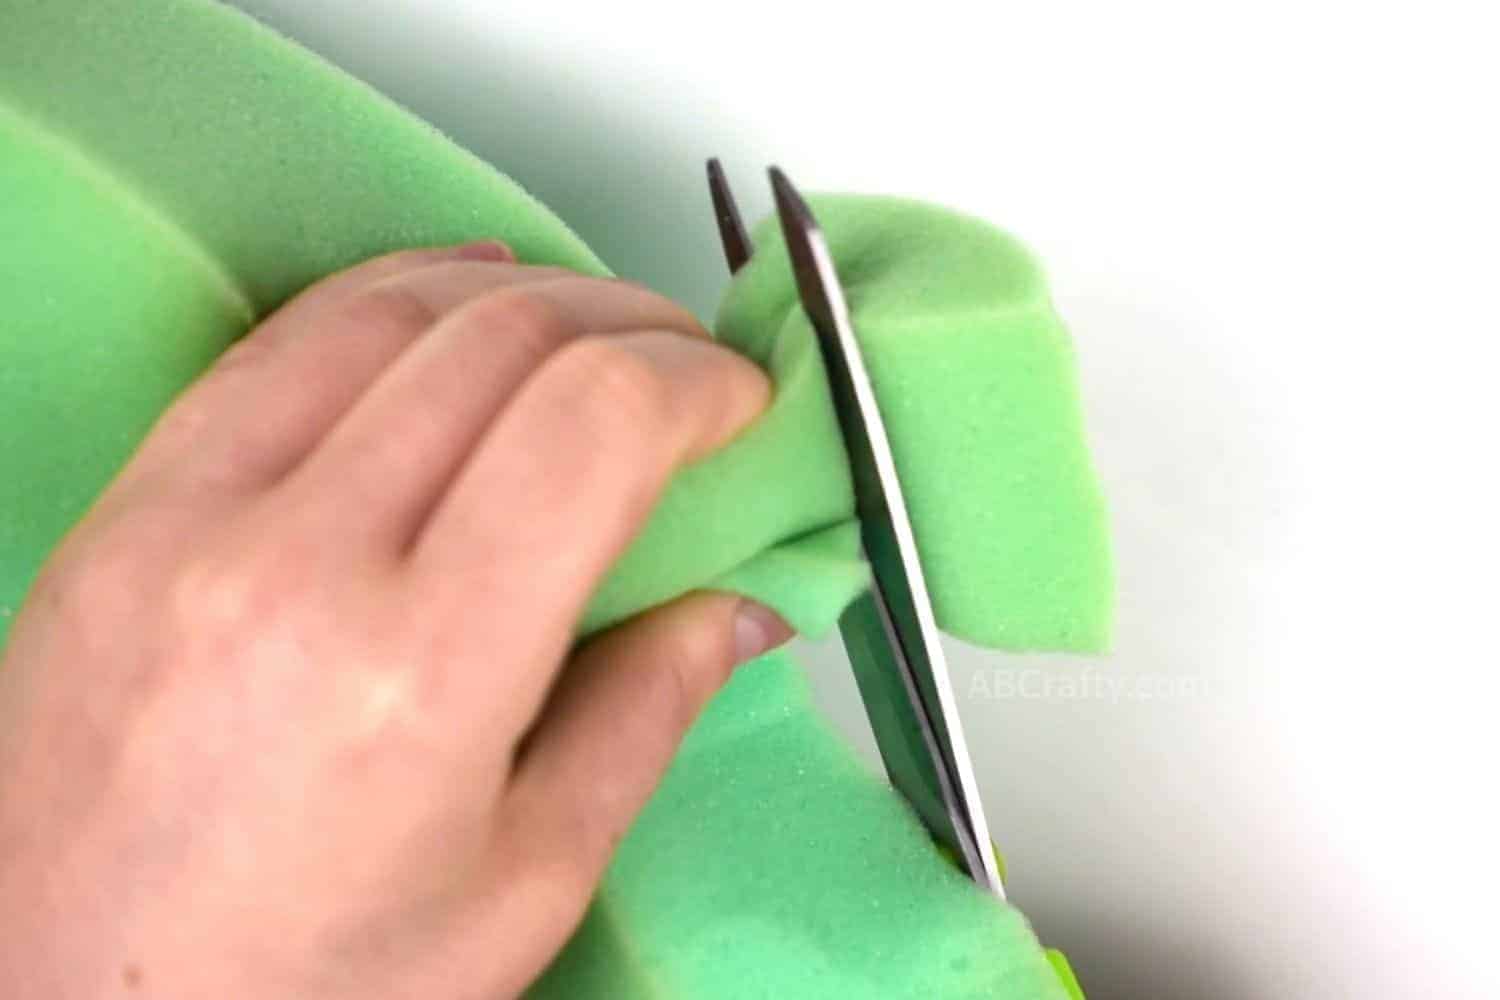
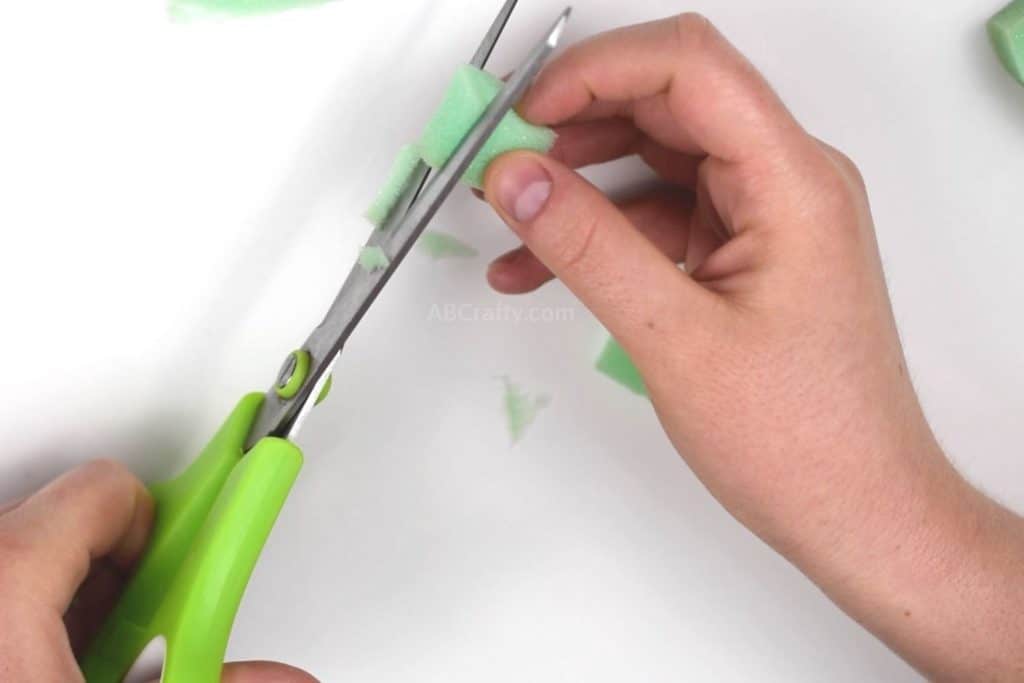
Next, we’ll make the inner “die” that has the answer. To do so, cut a small piece out of the foam and shape it into a cube.
Tip: Keep turning the cube around and cutting the sides to make sure they’re all even.
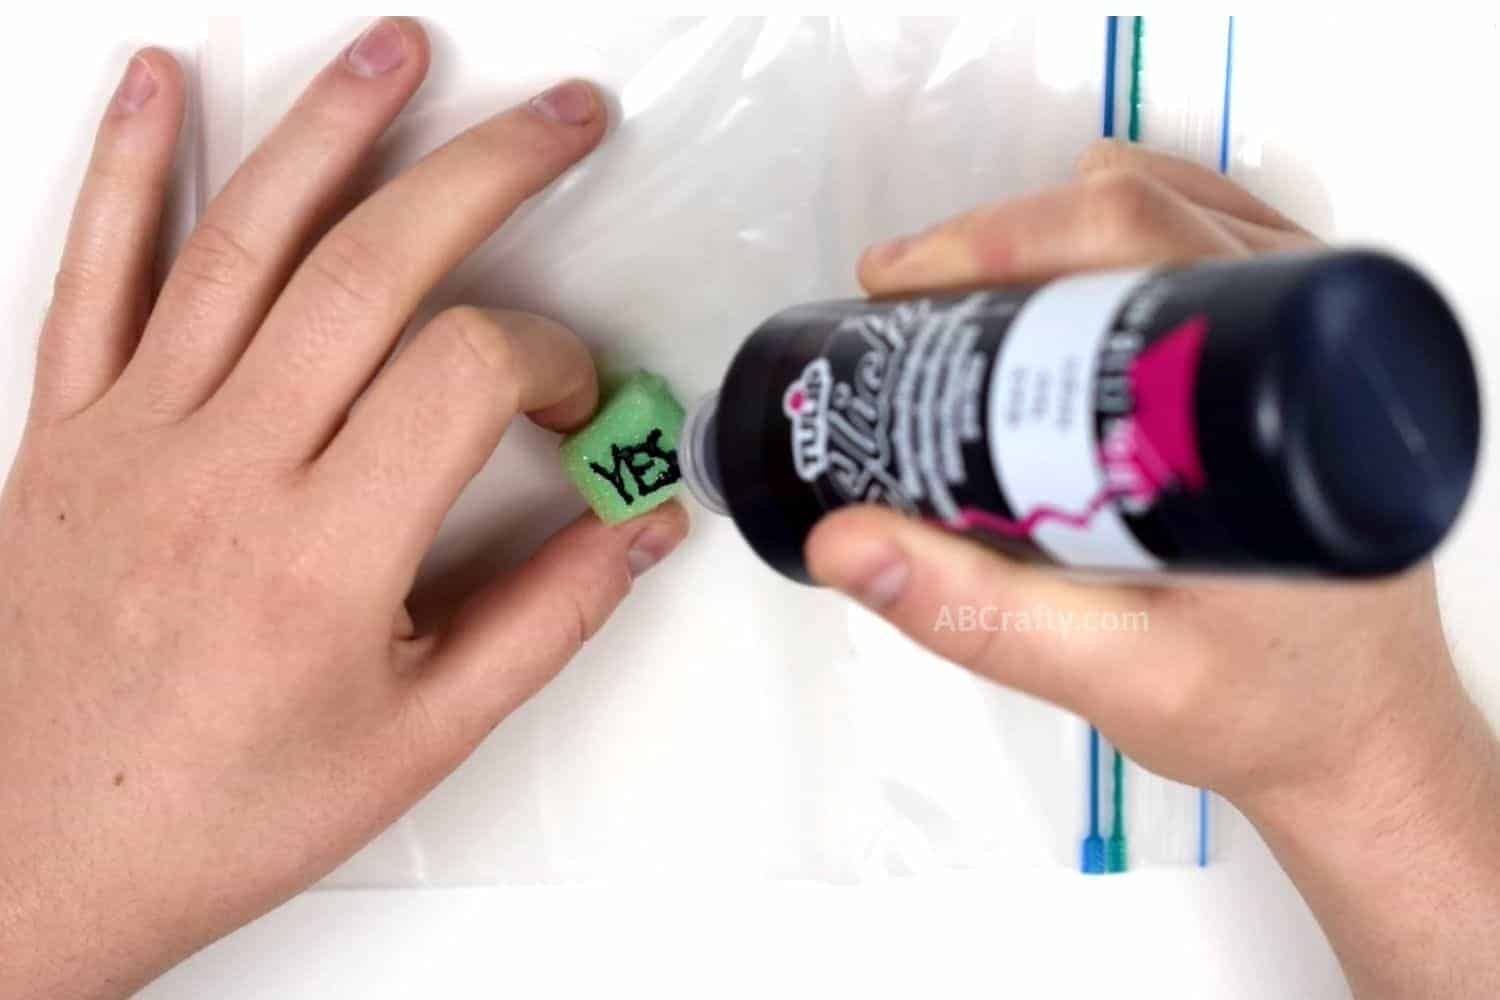
Using fabric paint, write your answers on each side of the cube. You will need to do this in stages since you want to make sure each side is dry before flipping it over to write on the opposite side.
Tip: Be sure to use fabric paint that has a “writer tip.” If you need help getting the right kind, I put together a guide on the best fabric paints.
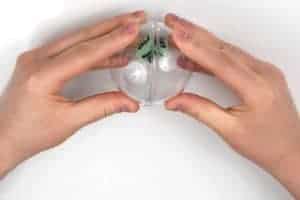
Once you have all of your fortune responses and they have dried, line the edge of half of the ornament with the water resistant glue.
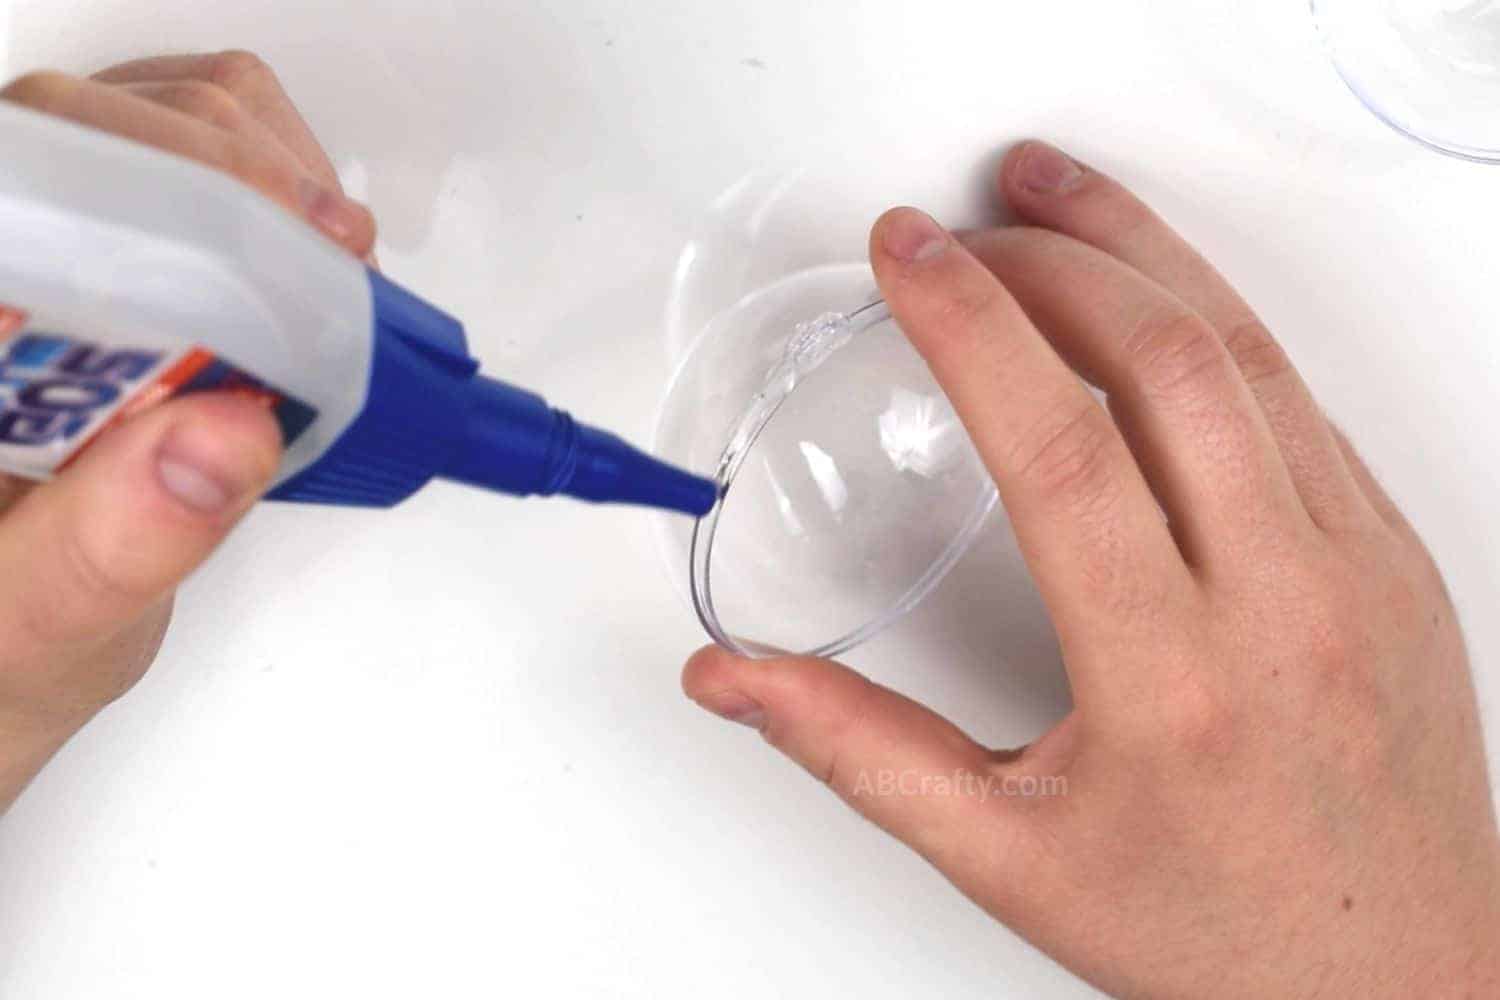
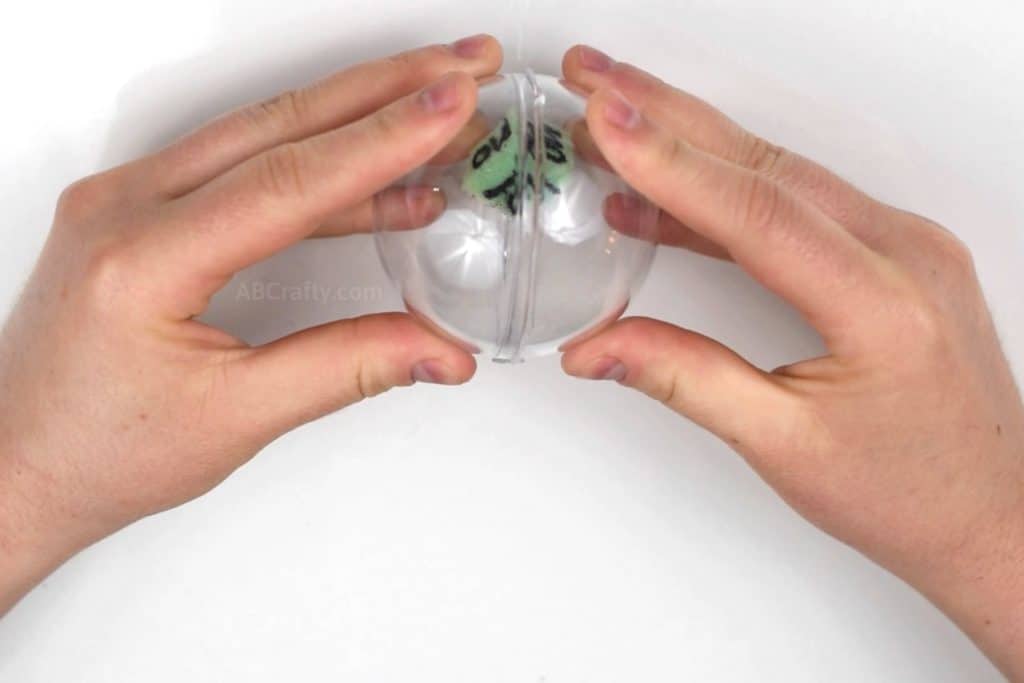
Place the cube inside and attach the the over half, sealing them together. You will likely need to wait 24 hours or however long your specific glue takes to set – you want to make sure it’s ready to be in contact with water.
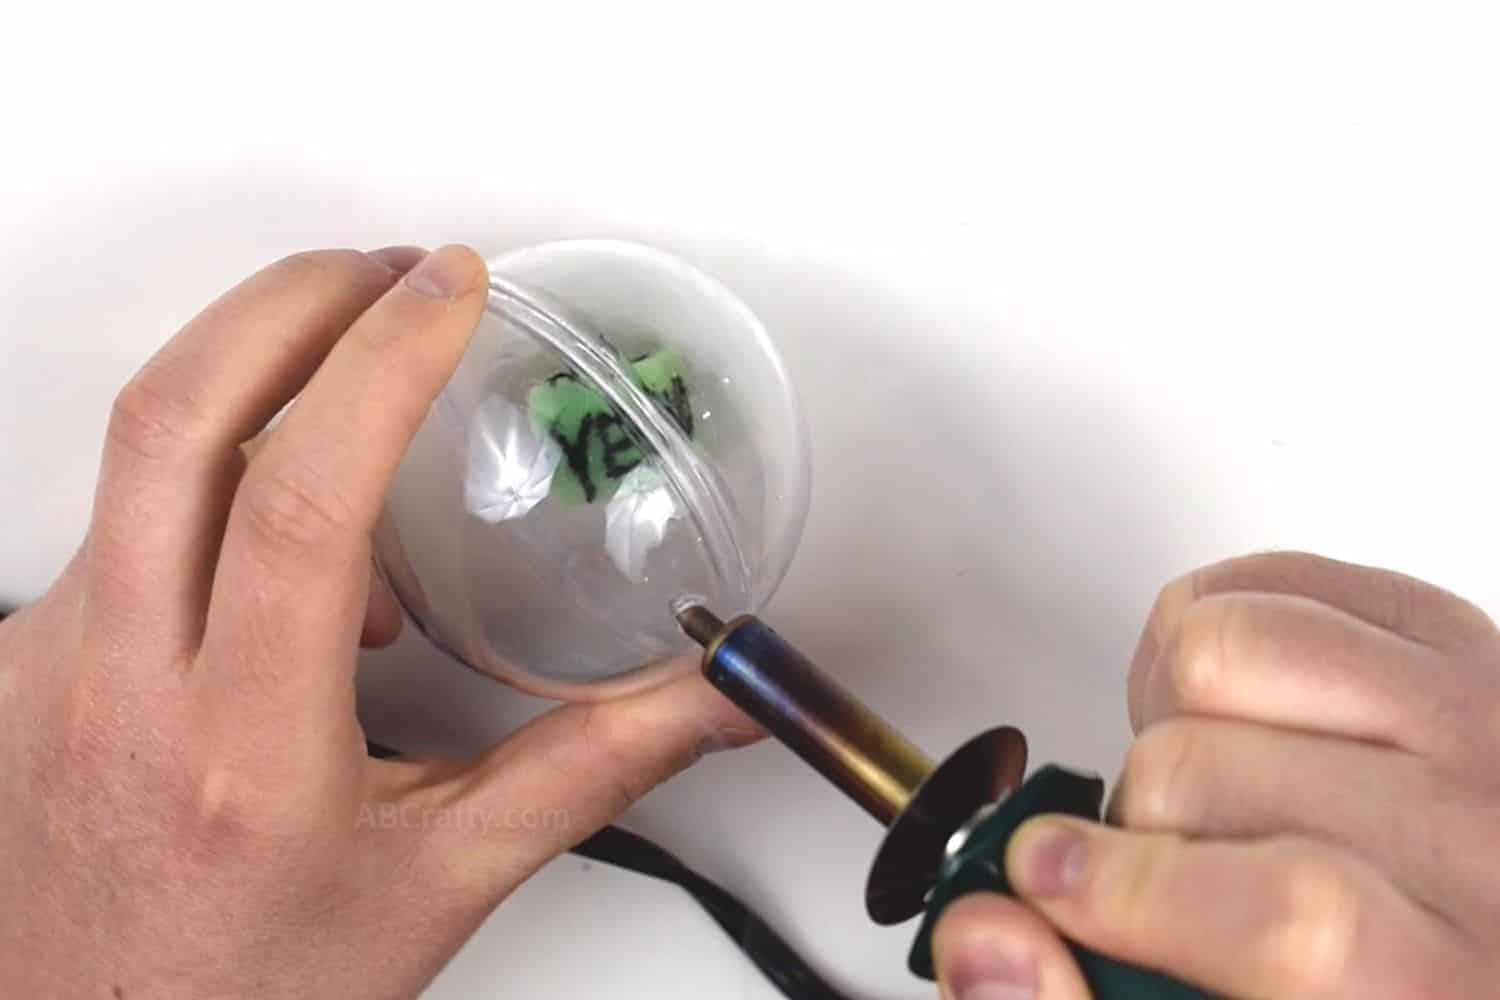
Using the wood burner, poke a small hole in the ornament. This will be so we can fill it with water so you will want it to be big enough to do so, but also as small as possible so it will be easier to seal.
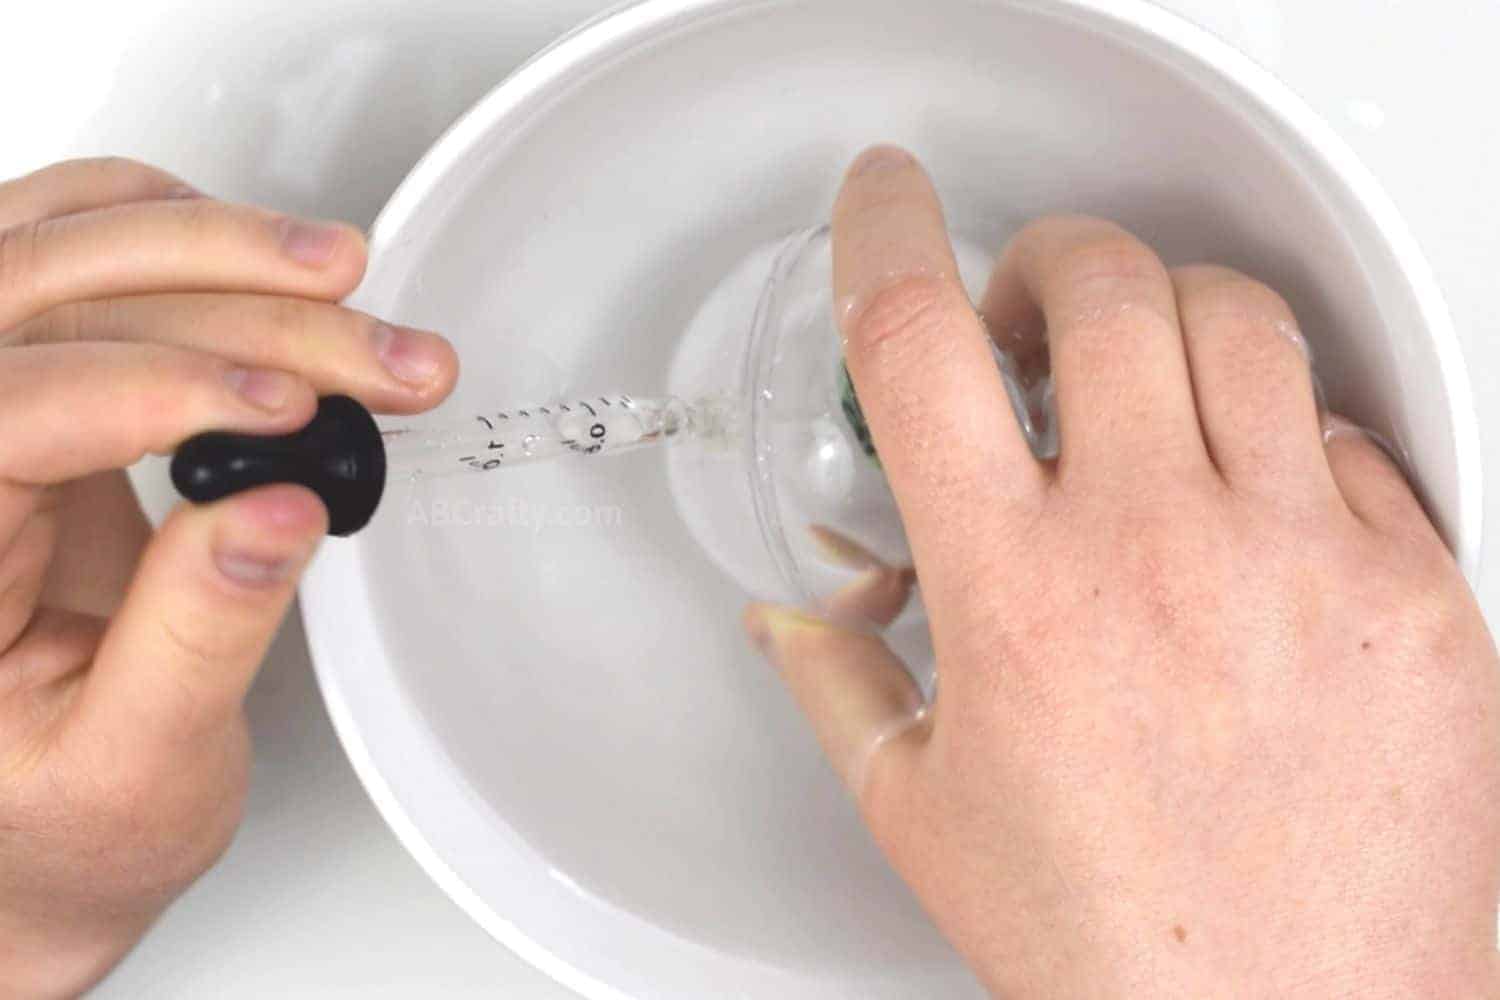
Next, fill the ornament with water. I recommend submerging it in water until the air escapes. You can also use an eye dropper to help remove the air and add water.
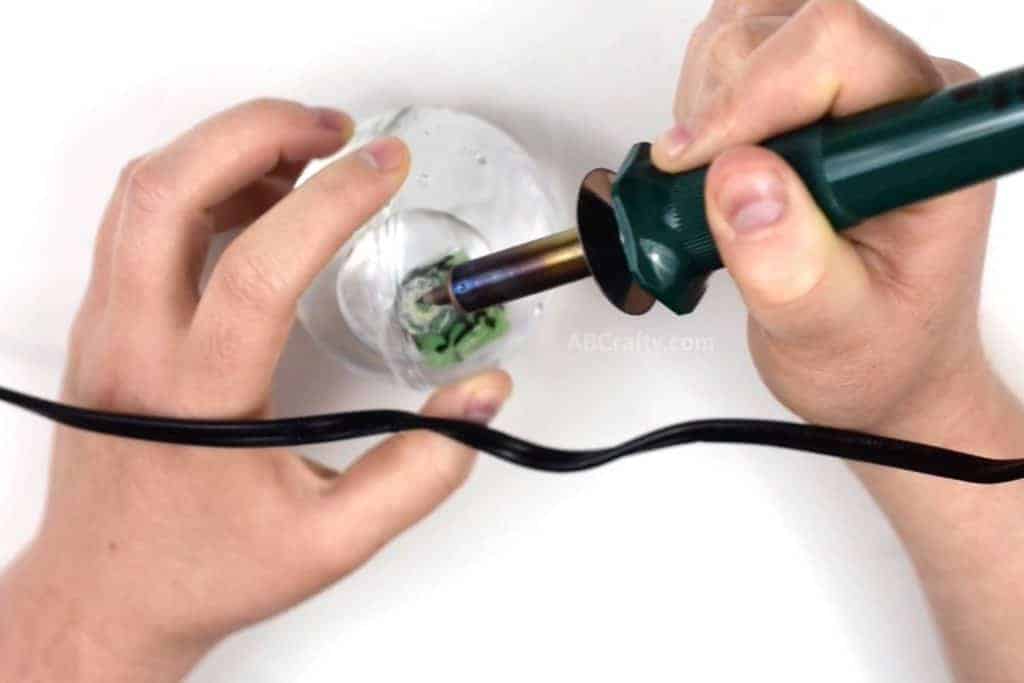
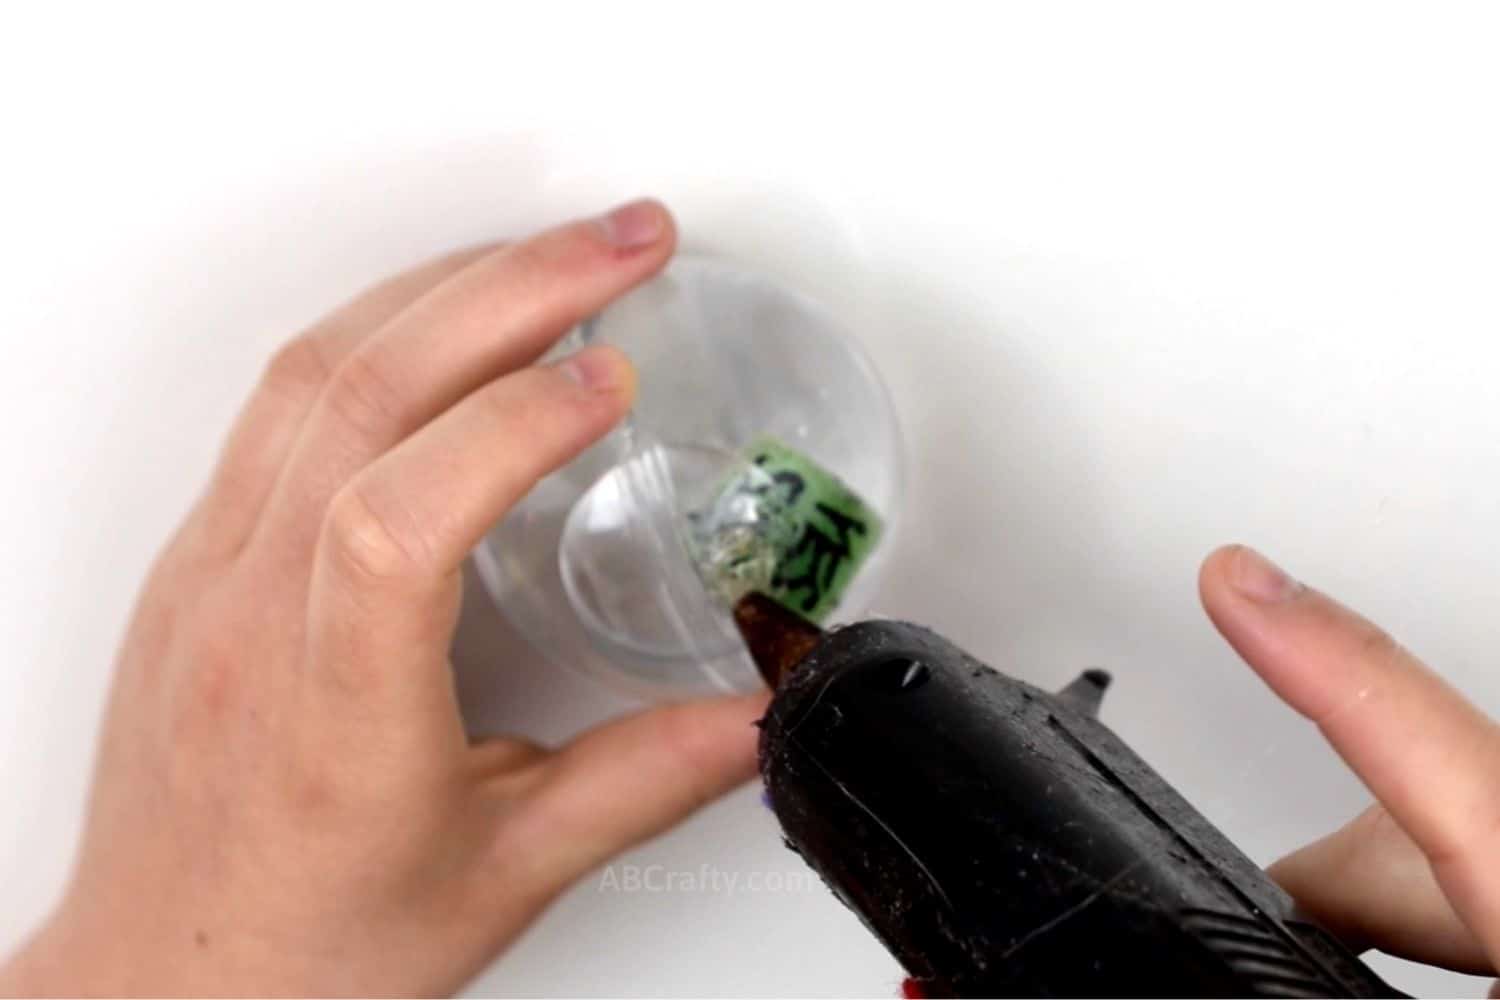
Once it’s full, use the wood burning tool to melt the edges of the hole back together as best you can. If it’s not completely sealed then you can use a glue gun or the water resistant glue.
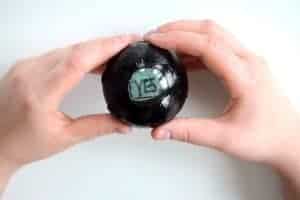
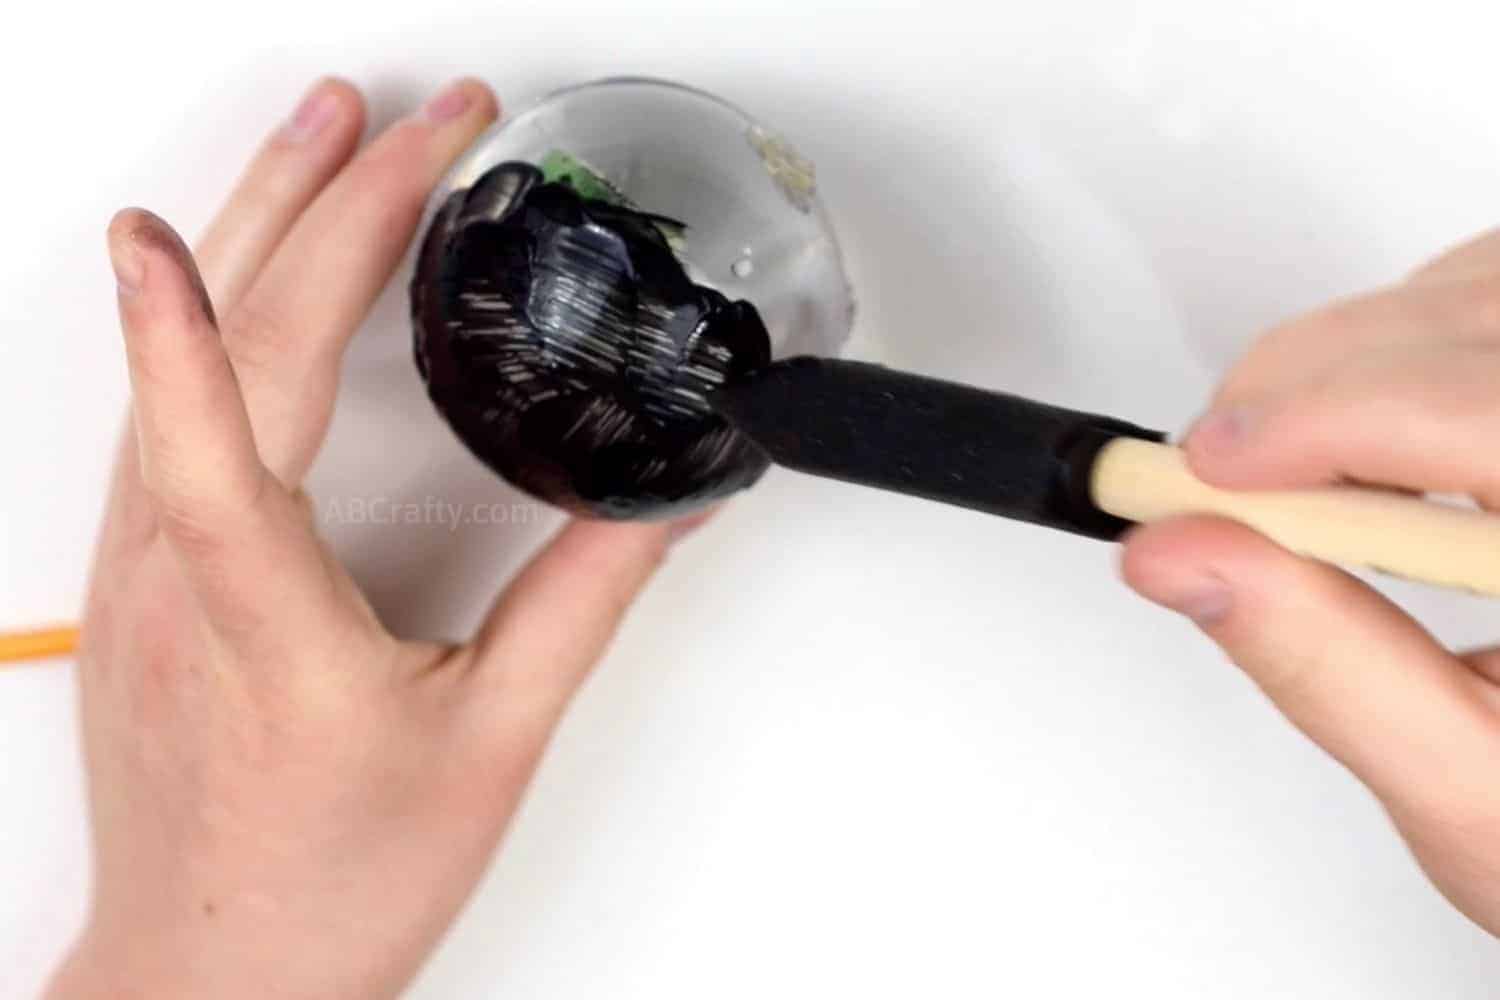
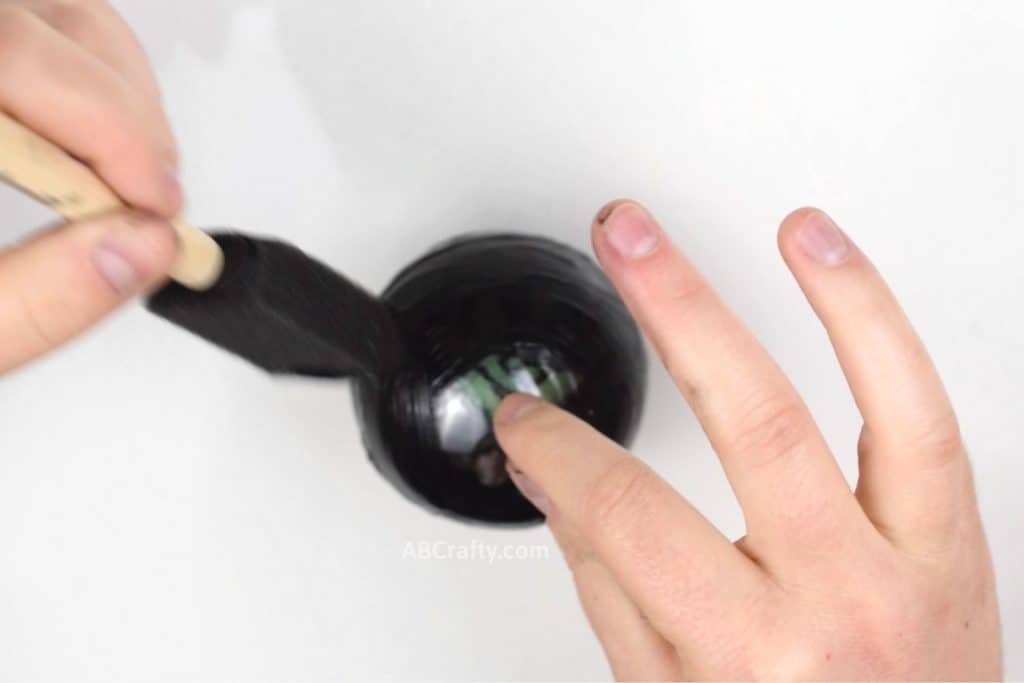
Paint the ball with the black fabric paint so it’s completely opaque except for a small section that’s wide enough to read the answer. This will need to be done in at least 2 layers, letting it dry in between.
Tip: Use a plastic bottle cap or similar object that is the size of your answers and place the ball on it. This will allow you to paint all around, while leaving that part unpainted.
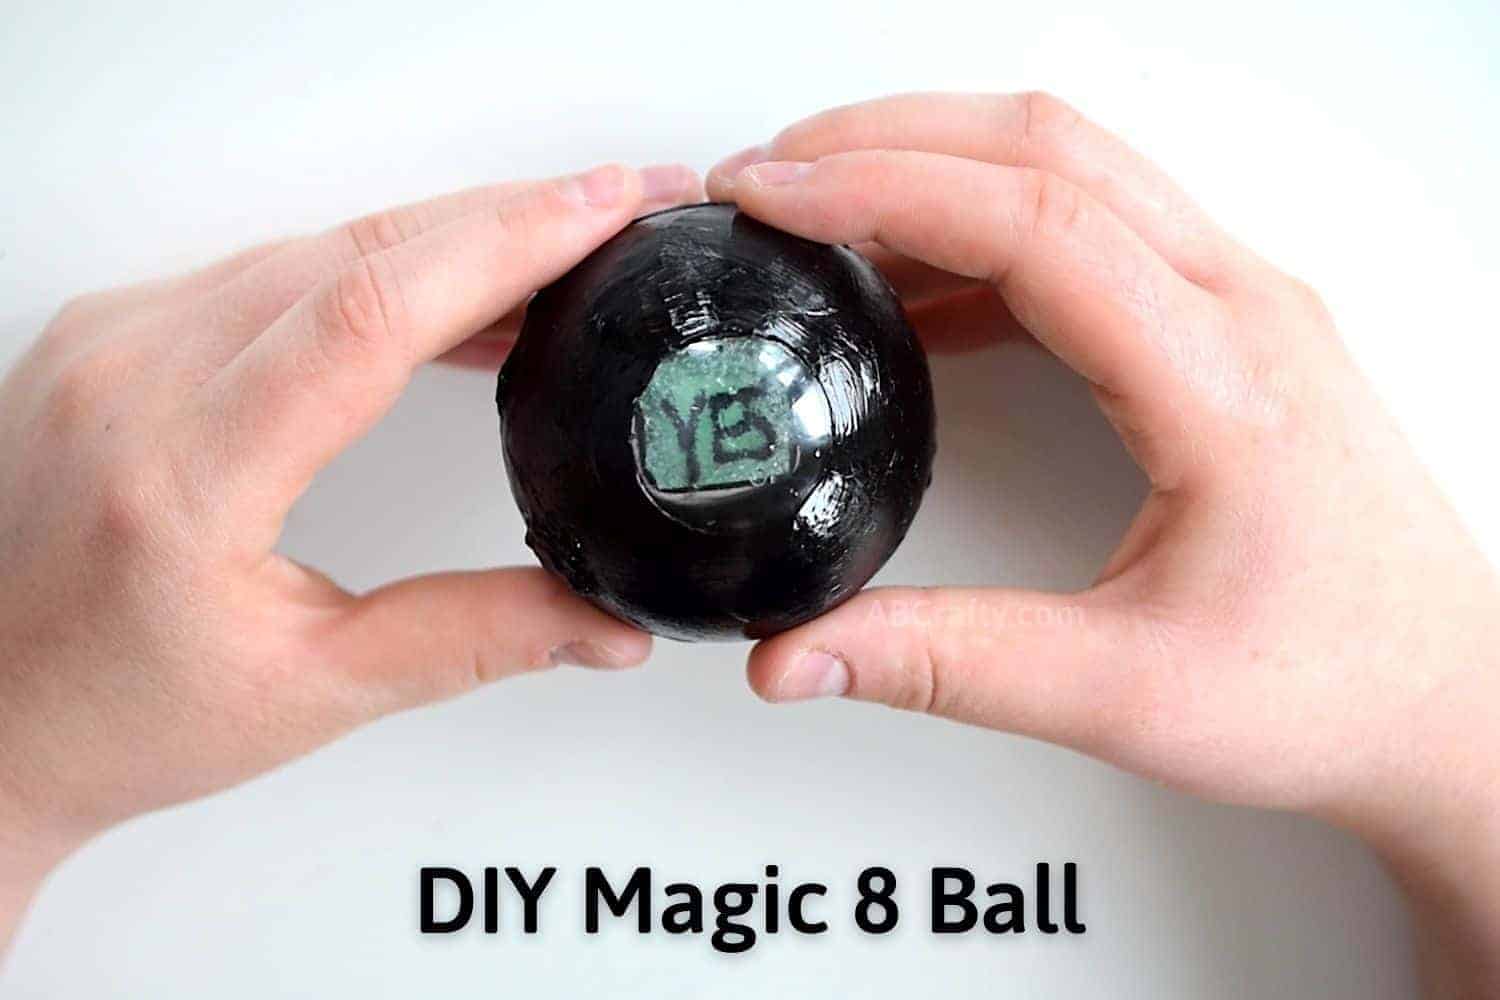
Once dry you can start asking it questions and play fortune teller!
How to Tell Your Fortune
To use your homemade (or store-bought) magic 8 ball, close your eyes and ask your question. Then shake the ball. Stop shaking the ball and open your eyes to reveal the answer. It’s like gazing into a crystal ball (except with only basic answers). At least you get to play fortune teller or make decisions easier.
“Dear magic 8 ball, it’s been 4 hours, should I keep watching Netflix?” “Definitely.” Welp, the ball has spoken. It’s okay if you’re at least watching Netflix on a Peloton, right?
After you’re done telling your own fortune, see if these other craft projects might be interesting:
- For a bit more magic make a golden snitch that doubles as a lip balm
- Keep the nightmares away with a homemade dreamcatcher
- Learn how to make your own buttons

Magic 8 Ball
Materials
- 1 Fillable Plastic Ornament
- Soft Foam such as seat cushion foam
- Black Fabric Paint
- Water Repellent Glue
- Water
Equipment
- Wood Burning Tool
- Scissors
- Glue gun
- Paintbrush
Instructions
- Use the wood burning tool to cut off the nub of the plastic ornament
- Cut the foam, shaping it into a small cube
- Write your answers one each side of the cube with the fabric paint. Do this in stages since you want to make sure each side is dry before flipping it over to write on the opposite side. Set aside to dry.
- Apply the water resistant glue to the edge of half of the fillable ornament
- Place the cube inside and seal the halves of the ornament together. Let it dry according to your glue's instructions (this could be 24 hours).
- Use the wood burner to poke a small hole into the ornament
- Fill the ornament with water. You can do so by submerging it in a bowl of water or using an eyedropper
- Use the wood burner to melt the edges of the hole back together as best you can
- Use a glue gun to seal any remaining space
- Paint the ball with the black fabric paint so it's completely opaque, except for a small section that's wide enough to read the answer.
- Let dry

