Minecraft Squishies – Slime Block
Home » Blog » DIYs and Craft Projects » Minecraft Squishies – Slime Block
-
Daniela Kretchmer
- Updated: Oct 27, 2023
- Fabric Paint Crafts, Minecraft, Nerdy Craft, Squishy
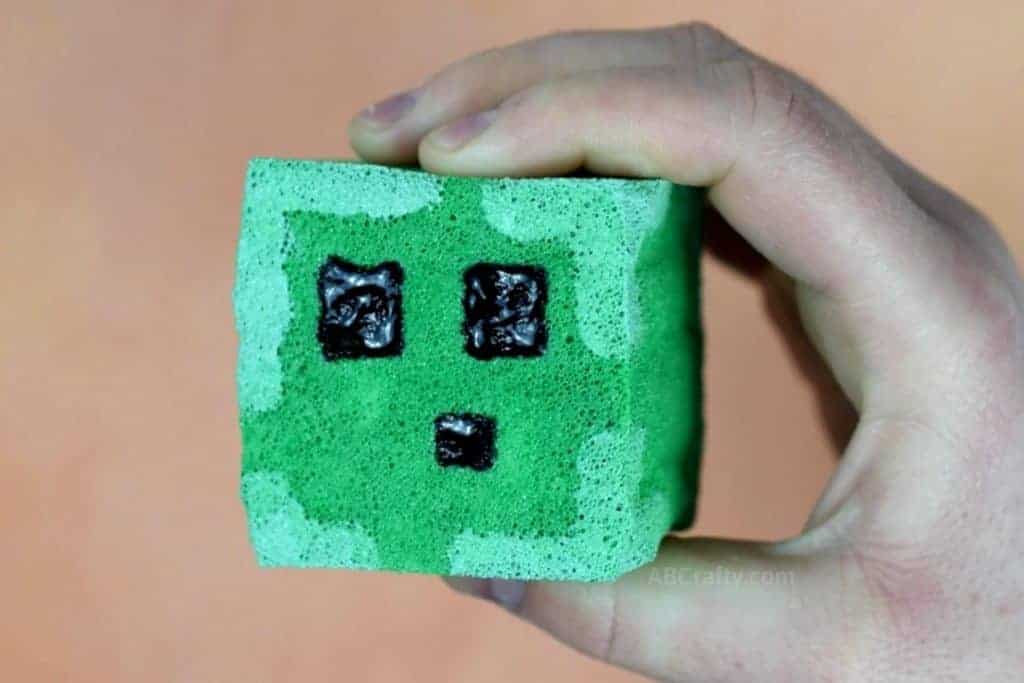
Learn how to make Minecraft Squishies that look like a slime block. It even glows in the dark!
Table of Contents
If you’re a fan of Minecraft, or know someone who is, this is a great homemade Minecraft craft project. With just a few materials you can a your own Minecraft slime block squishy toy. I have made a couple DIY Minecraft squishies, but these slime chunks are one of my favorite because they’re simple to make and oh yeah, they glow in the dark! And they go perfectly with the Minecraft erasers.
DIY squishies became pretty popular and have stuck around. I like them because they’re of course adorable, but they actually also fantastic stress balls. Well, in this case – stress cubes.
Note: Some links in this post may contain affiliate links, which means at no cost to you, I may earn a commission. These are most likely for items that are more difficult to find, making it easier to get the materials you need.
Materials for Minecraft Slime Block Squishies:
- Soft foam (I used foam from a seat cushion, but you can often find a good foam sponge at the Dollar Store. Just make sure it doesn’t have too many holes on the outside. There’s also this foam from Amazon)
- Green, black, yellow, and white fabric paint
- Glow in the dark fabric paint
- Scissors
- Paintbrush
Video Instructions
Steps to make the Minecraft Squishy
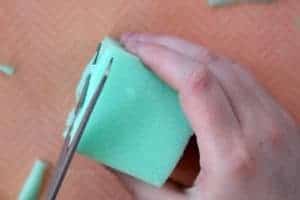
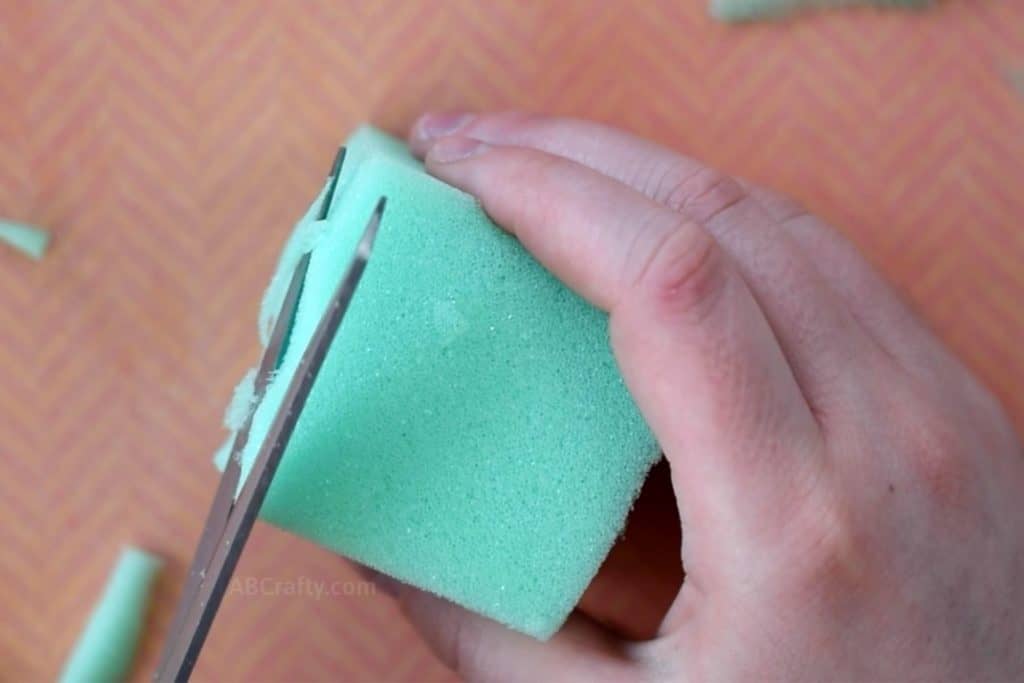
Start by cutting the foam into an even cube. To do so, cut off a chunk of foam to work with and slowly shape it into a cube, making sure all of the sides are even. I found going around each side to clean it up made for a nice even cube.
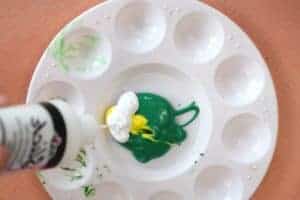
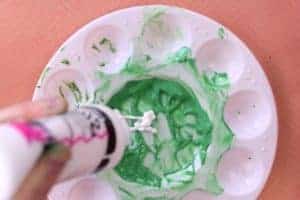
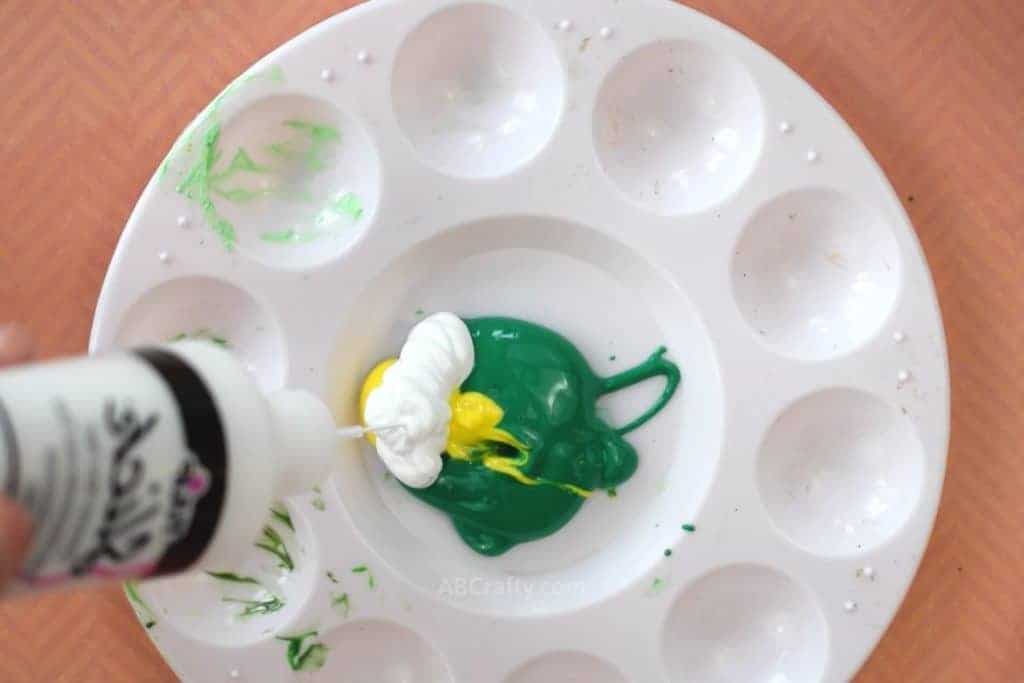
Mix together green, yellow, and white fabric paint. The goal is to get a light greenish-yellow slime color of the Minecraft slime block.
To do so, I found a good combination is to use a lot of green and then a little bit of yellow to make it slightly more yellow. Then adding in a good amount of white made it a bit lighter and pale.
Tip: Make a good amount of this color as it can be difficult to get the same exact color again. Therefore making slightly more than you think is better than making too little. You will be using it to paint the entire squishy and added details.
Once you have mixed the green you like, it’s time to start painting. Paint the entire foam cube on all sides with the fabric paint.
Yes, you will likely get fabric paint on your hands, but don’t worry it washes off very easily from skin with soap and water. Be careful about not getting it on your clothes though. After all, it’s fabric paint so that will absolutely stay on clothing!
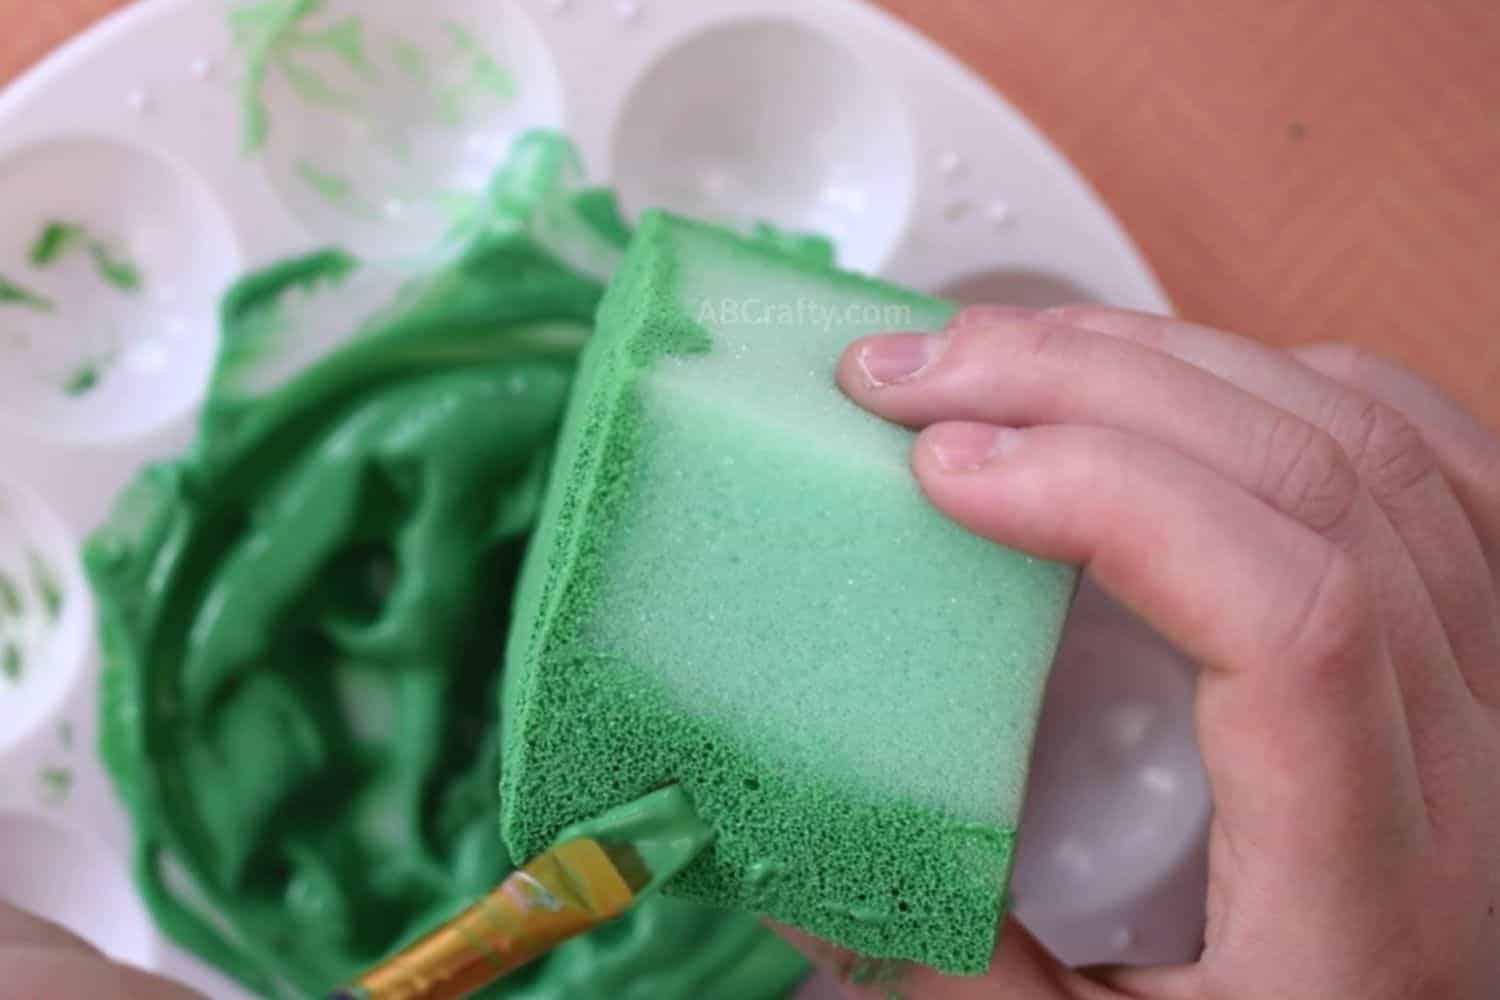
After you’ve covered the block in the slime green fabric paint, set it aside.
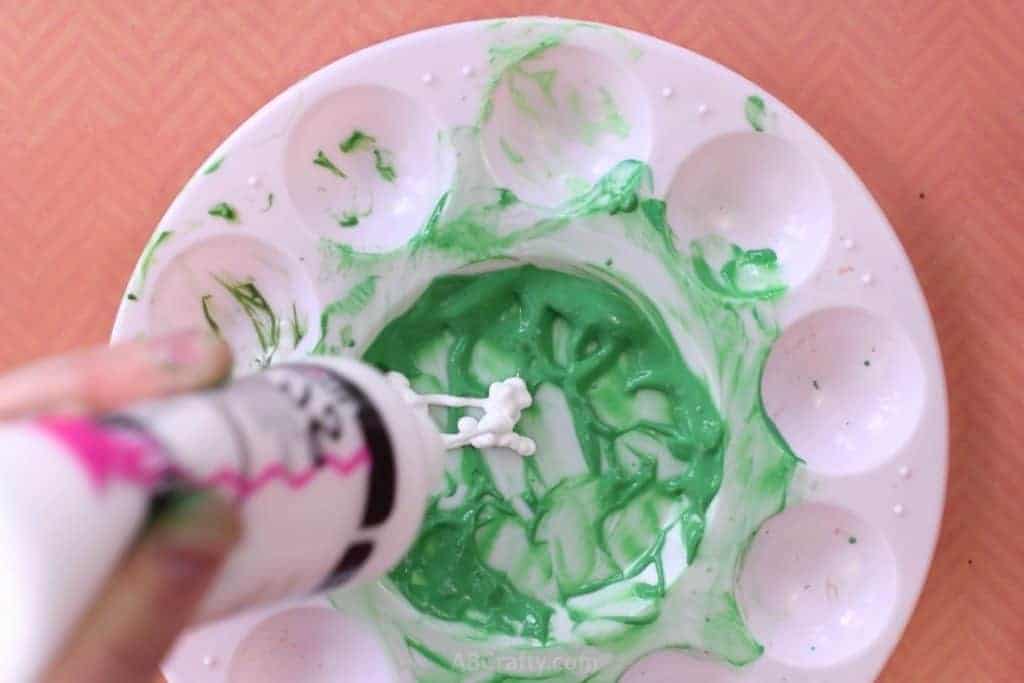
Then add white fabric paint to the green you have been using. The goal is to get a lighter version of the color you’ve been using. This will be for the slime block’s accents.
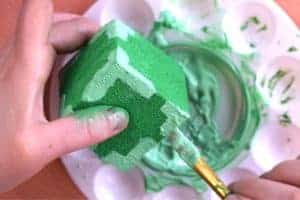
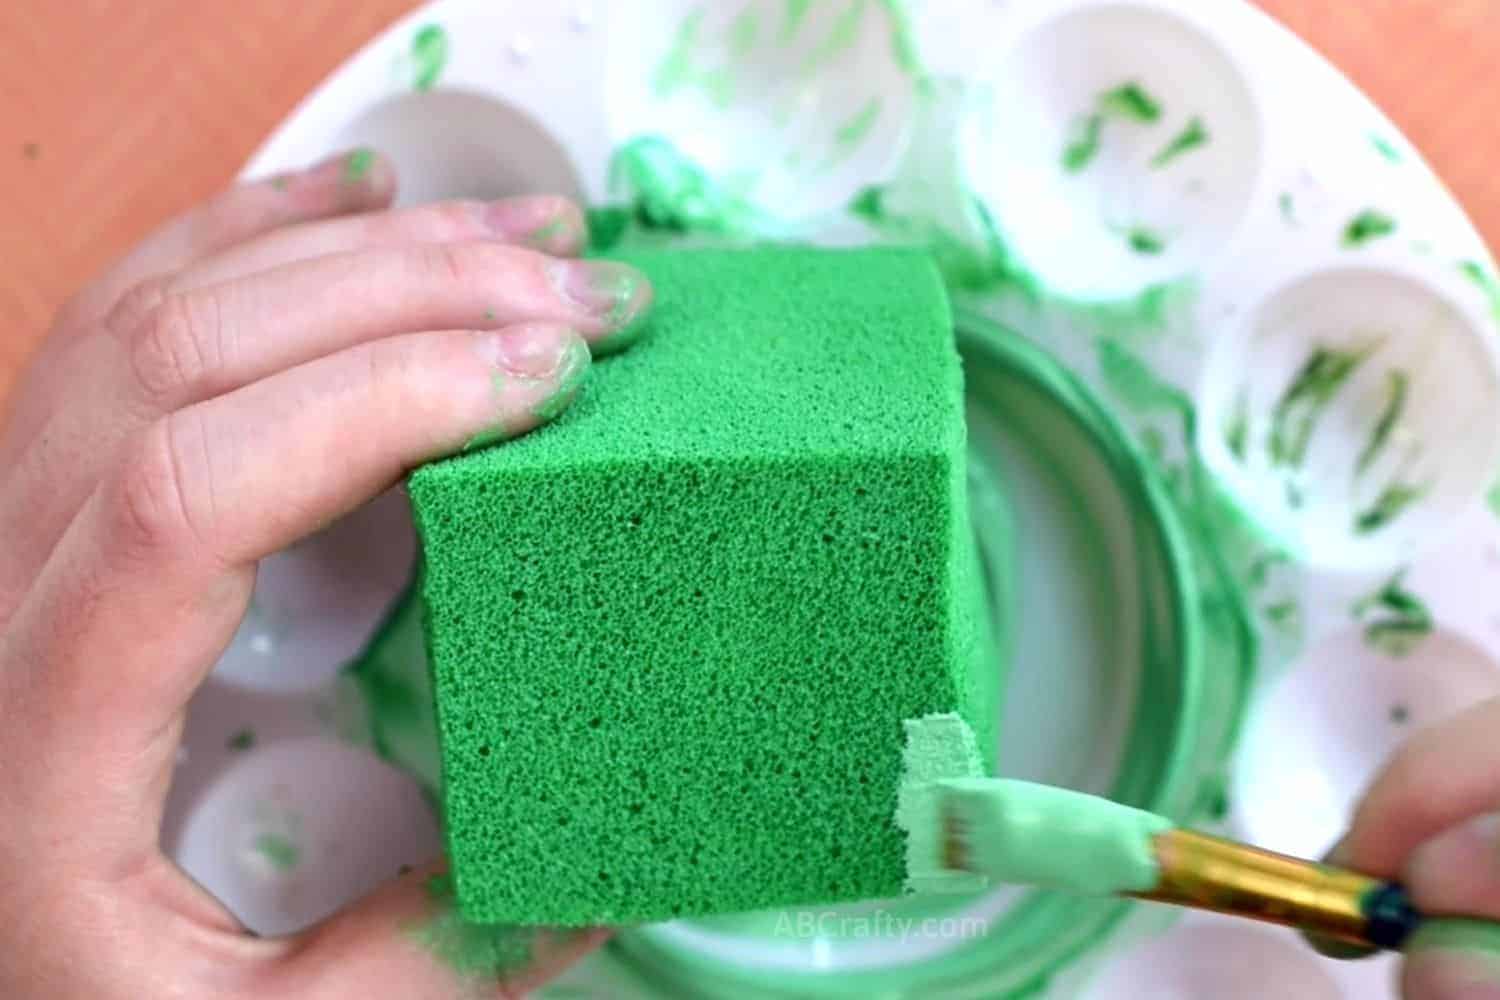
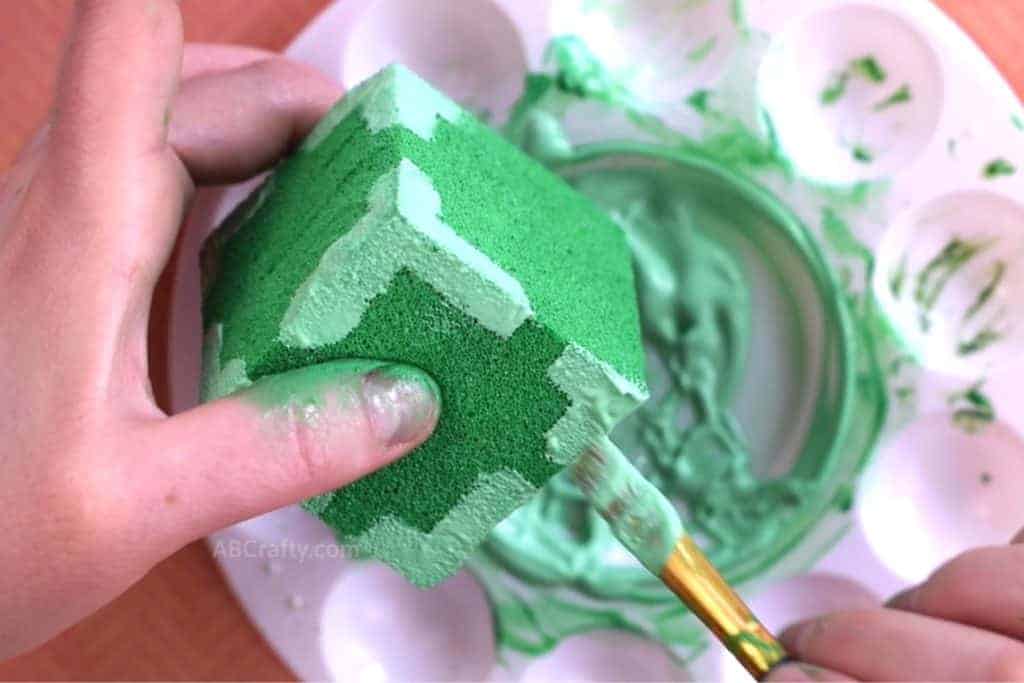
Use this lighter green paint to paint a small stripe along one side of the cube, from the corner to a little less than halfway down the side.
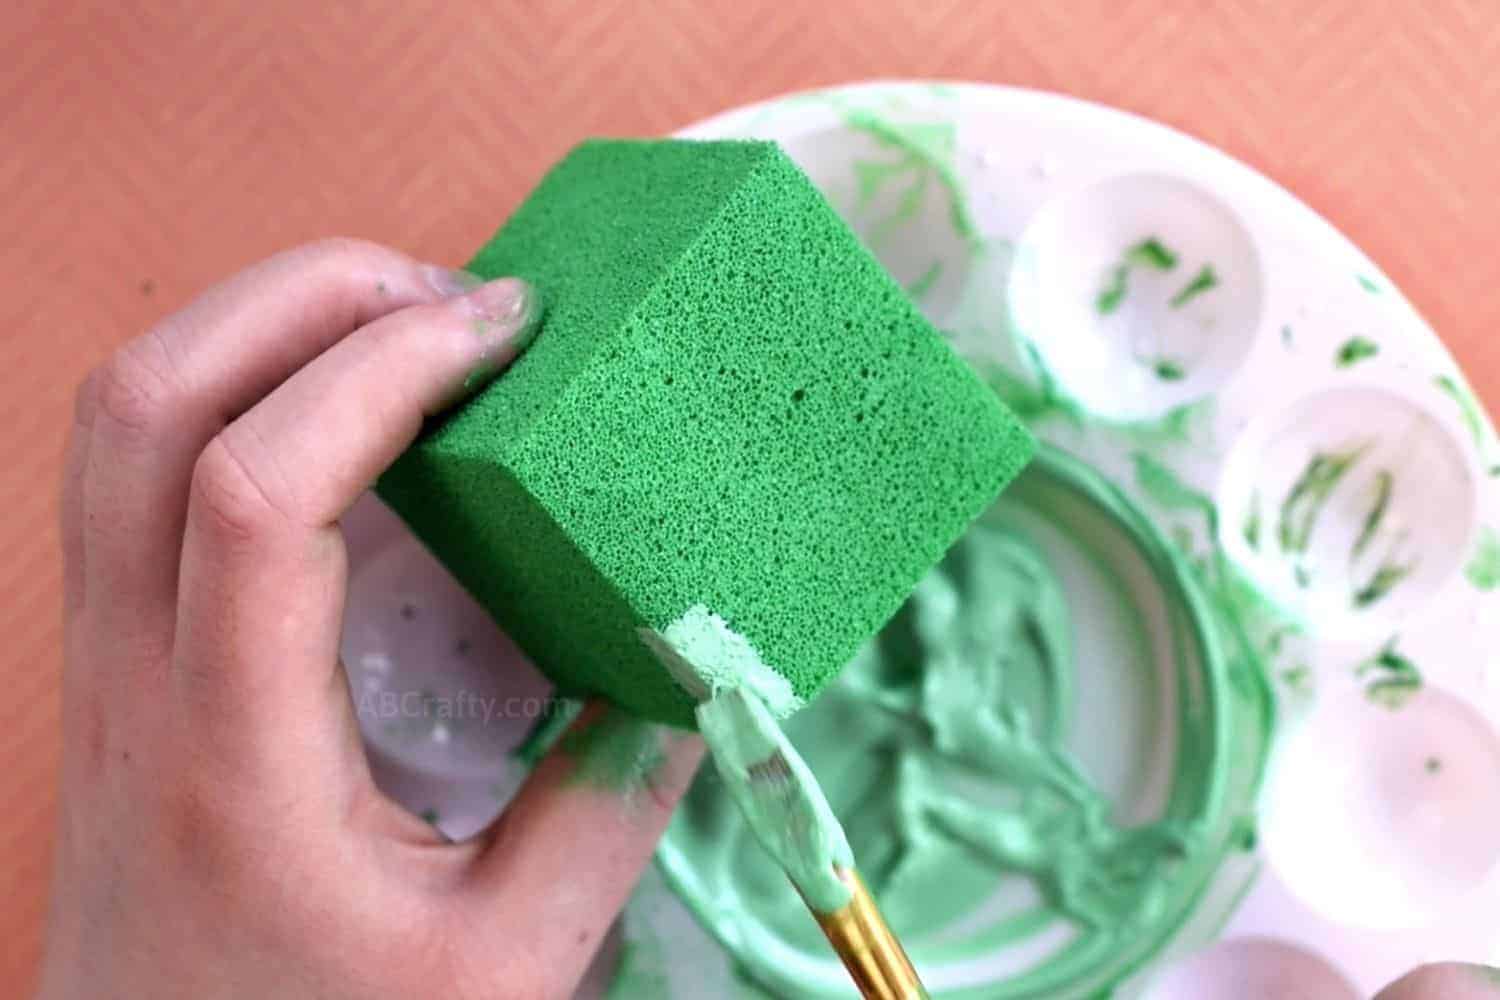
Do the same on the other side of the edge you just painted. Be sure to line up the paint so that the stripe starts at the same point along the edge. This way one isn’t higher than the other if you look at it on an angle, like below.
Repeat this for all of the corners and edges. If you look at a side straight on, it should have two stripes on each edge. The length of these stripes can be different so some can go more than halfway and others less since the real Minecraft slime chunk isn’t even on all sides.
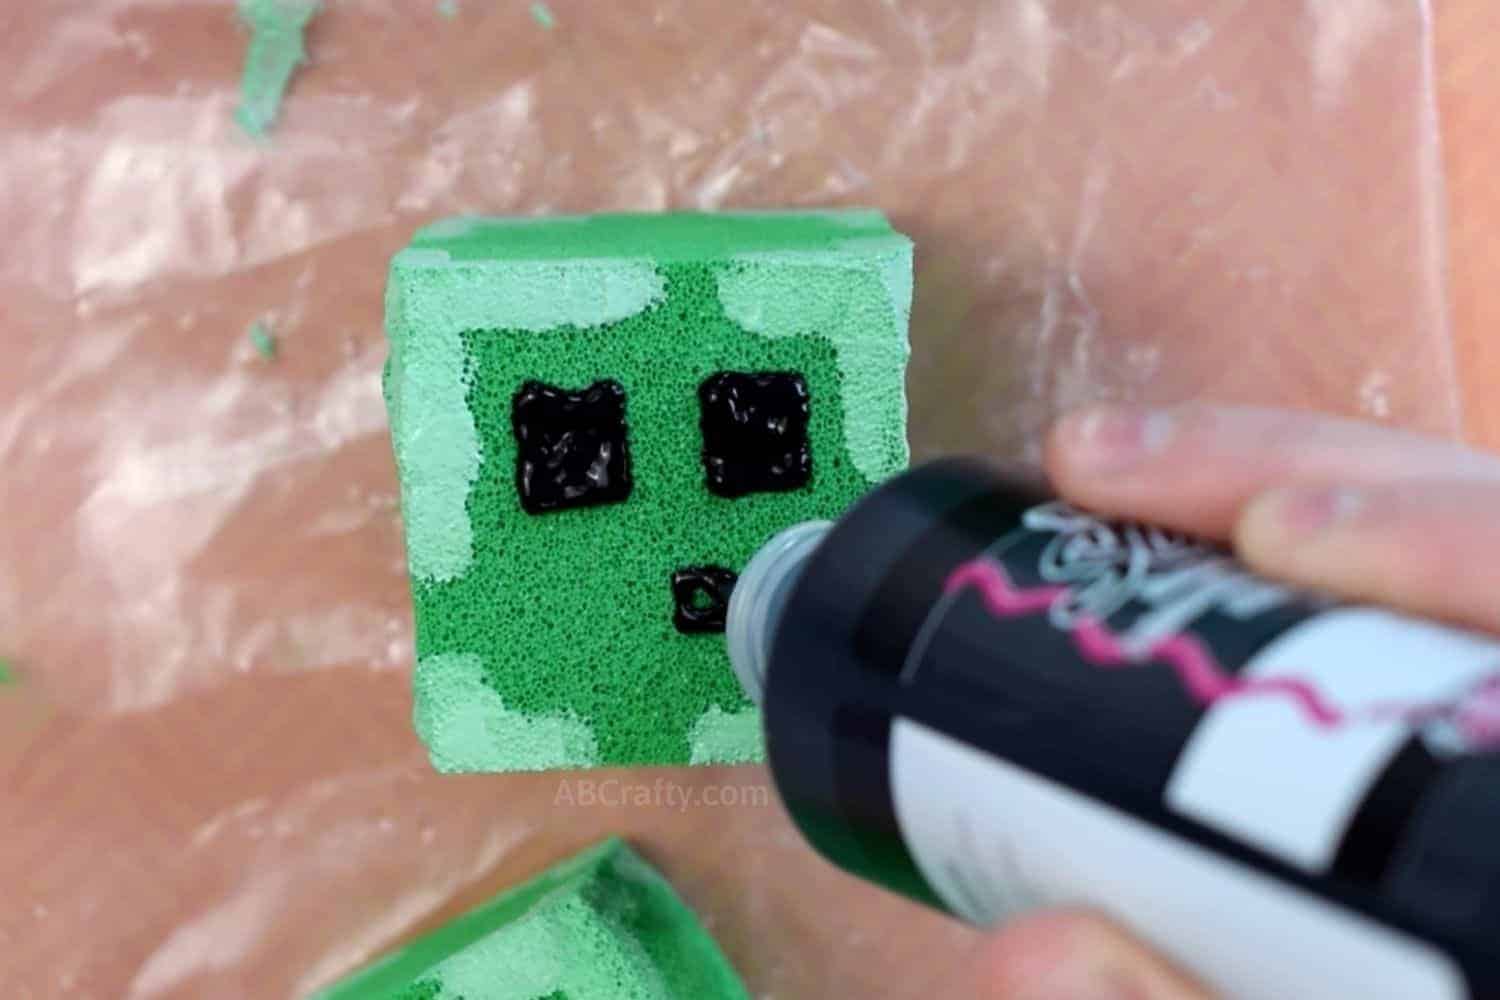
Next, it’s time to paint the face. Use black fabric paint to draw in the eyes and mouth. The eyes are larger squares, with the mouth as a small square.
Tip: If the paint hasn’t yet dried, you can set the slime squishy on a plastic bag while you paint the facial features. The plastic will not absorb the fabric paint.
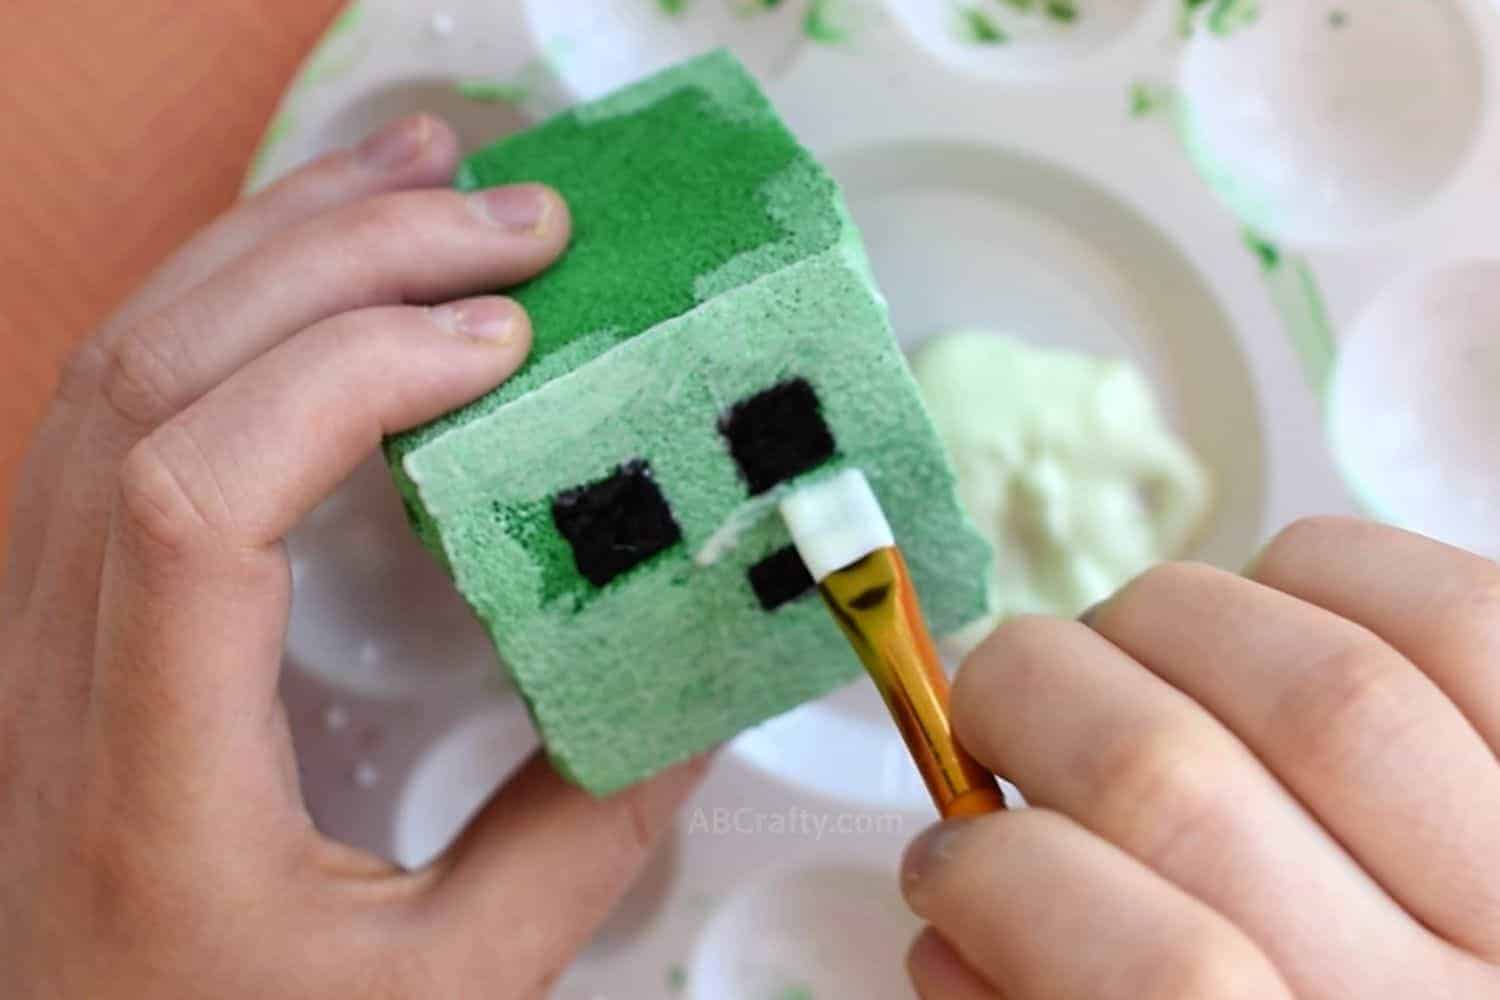
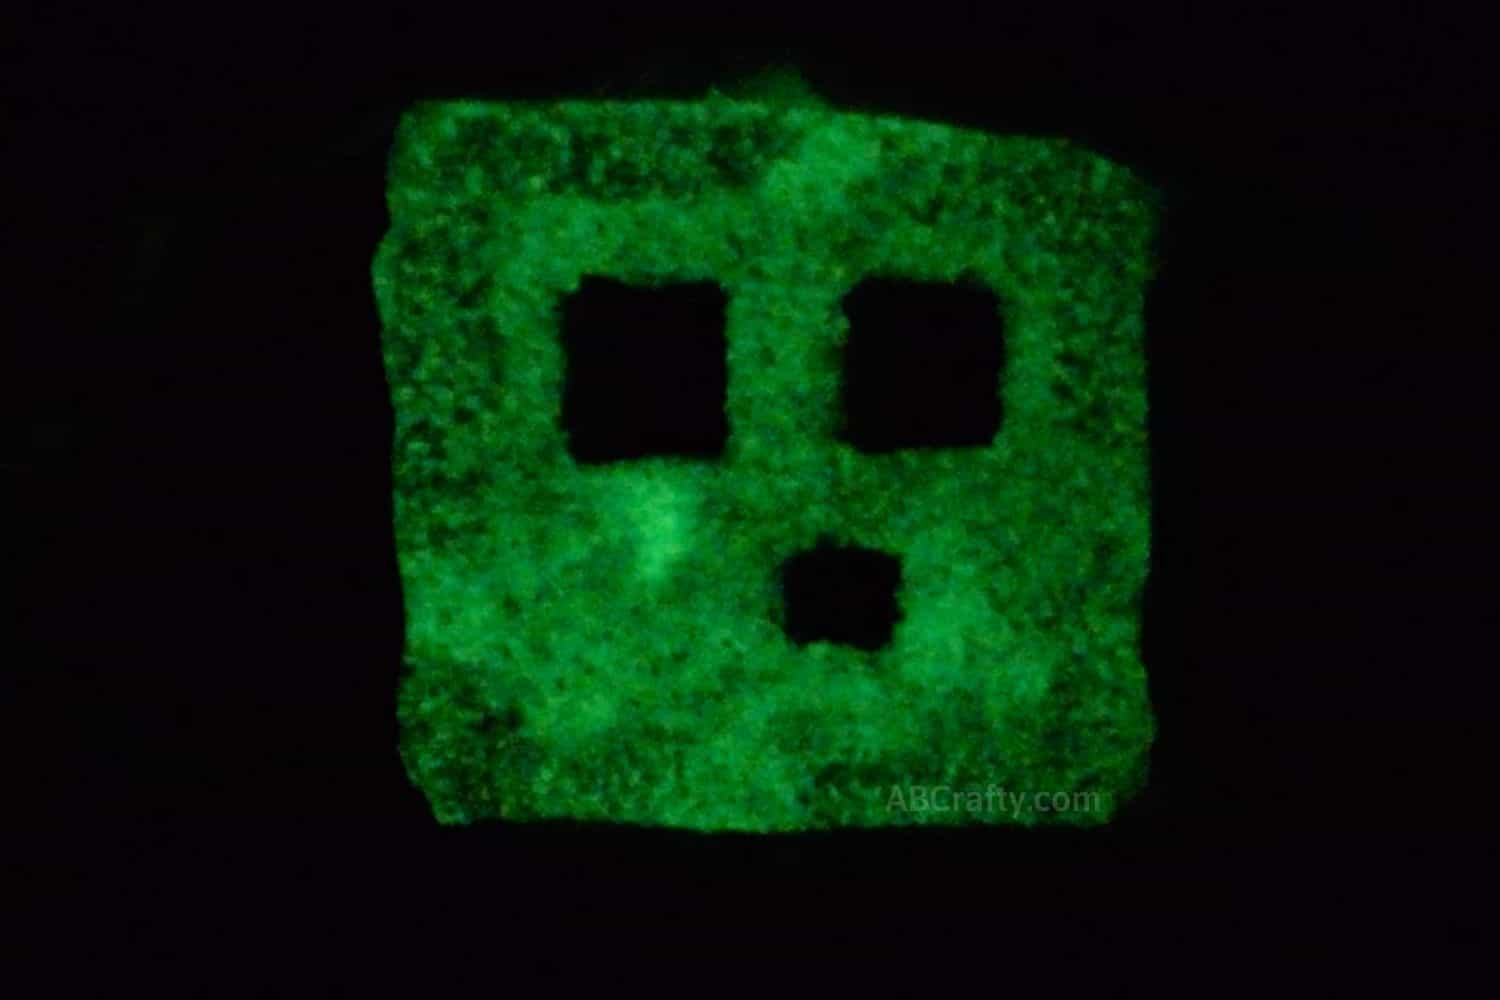
You’ll need to let it dry completely for the next step. But once it’s dry, paint the whole Minecraft squishy, except for the eyes, with glow in the dark fabric paint. By not painting the eyes, you will still see the face in the dark.
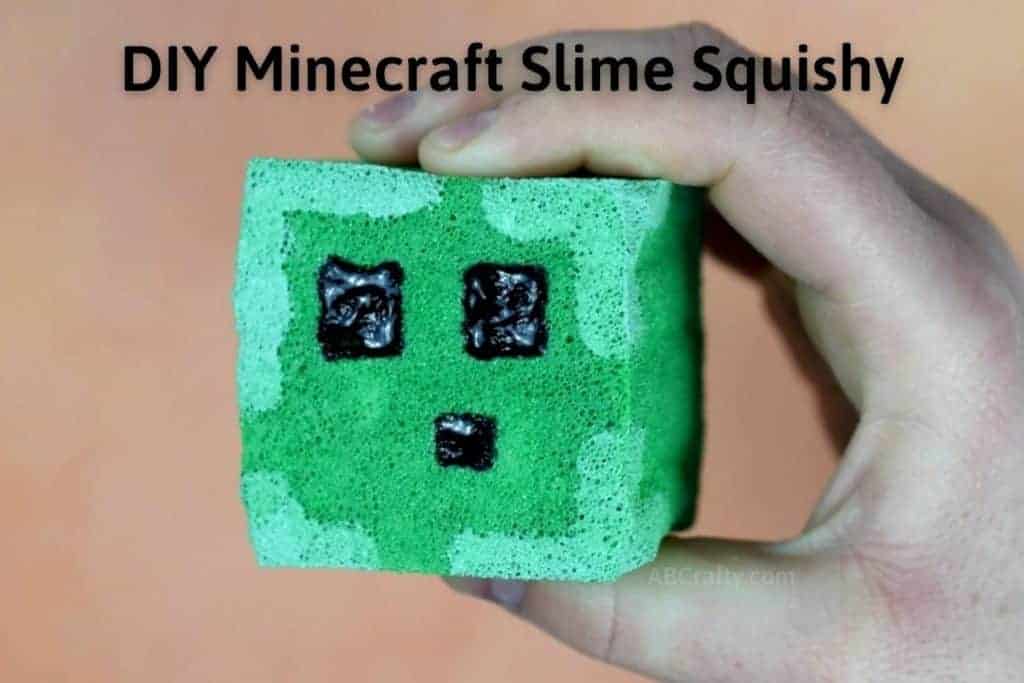
Let it dry completely and you have yourself your very own, DIY glow in the dark Minecraft squishy toy!
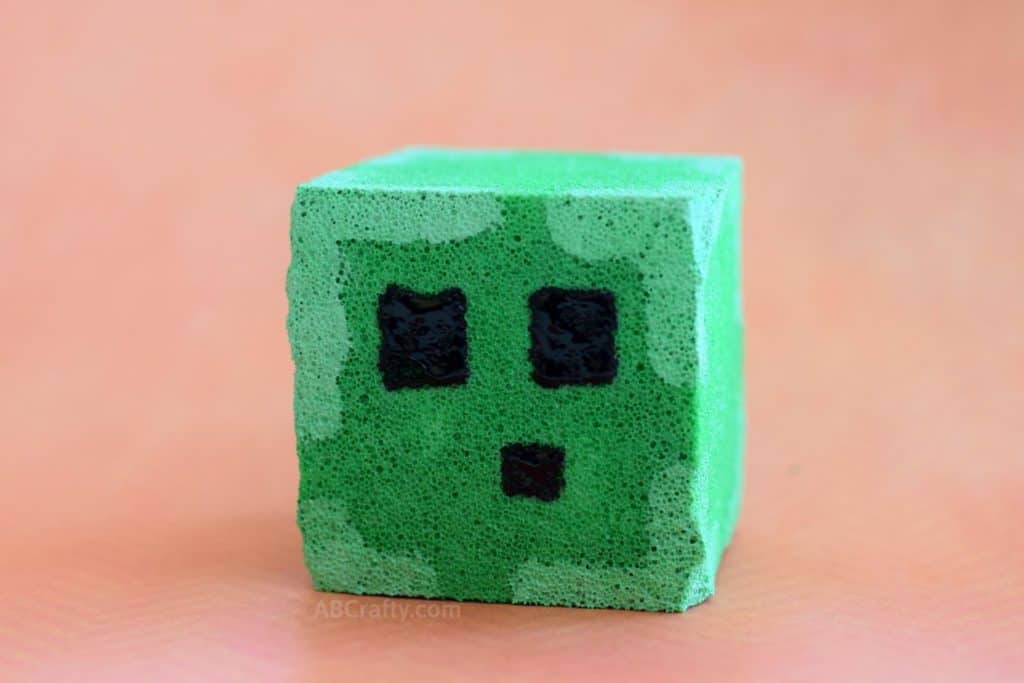
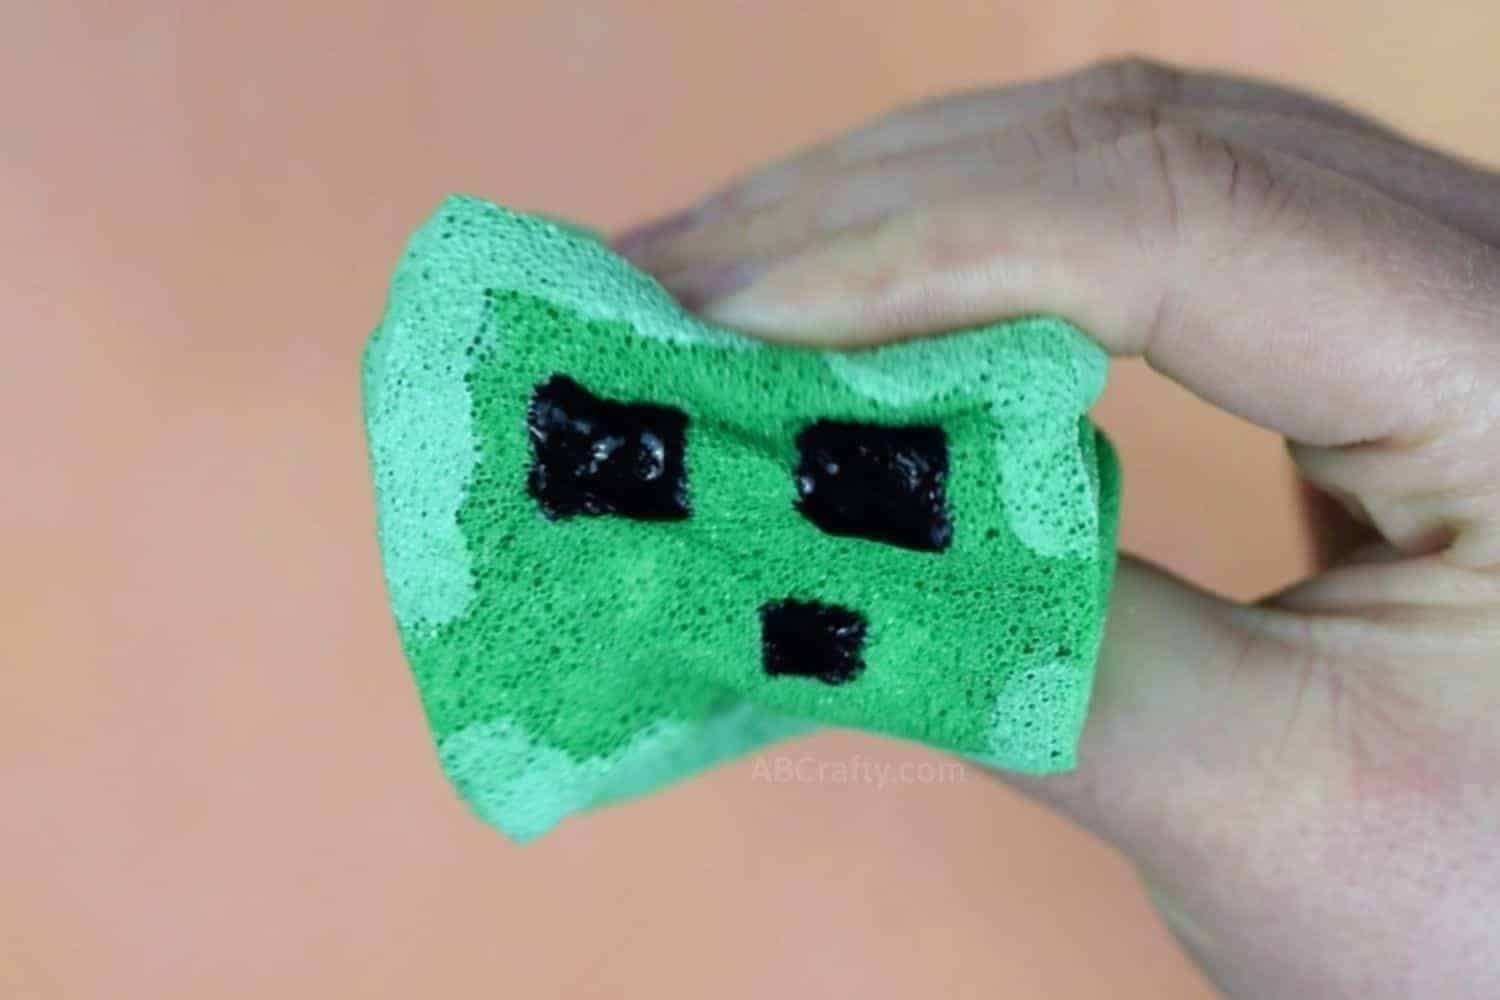
Since it’s a squishy, we have to test the squish! And I must say, the seat cushion provides a really nice squish. It really is a great material for making DIY squishies.
And of course, we also have to see how it glows in the dark!
I just love how this Minecraft craft turned out – it’s honestly one of my favorite handmade squishies I’ve made. I hope you make one for yourself or for a fan.
More Nerdy Crafts to Try
Or try making some edible slime to go along with your squishy.
Minecraft Slime Squishies
Materials
Equipment
- Scissors
- Paintbrush
Instructions
- Cut off a chunk of foam and shape it into a cube. Make sure all of the sides are even.
- Mix together green, yellow, and white fabric paint. The goal is to get a light greenish-yellow slime color of the Minecraft slime block.
- Paint the entire foam cube on all sides with the slime-green fabric paint.
- Add white fabric paint to the green you have been using. The goal is to get a lighter version of the color you've been using.
- Use this lighter green paint to paint a small stripe along one side of the cube, from the corner to a little less than halfway down the side.
- Do the same on the other side of the edge you just painted. Be sure to line up the paint so that the stripe starts at the same point along the edge.
- Repeat this for all of the corners and edges. If you look at a side straight on, it should have two stripes on each edge.
- Use black fabric paint to draw in the eyes and mouth. The eyes are larger squares, with the mouth as a small square.
- After the face has dried, paint the whole Minecraft squishy, except for the eyes, with glow in the dark fabric paint.
- Let it dry and then your Minecraft slime block squishy is ready to squish!

