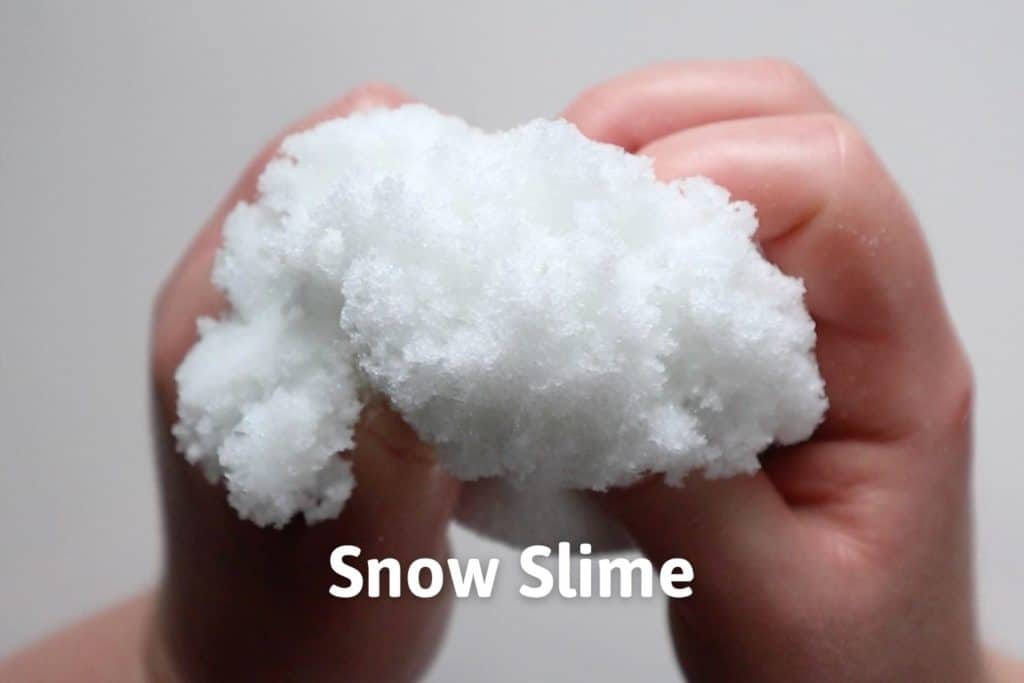
Snow Slime

holding the ball of fluffy snow slime with the title "snow slime"

This snow slime recipe only takes a few ingredients and makes glittery and fluffy slime!

Table of Contents

For all the slime making fans out there, here’s a slime perfect for winter. It comes out fluffy and sparkly, just like real snow. You can even shape it into a snowman! It’s one of my absolute favorite slimes to make and won’t get cold playing with it!

The key to snow slime is using instant snow to make it nice and fluffy (which is actually different than making “fluffy slime“). It’s actually a cross between clear slime and cloud slime plus the added glittery benefit!

I’ve also created a handy set of slime recipe cards to print and cut out. Download them below or from the shop.
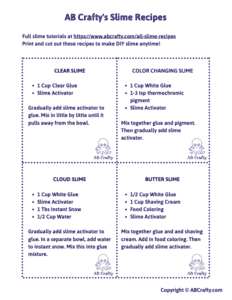
image of slime recipe cards

14+ Slime Recipe Cards - Printable PDF

We’re committed to your privacy. AB Crafty uses the information you provide to contact you about relevant content and products. You may unsubscribe from these communications at any time.

Note: Some links in this post may contain affiliate links, which means at no cost to you, I may earn a commission.
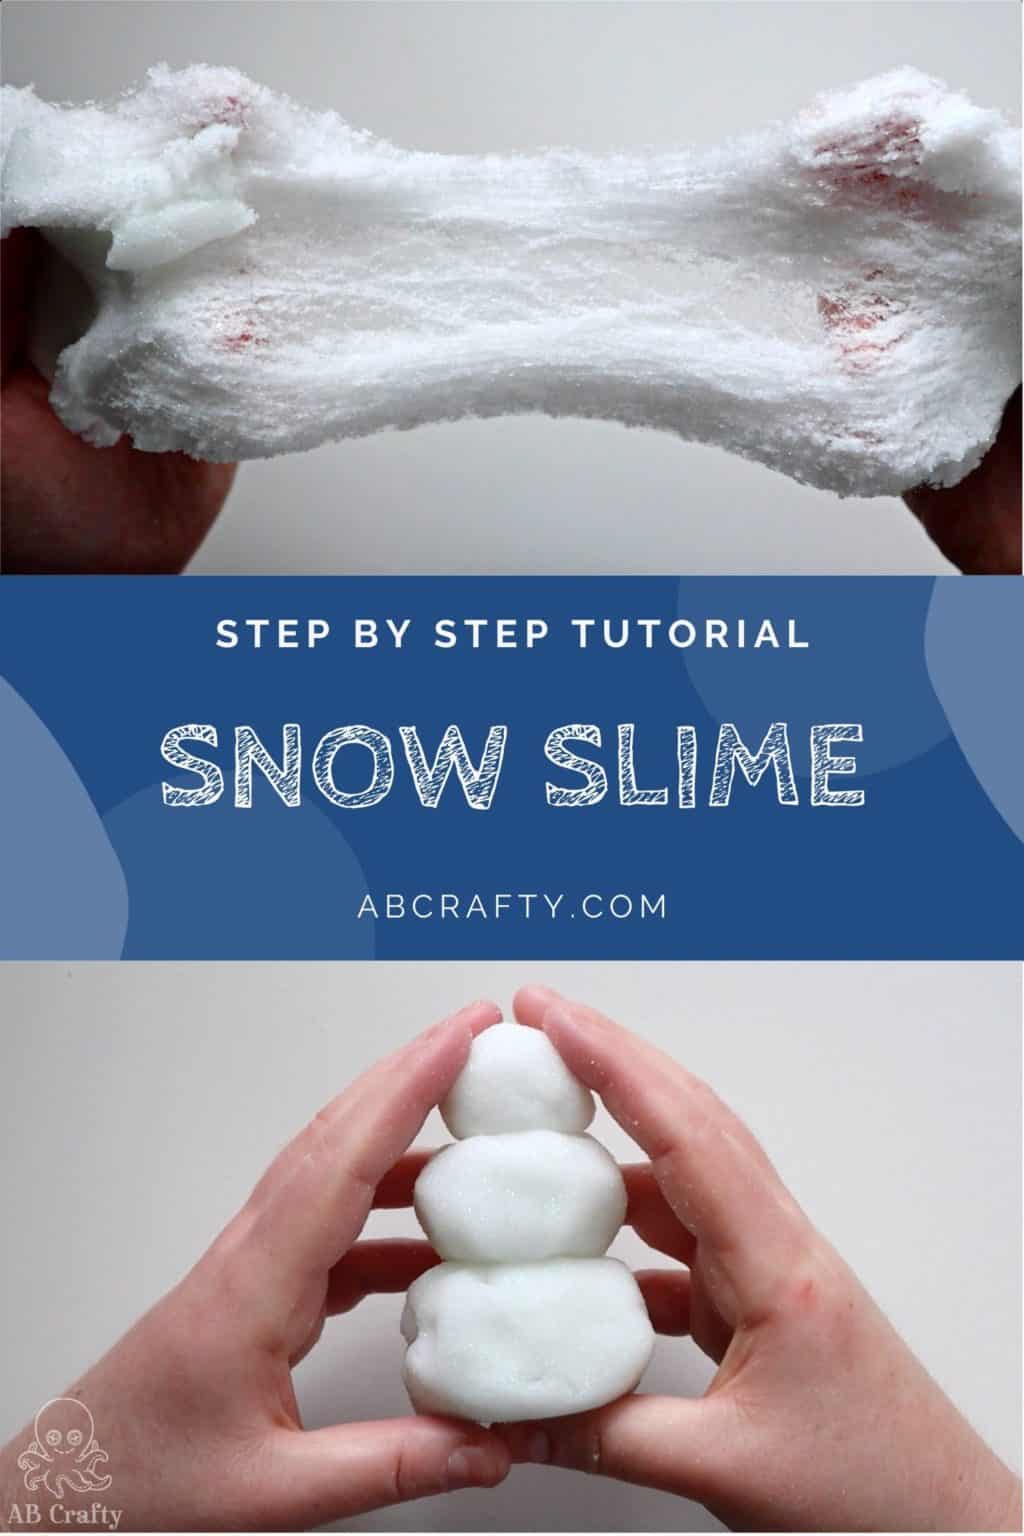
two photos with the top photo of stretched snow slime and the bottom of it shaped into a snowman with the title "step by step tutorial, snow slime"

Homemade Snow Slime Recipe

These materials include the water and borax to make your own slime activator.

Get the latest DIY tutorials, reviews, and crafting updates

You'll never be spammed and can unsubscribe at any time

Video Instructions

How to Make Snow Slime

Prepare the Instant Snow for the Snow Slime

The key to making snow slime (and cloud slime) is using instant snow, which you can find on Amazon. Some brands may be different, but you want to mix up 1 Tablespoon of instant snow. Mix it with the amount of water listed on the packet (mine ended up being 1/2 cup).

pouring instant snow into a measuring spoon

Let the instant snow absorb the water. Then give it a mix to help fluff it up. You may need to add more water if it still looks dry.

Set it aside.

mixing instant snow in a glass bowl with a plastic spoon

Make Clear Slime for the Base of the Snow Slime

Start by making some basic clear slime. Pour some clear glue into a bowl (this is the type I’m using). I used about one cup.

pouring clear glue into a glass bowl

Mix in the slightly less than the same amount of water (so I added roughly 2/3 of a cup).

The reason you want to add water is the clear PVA glue reacts more strongly with the slime activator. Therefore it can get hard more quickly. Adding the water makes sure it won’t get hard.

pouring water into a glass bowl containing clear glue

Mix in the slime activator a little bit at a time until it starts to form clumps (~1 teaspoon at a time).

You can make your own slime activator or use store-bought. You’ll want to mix a cup of warm water with 1 teaspoon of borax until it’s dissolved. This will be used for multiple slimes.

mixing clear glue and activator with a plastic spoon to start to form clumps

At this point I recommend mixing it by hand instead of stirring it. It will be a sticky mess, but eventually you’ll get a nice stretchy slime.

image of slime recipe cards

14+ Slime Recipe Cards - Printable PDF

We’re committed to your privacy. AB Crafty uses the information you provide to contact you about relevant content and products. You may unsubscribe from these communications at any time.

Finish the Snow Slime

Gradually mix the instant snow into the slime. I personally like to dip it into the bowl to pick up the instant snow. Then stretch and fold over the slime to mix it in.

mixing instant snow into white slime

Continue the process to mix in the rest of the snow.

Tip: If it feels dry you can add more water.

pushing slime into a bowl with instant snow

Mix in the glitter. I ended up using about 5-10x what’s in this photo.

I recommend using biodegradable glitter like this one.

shaking white glitter onto slime

Continue to stretch it for a few minutes. Eventually, this is what it will start to look like. When you pull it slowly you’ll start to see strings forming across and it will feel fluffy and soft.

Tip: If it feels too sticky, add slime activator. If it’s not wet enough, add water.

stretching the white slime

Let the Snow Slime Rest

Now the key to snow slime is to let it rest over night. This does two things (1) it removes the air bubbles, making the slime more clear, and (2) snow slime always feels better the next day.

putting the white slime into an airtight container

After just the day of rest, this is what your snow slime will look like. It’s beautiful, fluffy, and sparkly. 

stretching the white snow slime

Get the latest DIY tutorials, reviews, and crafting updates

You'll never be spammed and can unsubscribe at any time

And when you stretch it out these fun strings will form.

stretching the white snow slime to show the streaks

The drizzle is just incredible. It feels so soft and fluffy, just like real snow (without the cold)!

drizzling the snow slime into a hand

I personally love to fluff it and make it into little snow balls or shape it into a snowman and then stretch it apart again! It makes for a super fun activity during a no gift Christmas or holiday!

If you make your own snow slime, I’d love to see it! Tag me on Instagram @ab.crafty!

holding the snow slime into a snowball shape so it looks fluffy
the slime formed into the shape of a snowman

More Slime Projects

Get the latest DIY tutorials, reviews, and crafting updates

You'll never be spammed and can unsubscribe at any time

two photos with the top photo of stretched snow slime and the bottom of it shaped into a snowman with the title "step by step tutorial, snow slime"

Snow Slime

This snow slime recipe only takes a few ingredients and makes glittery and fluffy slime! It comes out fluffy and sparkly, just like real snow. You can even shape it into a snowman! It’s one of my absolute favorite slimes to make and won’t get cold playing with it!
Yield 1 Snow Slime
Project Time 5 minutes
Resting Time 8 hours
Total Time 8 hours 5 minutes

Materials
  

  • 1 Tbs Instant Snow
  • 1 Cup Clear PVA Glue
  • ¾ Cup Water
  • 1 tsp Borax
  • Glitter

Equipment

  • Bowls
  • Spoon
  • Airtight Container

Instructions
 

Make the Instant Snow

  • Mix 1 Tbs of instant snow with ½ cup of water. Stir it so it's fluffy. Set it aside.
    1 Tbs Instant Snow
    mixing instant snow in a glass bowl with a plastic spoon

Make a Clear Slime

  • Mix 1 cup glue with ¾ cup of water.
    1 Cup Clear PVA Glue, ¾ Cup Water
    pouring water into a glass bowl containing clear glue
  • Add in a slime activator a little bit at a time until it starts to clump. Then you can mix it with your hands.
    To make your own mix 1 cup of warm water with 1 tsp of borax
    1 tsp Borax
    mixing clear glue and activator with a plastic spoon to start to form clumps

Finish the Snow Slime

  • Mix the slime into the instant snow by stretching it and folding it over.
    mixing instant snow into white slime
  • Add in the glitter.
    Glitter
    shaking white glitter onto slime
  • Keep stretching it for a few more minutes until it starts to get soft and fluffy and form lines when you slowly stretch it apart.
    stretching the white slime
  • Put it into an airtight container and let it rest overnight. Then your snow slime will be nice and fluffy!
    stretching the white snow slime

Notes

Tip: If the slime feels dry, add more water. If it's too runny, use more slime activator.
Keyword Glitter, Slime, Slime Activator, Snow
Picture of Daniela Kretchmer

Daniela Kretchmer

Daniela is a lifelong crafter who loves to share her passion for crafting. Through classes or learning on her own, she likes to say she'll do pretty much any craft aside from scrapbooking. Her current personal obsessions include garden crafts, felting, and spinning yarn.

More Craft Projects and Ideas

7 thoughts on “Snow Slime”

    1. That sounds so fun! It makes around 2 cups. Tip – an adorable way to gift the kit would be in a snow globe container like this one! (You’ll want to double check the size and amounts though – if needed you can cut the recipe in half to be 100% sure the finished slime will fit)

  1. Can you add color to the snow slime? How much, which one would be best?
    I want to make this with my kids, nieces and nephews for Easter.

Leave a Comment

Your email address will not be published. Required fields are marked *

Rating