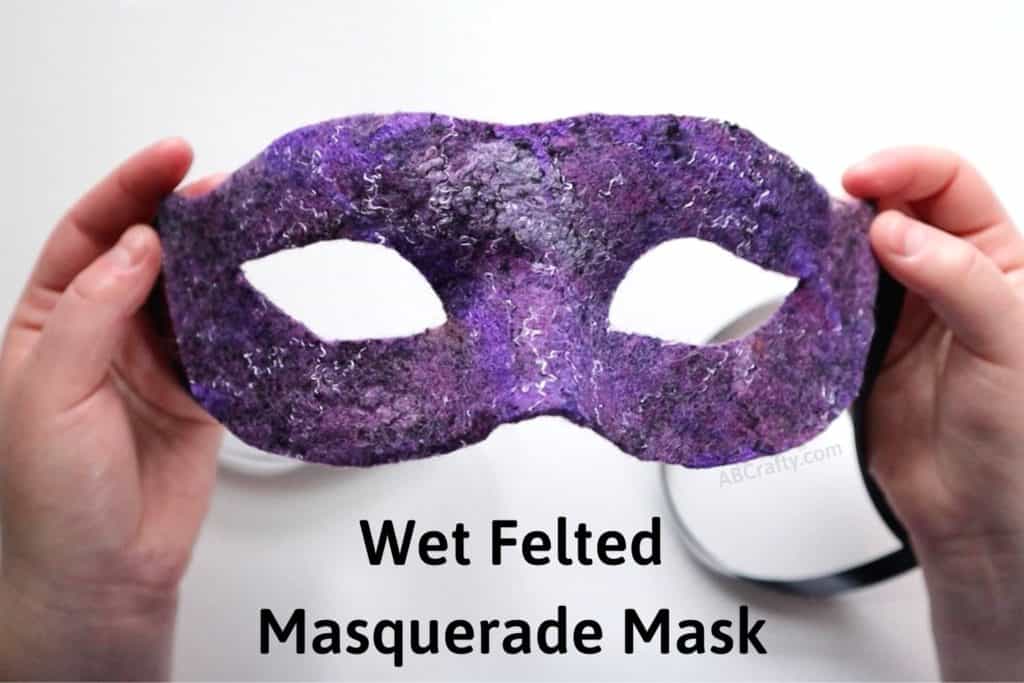
Learn how to make a Venetian mask with this wet felting tutorial. This is a great beginner wet felting project to learn how to use a mold to shape an object.
Table of Contents
This is one of the first wet felting projects I tried when I first started to wet felt. It’s a super quick project (super quick for the felting world), but you end up with a beautiful Venetian mask in the end! I’m personally a big fan of learning a new craft, but also ending up with something cool with a beginner project. So this is a perfect option if you’re just starting to learn how to wet felt.
And of course Venetian masks can technically only be made in Venice, which is why this is a Venetian mask inspired mask. The true Venetian masks of Venice are also referred to as carnival masks for the Venetian carnival.
And if you are new to wet felting, I recommend reviewing my guide to wet felting in which you learn how to make a simple piece of fabric. This then builds on that lesson with just one extra step. Funnily enough, I ended up using the piece of felted fabric from the guide to make an even simpler masquerade mask. So it seems in my world, most felting roads lead to unique masquerade and Venetian masks!
Note: Some links in this post may contain affiliate links, which means at no cost to you, I may earn a commission.
Materials to Make Wet Felted Venetian Masks
This wet felting project uses the basic wet felting supplies. I’ve created a favorites list on Etsy to make it easy to find the basics. There’s also an option to simply get a wet felting kit to get started.
- 0.5 oz of Wool Fiber (make sure it’s not listed as “superwash,” otherwise it won’t felt)
- Felting Embellishments (such as viscose fiber, viscose thread, silk fiber, etc) – here is my collection of favorites
- Plastic Venetian Mask (choose one that is smooth on top. You will use this as your mold) – (This set from Amazon is similar to the ones I have)
- Aleene’s Fabric Stiffener and Draping Liquid (Amazon link)
- 30″ of 3/8 in Satin Ribbon
- Paint Brush
- Basic School Glue
- Binder Clips or Sewing Clips (these are the ones I have)
- Plastic Wrap
- Bubble Wrap (I like to reuse plastic Amazon packaging)
- Tulle or Mesh Fabric
- Olive Oil Soap (Amazon link)
- Ball Brause, optional (this is the one I have)
- Pool Noodle
- Towel
- Vinegar
Video Instructions to Wet Felt a Venetian Mask
Printable Wet Felting Shrinkage Cheat Sheet
Use this cheat sheet to know how big your starting wool layout should be. Download below or from the shop.
Download the Wet Felting Shrinkage Cheat Sheet
We’re committed to your privacy. AB Crafty uses the information you provide to contact you about relevant content and products. You may unsubscribe from these communications at any time.
Instructions to Make a Wet Felted Venetian Mask
Laying out the Fiber
Pull off thin sections of the wool and lay them in one direction on some bubble wrap. Then place another layer of fibers on top in the opposite direction. Repeat this so there are 4 layers of fiber. (These are the wools I recommend, but you can also blend your own wool)
Make sure to lay your fibers bigger than the actual finished item. Wool typically shrinks between 20-50% when felted so you have to factor that in. To make it easy, you can use the wet felting shrinkage calculator I made or download the handy cheat sheet.
If you’re not too worried about using up extra wool, make a 20in x 15in square. This will make sure it’s big enough to cover a basic carnival mask.
After you have your layers of wool, add the embellishments. This is personally my favorite part because I just start placing different viscose, silk, and other fibers across (this is a collection of my favorites). I like to use colors that go with the original wool, but go with whatever you’d like – this is your unique Venetian mask!
Felting the Wool
After adding the embellishments, cover everything with the mesh fabric.
Then mix the olive oil soap into some warm water and spray it over everything (this is the type I use). I like to use a ball brause for this (this is the one I have), but you can also add it with sponge or even by hand.
Carefully press the water into the fiber. The goal is to push water in, but push air out.
Then get your hands soapy with the olive oil soap and very gently rub the top of the mesh. Then continue to rub to begin felting the fibers together.
Tip: Lift the mesh up occasionally to make sure the fibers aren’t sticking to the mesh.
Once the fibers aren’t sticking to the mesh and aren’t moving around, it’s time to start rolling everything.
I go into much more depth about the felting and fulling process in my tutorial on wet felting basics, but to start, roll everything around a pool noodle (bubble wrap included). Then wrap a towel around that.
Roll it 100 times, giving the log a quarter turn every 25 rolls. Then unwrap everything and roll from the other side. You want to roll from all four sides and then flip the wool over and roll it from all four sides again.
Shaping the Venetian Mask
Once the wool fabric has shrunk a noticeable amount, you can start to shape it.
This is when you’ll want to take out the plastic Venetian mask (this is similar to the set I have). If it’s made of a porous material, wrap it in plastic wrap.
Place the wool fabric over the plastic carnival mask. Then get your hands nice and soapy and start rubbing the fabric over the mask.
What you’re doing is shrinking the fibers to the shape of the mask. Therefore make sure you go carefully along the edges and around the eye holes and nose so that it gets all the details.
Eventually you’ll have a shrunk piece of fabric that has the full details of the Venetian mask.
Once you feel good about the shape, remove the fabric from the plastic carnival mask. Then rinse it under warm until it doesn’t feel soapy anymore. Rinse off the plastic mask as well or wipe the soap off of it.
Then soak the fabric into water that has been mixed with a splash of vinegar. This brings the wool back to its normal slightly acidic state, which will bring back some shine and add durability.
Squeeze out the fabric without rinsing it and then place it over the plastic mask again. Make sure all of the details line up again.
Set it to dry over night.
Cutting out the Venetian Mask
Next use the plastic mask a template to draw the eye holes and outline.
Since my plastic carnival mask has that bit in the middle at the top, I just improvised connecting the lines in the middle.
Cut around the outline of the Venetian mask.
Then fold the fabric over and cut a slit in one of the eye holes. Make sure not to go past the outline.
Use this hole to put the scissors in so that you can easily cut out the eye holes. Repeat for the other eye.
And if you’re curious where I got these amazing tiny fabric scissors – here’s the Amazon link.
Stiffening the Venetian Mask
Because you wet felted the wool, the mask will hold its shape to some extent. The more you felt it down, the more stiff it will be. However, to make sure your Venetian masks are more solid, you can use stiffener.
I use Aleene’s Fabric Stiffener and Draping Liquid mixed with a little bit of water to thin it out. You can find it on Amazon.
Use a brush to apply the stiffener to the back of the mask.
Place it back on the plastic mask covered in plastic to make sure it hardens to the shape you want.
Once it dries you can see how much it holds it shape!
Adding the Ribbons to the Venetian Mask
Cut the ribbon to two pieces measuring 15″ each.
Then place some school glue on the top corner of the mask and attach the ribbon. Repeat on the other side.
You can either hold them in place for a few minutes or if you’re impatient like me, use some binder clips or sewing clips (these are the ones I have).
Let the glue dry and remove the clips.
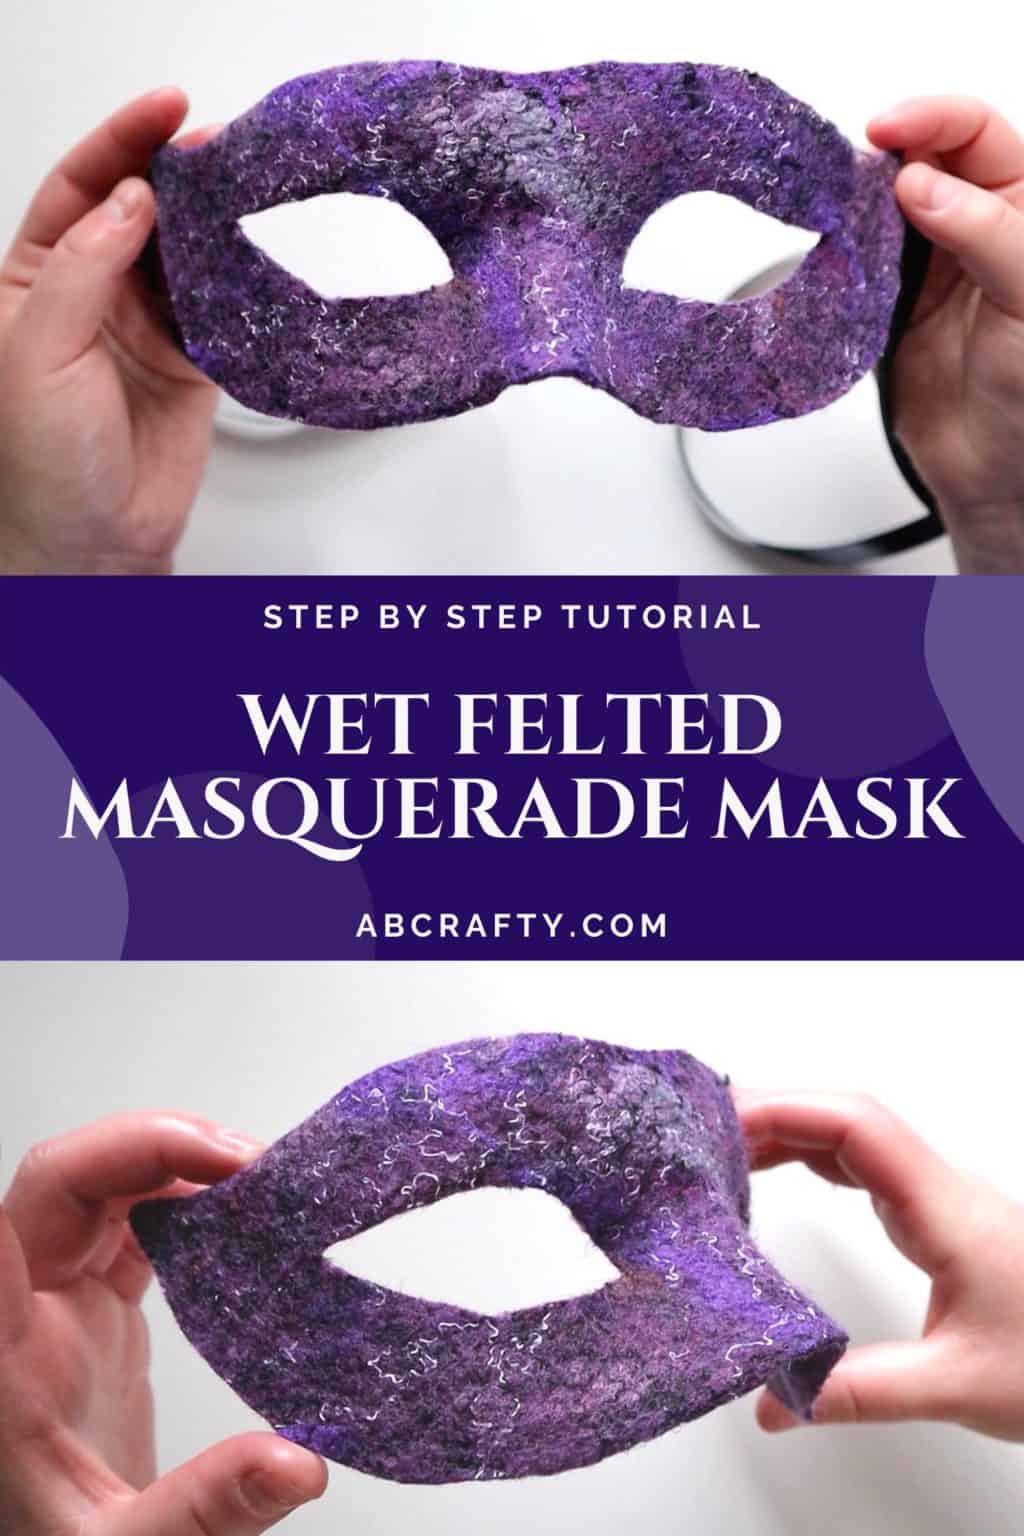
Then your wet felted Venetian mask is complete!
Get the latest DIY tutorials, reviews, and crafting updates
You'll never be spammed and can unsubscribe at any time
And here’s a comparison of the fully wet felted Venetian mask looks like to the simple mask. Both came out beautiful, but I’m naturally partial to the fully shaped one.
Now it’s time for Carnival!
Other Felting Projects to Try
Get the latest DIY tutorials, reviews, and crafting updates
You'll never be spammed and can unsubscribe at any time
Wet Felted Venetian Mask
Materials
- 0.5 oz Wool Fiber make sure it's not superwash wool
- Embellishment Fibers viscose, silks, ramie, nepps, etc
- Plastic Venetian Mask
- Plastic Wrap
- Vinegar
- Aleene’s Fabric Stiffener and Draping Liquid
- 30 inches Satin Ribbon 3/8 in wide
- Basic School Glue
- Binder Clips or Sewing Clips
Equipment
- Scissors
- Bubble Wrap
- Mesh Fabric
- Olive Oil Soap
- Pool Noodle
- Bucket
- Paint Brush
- Towel
Instructions
- Pull off thin sections of the wool and lay them in one direction on some bubble wrap. Then place another layer of fibers on top in the opposite direction. Repeat this so there are 4 layers of fiber.Make sure to lay your fibers bigger than the actual finished item. Wool typically shrinks between 20-50% when felted so you have to factor that in. To make it easy, you can use the wet felting shrinkage calculator I made or download the handy cheat sheet.0.5 oz Wool Fiber
- Add the embellishmentsEmbellishment Fibers
- Cover everything with the mesh fabric. Then mix the olive oil soap into some warm water and spray it over everything. I like to use a ball brause for this, but you can also add it with sponge or even by hand.
- Carefully press the water into the fiber. The goal is to push water in, but push air out.Then get your hands soapy with the olive oil soap and very gently rub the top of the mesh. Then continue to rub to begin felting the fibers together.
- Roll everything around a pool noodle (bubble wrap included). Then wrap a towel around that. Roll it 100 times, giving the log a quarter turn every 25 rolls. Then unwrap everything and roll from the other side. You want to roll from all four sides and then flip the wool over and roll it from all four sides again.
- Place the wool fabric over the plastic carnival mask. Cover it in plastic wrap if it's made of porous material.Then get your hands nice and soapy and start rubbing the fabric over the mask.
- Once you feel good about the shape, remove the fabric from the plastic carnival mask. Then rinse it under warm until it doesn’t feel soapy anymore. Rinse off the plastic mask as well or wipe the soap off of it.Then soak the fabric into water that has been mixed with a splash of vinegar.
- Squeeze out the fabric without rinsing it and then place it over the plastic mask again. Make sure all of the details line up again.
- Next use the plastic mask a template to draw the eye holes and outline.
- Cut around the outline of the Venetian mask.Then fold the fabric over and cut a slit in one of the eye holes. Make sure not to go past the outline.
- Use this hole to put the scissors in so that you can easily cut out the eye holes. Repeat for the other eye.
- Mix Aleene’s Fabric Stiffener and Draping Liquid with a little bit of water to thin it out.
- Use a brush to apply the stiffener to the back of the mask.
- Place it back on the plastic mask covered in plastic to make sure it hardens to the shape you want.
- Cut the ribbon to two pieces measuring 15″ each.Then place some school glue on the top corner of the mask and attach the ribbon. Repeat on the other side.
- You can either hold them in place for a few minutes or if you’re impatient like me, use some binder clips or sewing clips.
- Let the glue dry and remove the clips.Then your wet felted Venetian mask is complete!