Ice Tie Dye
Home » Blog » DIYs and Craft Projects » Ice Tie Dye
-
Daniela Kretchmer
- Updated: Oct 27, 2023
- Clothing, Dyeing, Tie Dye
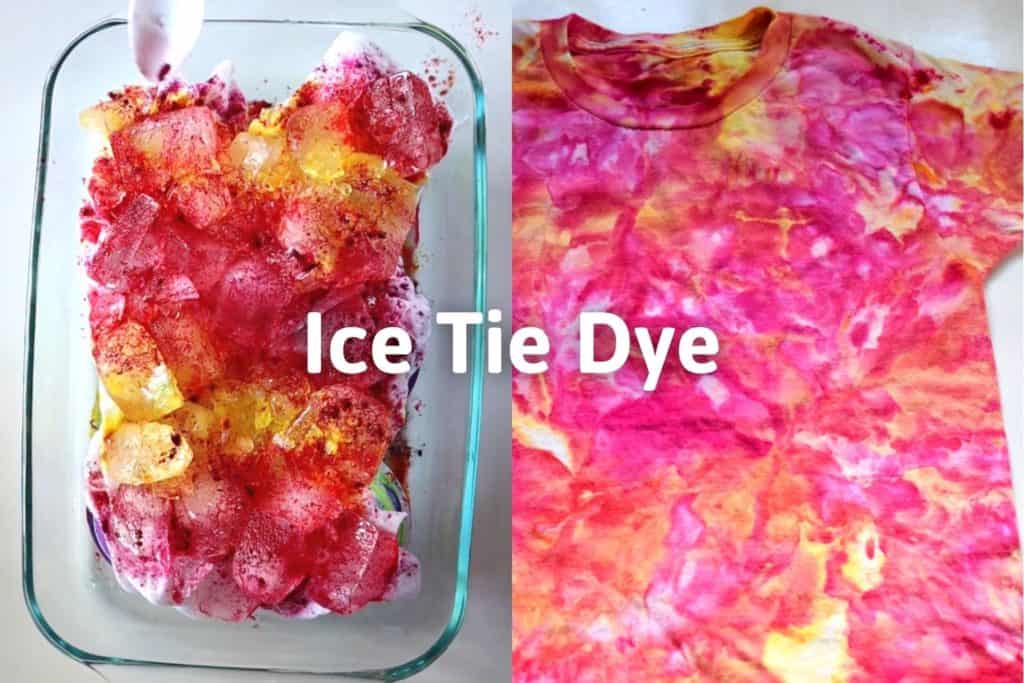
Learn how to ice tie dye to create a unique watercolor dye effect. Follow along step by step with two ice dye techniques.
Table of Contents
Ice tie dye is a different tie dye technique that makes beautiful and unpredictable results. You can use it on anything you’d want to tie dye including shirts, socks, shorts, a crop top, and even shoes. Normally when tie dyeing you mix dye powder with water to create a liquid dye. You then pour this dye onto the clothing, one color at a time.
When you ice dye, however, you don’t actually mix the dye powder or tie dye kit with water. Instead, you use the powder on its own and sprinkle each color over ice. As the ice melts, it mixes with the the powder and spreads into the clothing. The colors can also mix together, creating incredible marble and watercolor effects.
I also used this technique to dye frisbee golf discs so you don’t have to limit yourself to clothes!
Note: Some links in this post may contain affiliate links, which means at no cost to you, I may earn a commission.
Don’t forget to pin it so you can come back to it later!
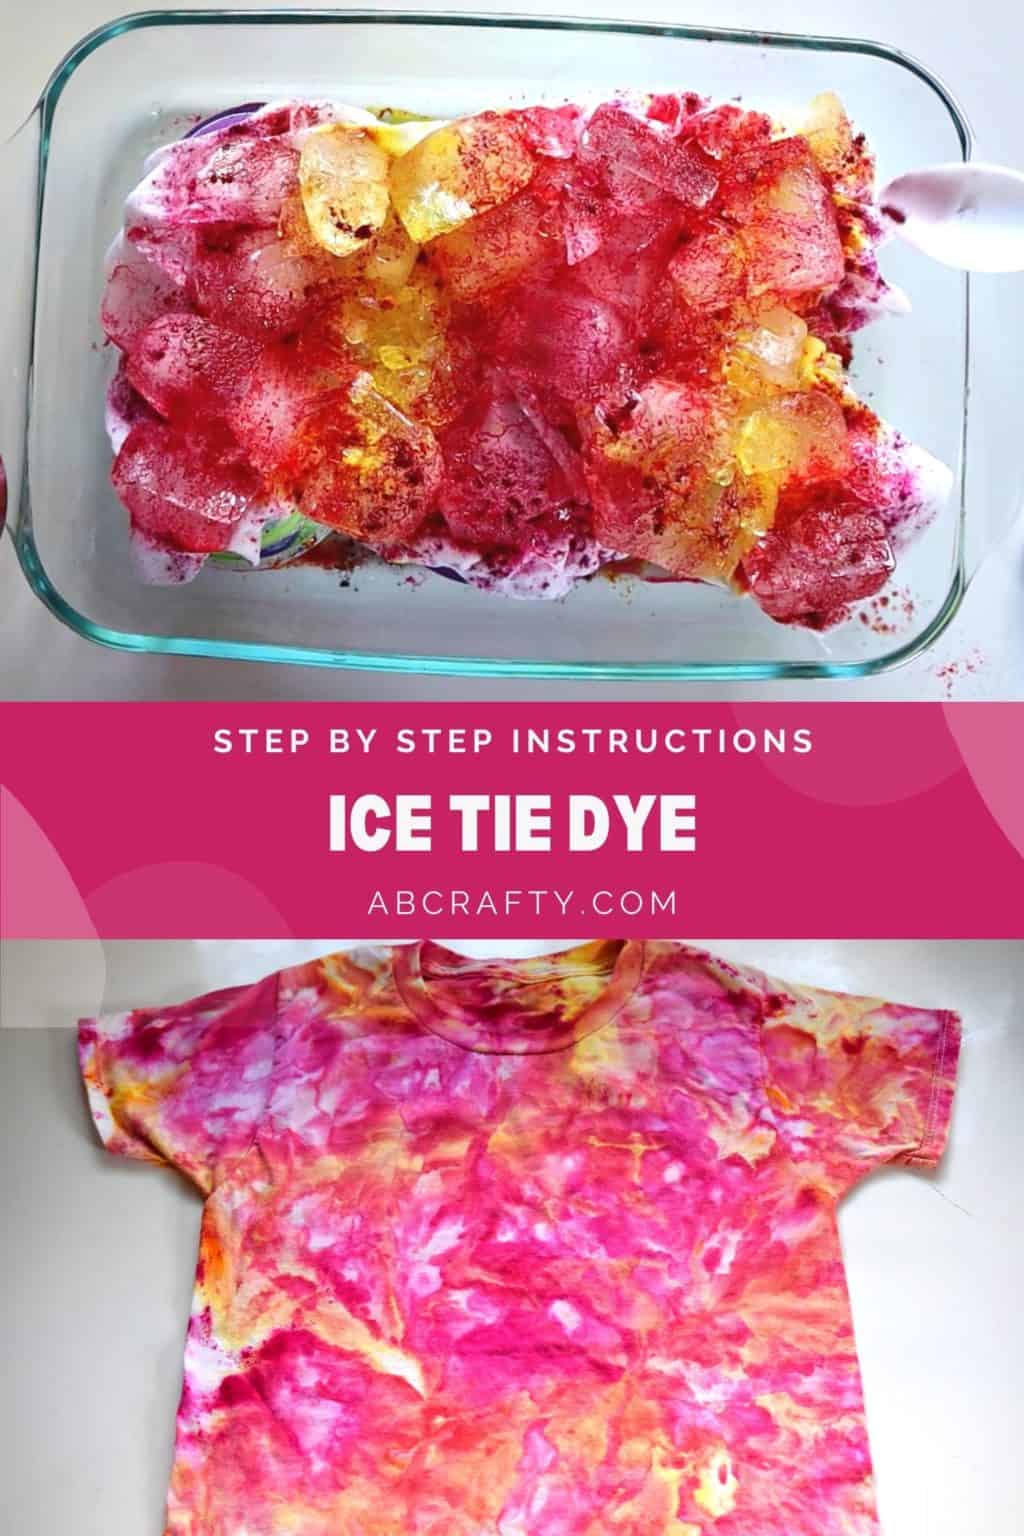
Materials for Ice Tie Dye
- White Cotton Shirt – Amazon
- Tie Dye Kit (I recommend this one in jars with soda ash or you can see my full list of the best tie dye kits)
- Soda Ash (if the kit doesn’t have soda ash) – Amazon
- Zip Ties or Rubber Bands
- Ice
- Bowl or Dish
- Empty Containers or Wire Rack
- Plastic Spoon (optional)
- Face Mask or Respirator Mask
How to Ice Tie Dye Step by Step
Prepare the Shirt
Start by soaking your shirt or whichever clothing you are going to ice dye in a soda ash mixture. Mix 1 cup of soda ash (which you can get on Amazon) with 1 gallon of water. (This is the shirt I’m using)
Even if you have a one step dye kit that doesn’t require the soda ash step, I always recommend doing it so that your colors will be the most vibrant.
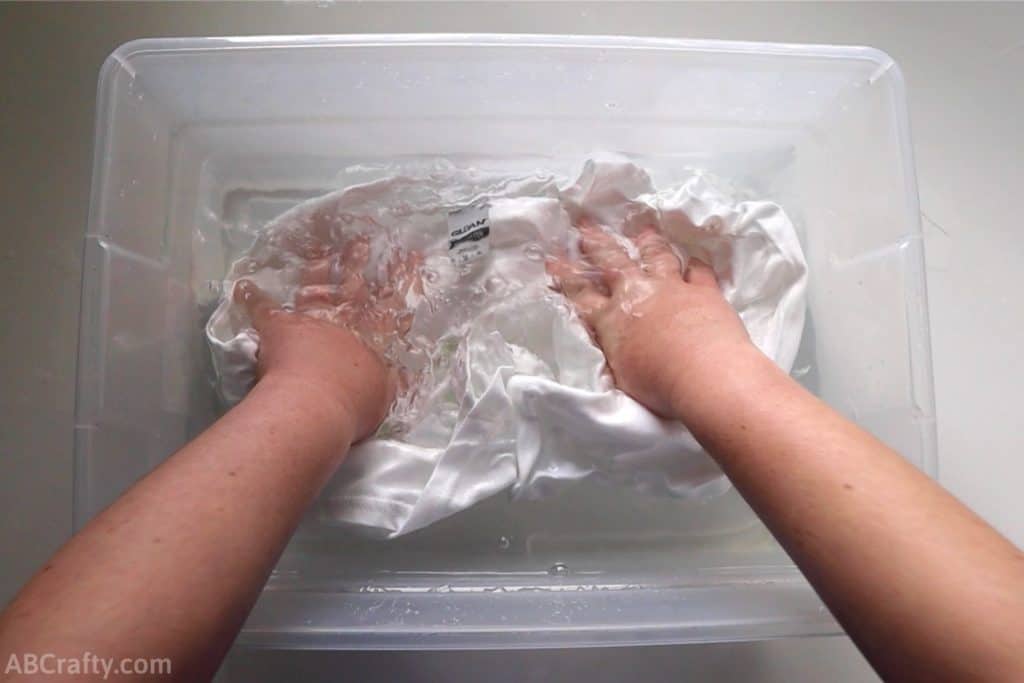
Then squeeze out the excess liquid and scrunch up the shirt as though you’re doing a crumple dye.
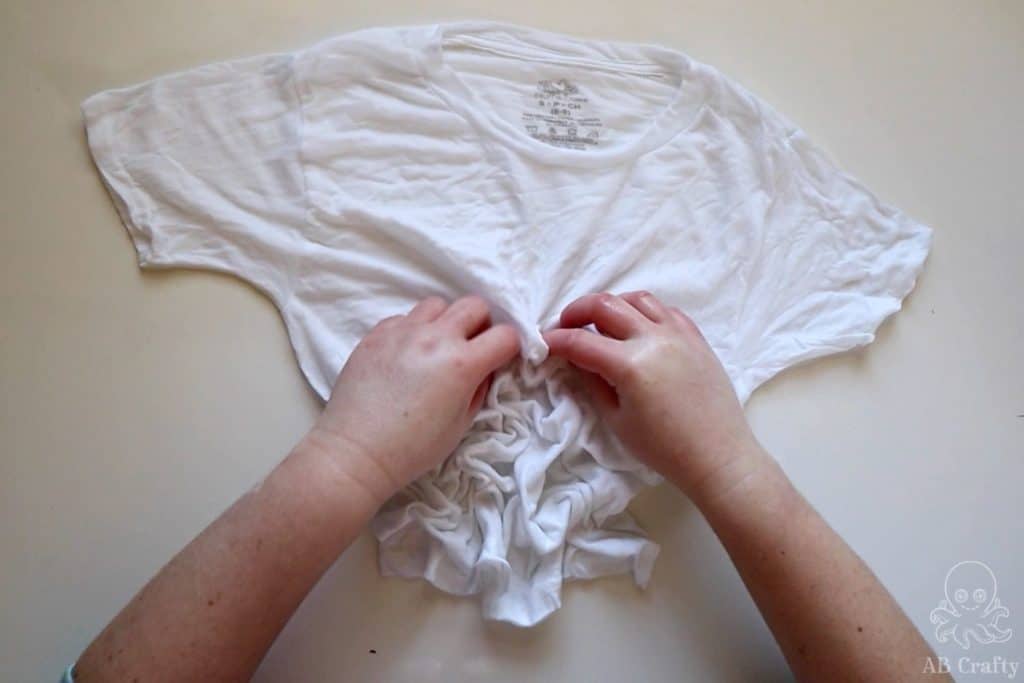
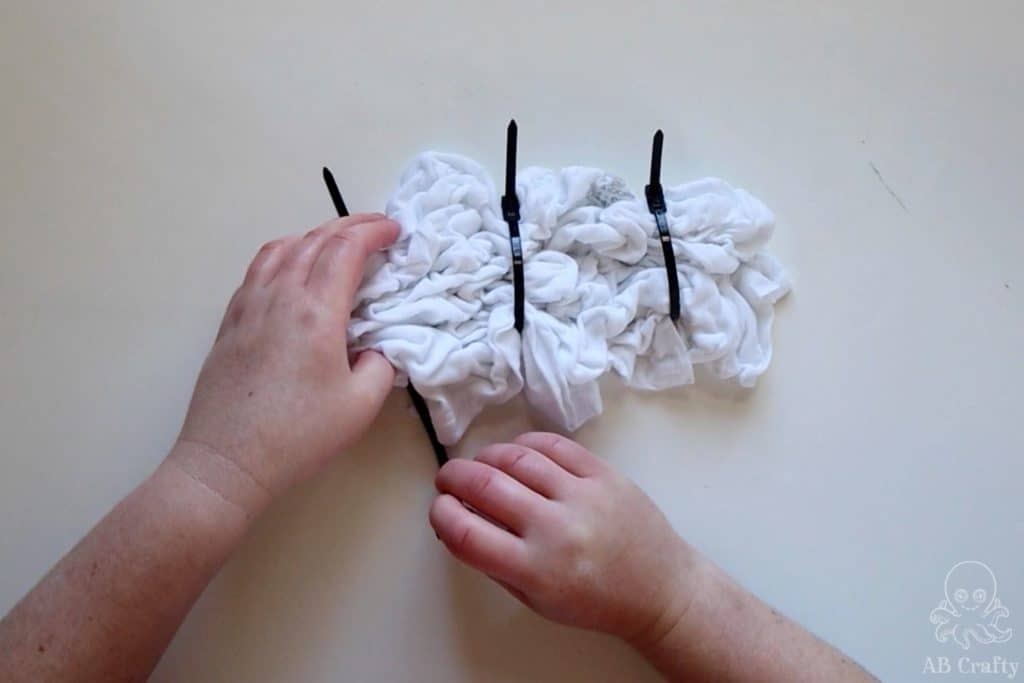
Secure the shirt with zip ties or rubber bands. (These are the ones I have)
Prepare for the Ice Dye
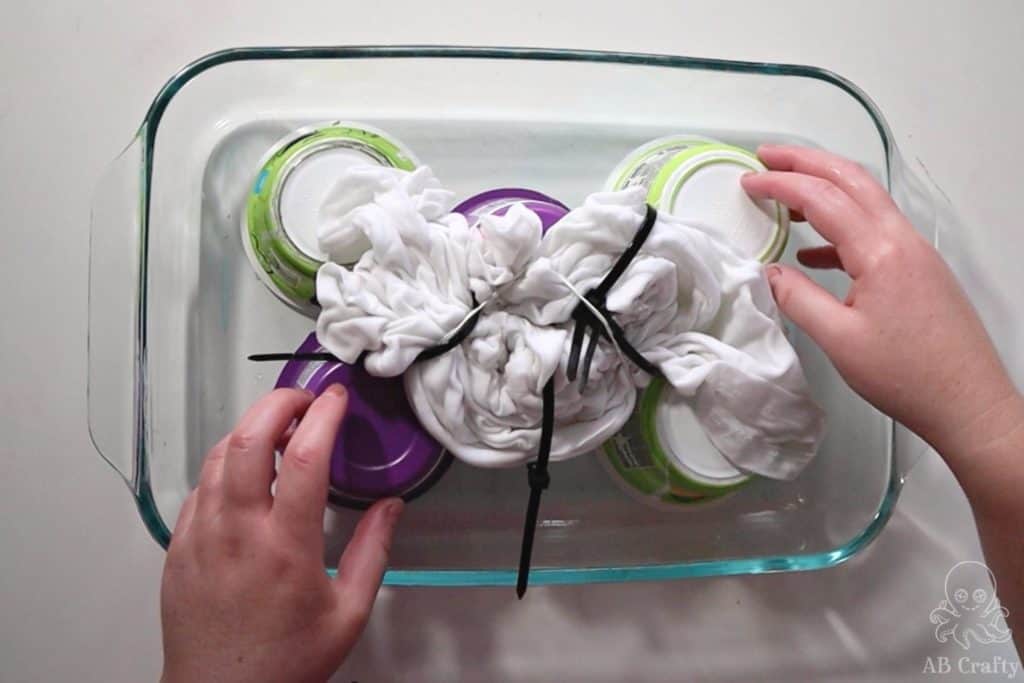
You want to place the tied up shirt into a bowl or dish, but elevated. To elevate it I like to use empty yogurt containers flipped upside down, but a wire rack would also be great.
The reason you want to elevate the shirt is when the ice melts, it will fill the bowl and you don’t want it to touch the shirt. Therefore whatever you use to elevate your shirt, make sure it raises it high enough.
Note: The dishes should not be used for food after using it for ice tie dye (or any dyeing).
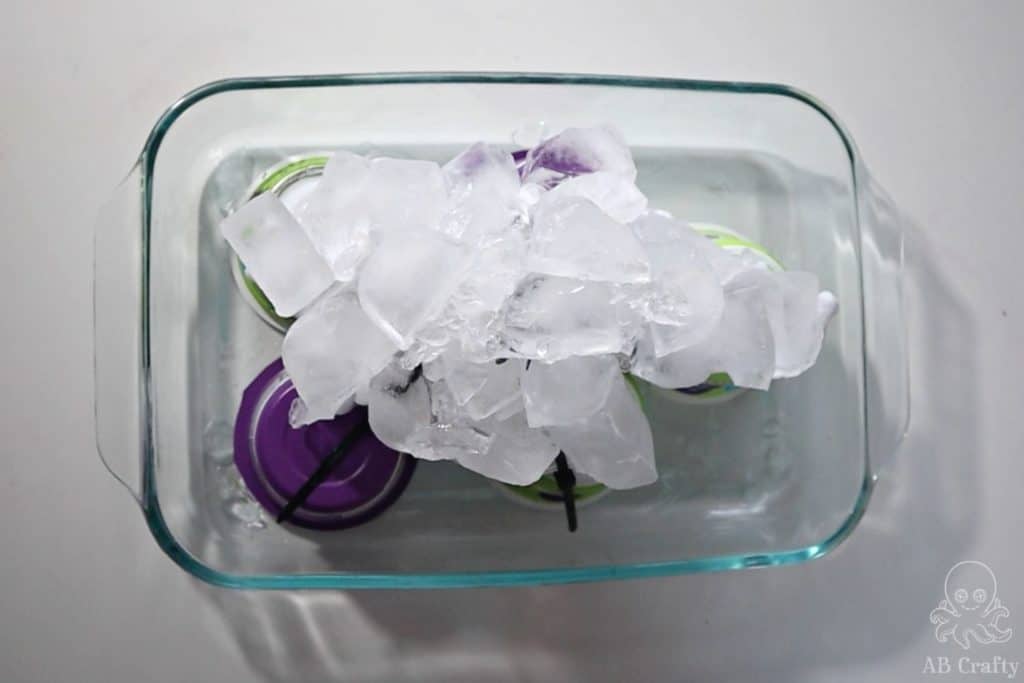
Cover the shirt with ice cubes.
Normally when dyeing you prepare the dye by mixing it with water, but the key to ice tie dye is you want to use the powdered dye. However, because you’ll be working with the powder directly, put on a mask.
Also make sure you’re working in a well ventilated area away from any pets. The dye should not be inhaled.
Add the Dye to Ice Tie Dye
When you’re ready, start with the lightest color and sprinkle the powdered dye over the ice. (This is the kit I recommend for this project)
Since I have started buying larger containers of dye I simply use a spoon to scoop it from the jar and sprinkle it. If you’re using a tie dye kit you can shake it directly from the bottle.
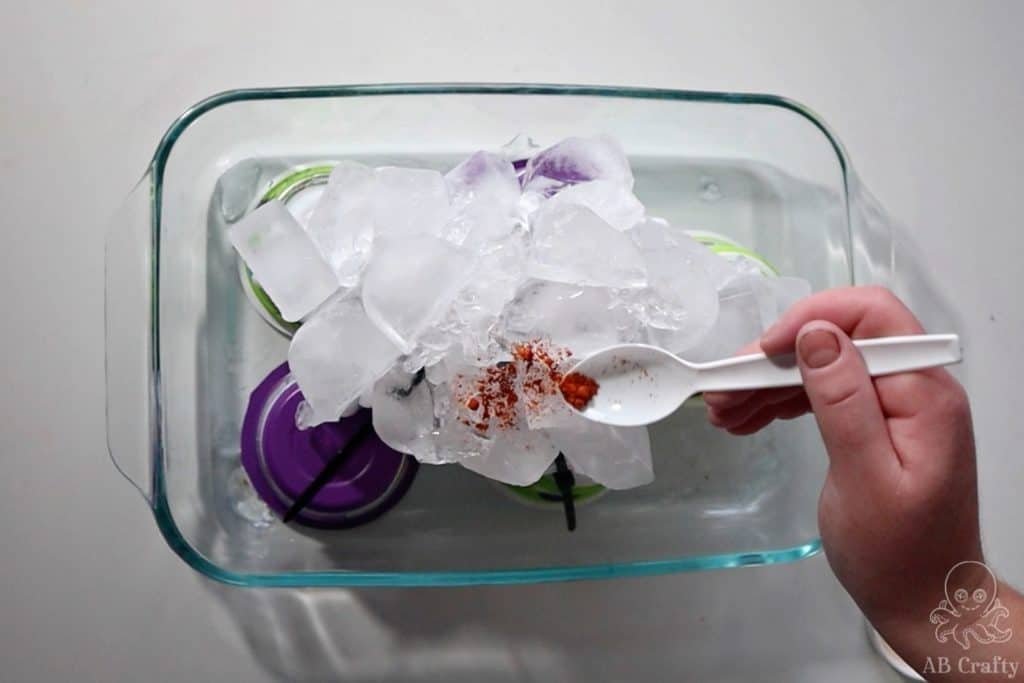
Then move on to the next color and sprinkle more dye over the ice.
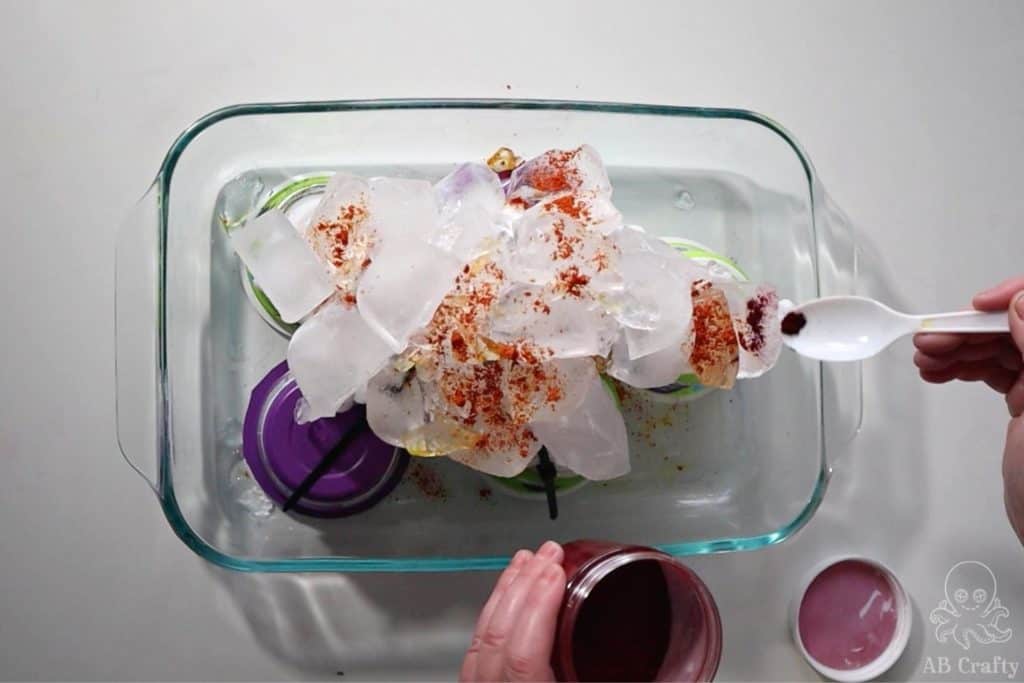
Continue until you use all the colors you want. Keep in mind, the colors will mix as the ice melts so make sure you put colors together that you want to mix. For example, blue and red will make purple.
You can also go back and add more on top if you’d like.
The more dye you add, the deeper the color will be and more the colors will mix. If you want more of a watercolor dye effect, use less dye.
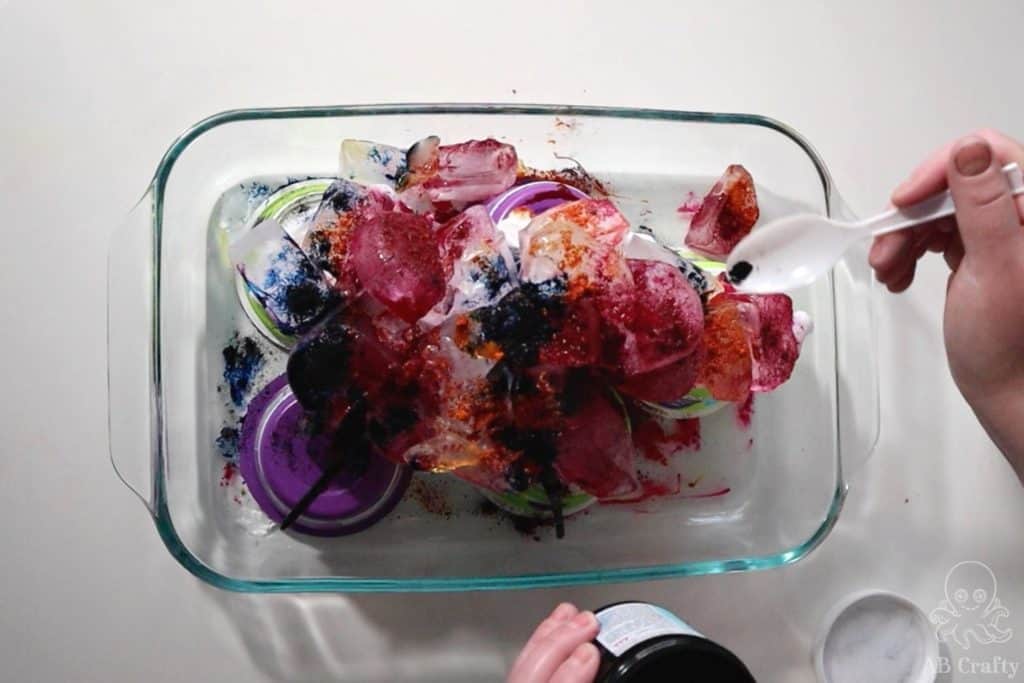
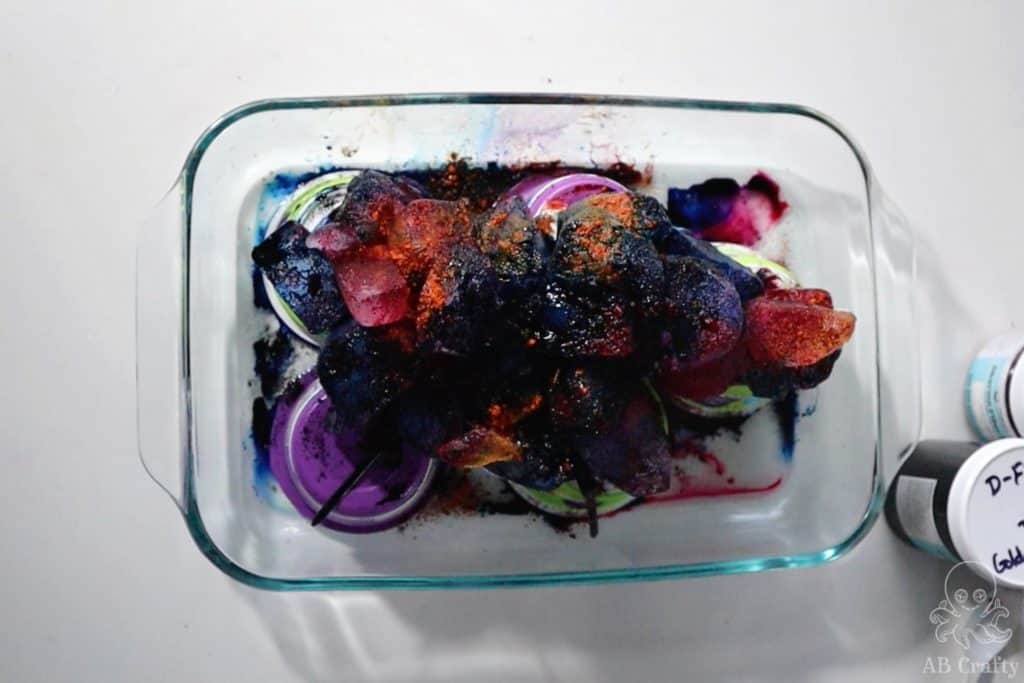
Now let it sit and melt. The time it will take depends on the temperature and how much ice you use. For mine it took around 12 hours for all the ice to melt.
You can see it’s already been a few minutes here and the ice started to melt and drip onto the shirt underneath.
Get the latest DIY tutorials, reviews, and crafting updates
You'll never be spammed and can unsubscribe at any time
After the ice is melted, I like to leave it so the dye can set for a full 24 hours.
Then remove it from the dish and rinse it in the sink until the water runs clear. Lastly, throw it in the washing machine with other tie dyed clothes (just in case there’s remaining dye). Then your ice dye shirt is ready to wear!
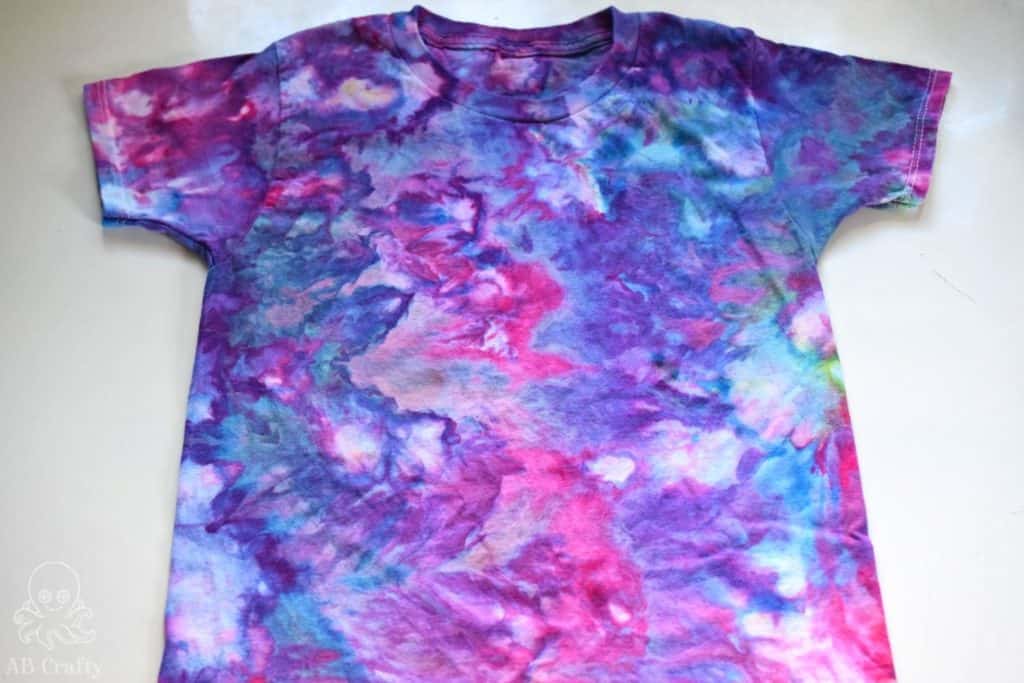
Another Ice Tie Dye Method
For another ice dye technique, instead of pre-crumpling and tying the shirt, place it directly on the containers. You can crumple it a bit as you place it.
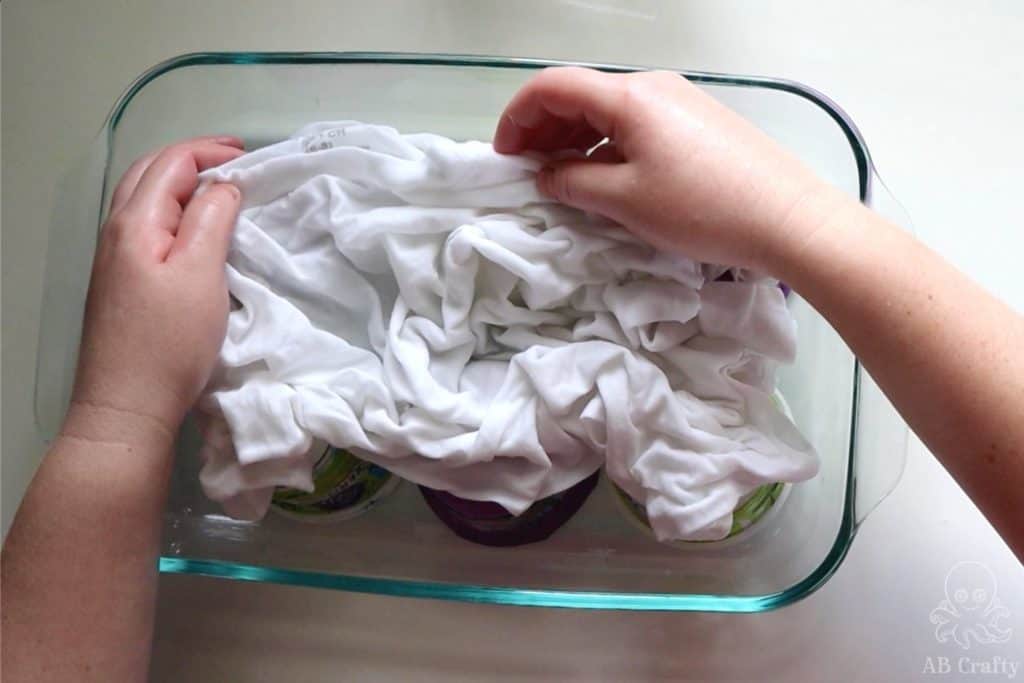
Then put the ice on top of the shirt, starting with where the yogurt containers are. This way the shirt will be secure. If you place the ice where there isn’t a support underneath, the ice will weight down the shirt.
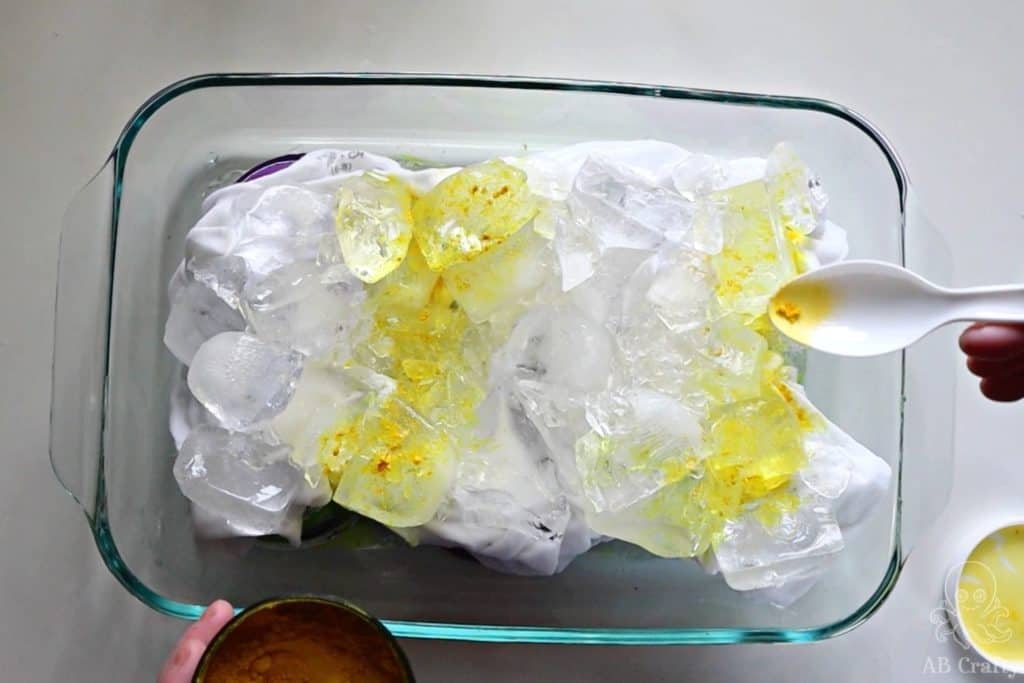
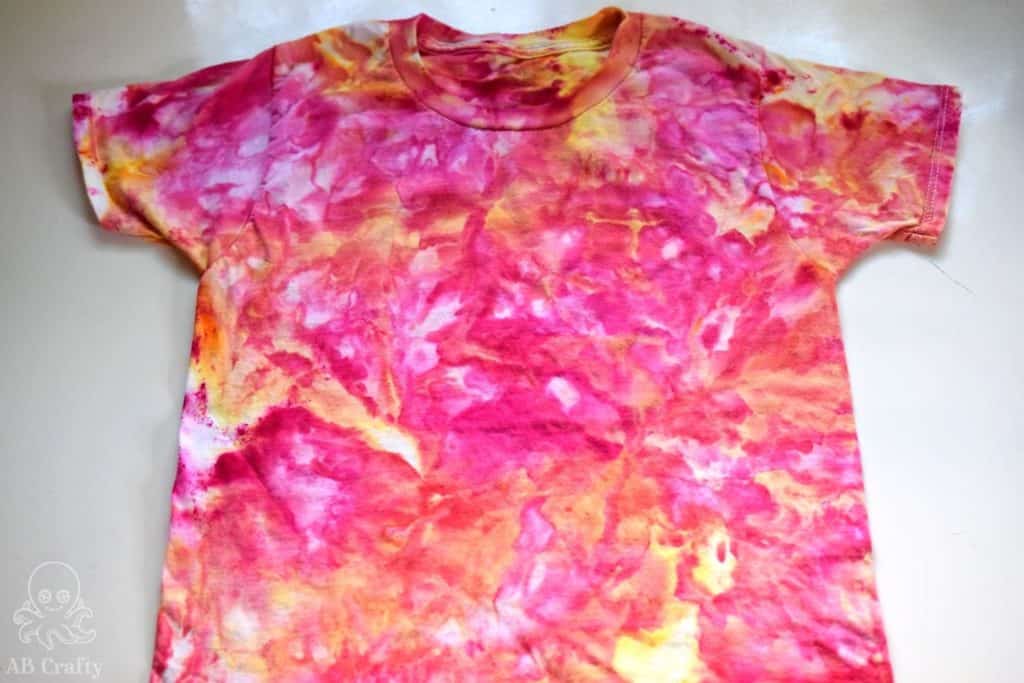
For this one I did rows of each color instead of placing the dye randomly. I also only used yellows and reds, leaving room in between so that the colors won’t all mix.
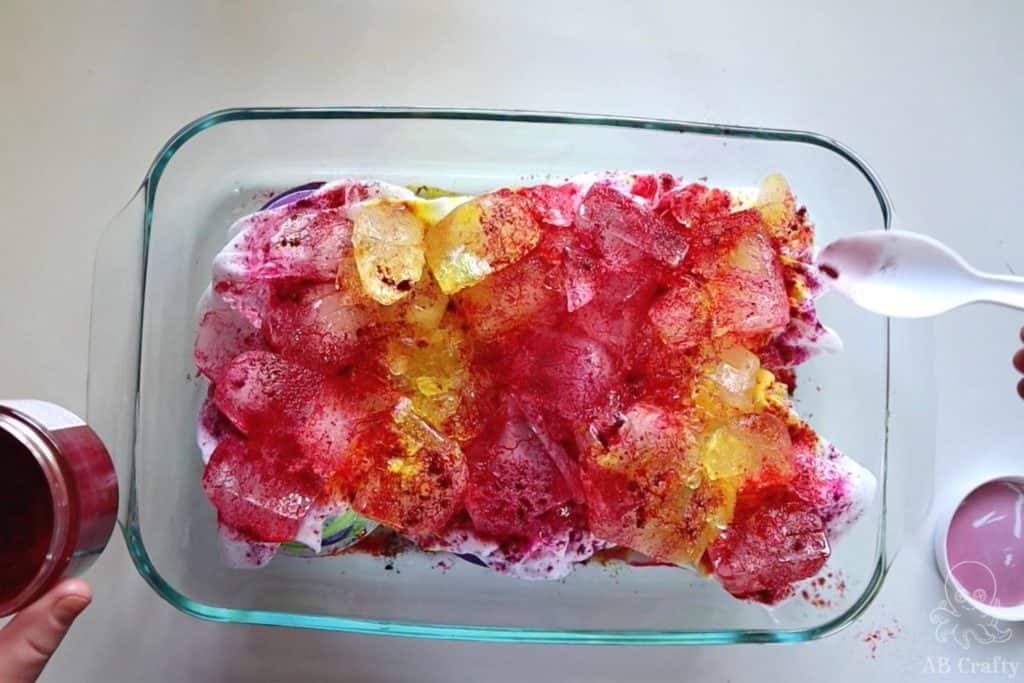
I absolutely loved making these ice tie dye shirts and am looking forward to making more. Definitely play around with using different amounts of dye and different colors. When you make them, I’d love to see them! Tag me on Instagram @ab.crafty.
For more traditional tie dye, check out all of my tie dye patterns.






9 thoughts on “Ice Tie Dye”
Thanks for this tutorial! The pictures are super helpful! I don’t have a wire rack, so it’s nice to see other options to use instead.
You’re very welcome, glad you found it helpful! I also don’t have a dedicated wire rack right now for craft projects so while using one definitely would be convenient, this is at least a reasonable alternative.
My wife loves tye dyes. This gives me an idea to do a bed spread for her birthday. Do you think that’s possible? How much of the ash would you recommend?
Love that! Absolutely it would be possible. You’ll want to use enough water and soda ash mixture to be able to soak the bedspread so it ultimately depends on the size of the bedspread. I recommend figuring how much water you would need and then figuring out how much soda ash you’d need. It’s likely you’ll need a few gallons of water which would mean a few cups of soda ash.
I’m planning to do this with a small group. How much powder do you think to cover an adult small t-shirt? We would do red and blue, for a patriotic theme. Wondering how many tablespoons per shirt?
It doesn’t take much! It would be much less than a tablespoon per shirt. It’s more like a 1/2 tsp. Something to keep in mind is using red and blue would create purple if they mix. So if you want to prevent mixing, keep the colors far apart. You could also consider only adding ice to some areas and a single color on that section of ice.
Beautiful work! What all colors did you use on the first shirt? And do you rinse after the soda ash soak?
Thanks!
Thanks so much! I used a blue, red, and a small bit of yellow.
You leave the soda ash in – you don’t want to rinse it out.
Wow! I like this Tye and Dye pattern.I really want to doit.