20+ Easy Tie Dye Patterns and Designs (Step-By-Step Tutorials)

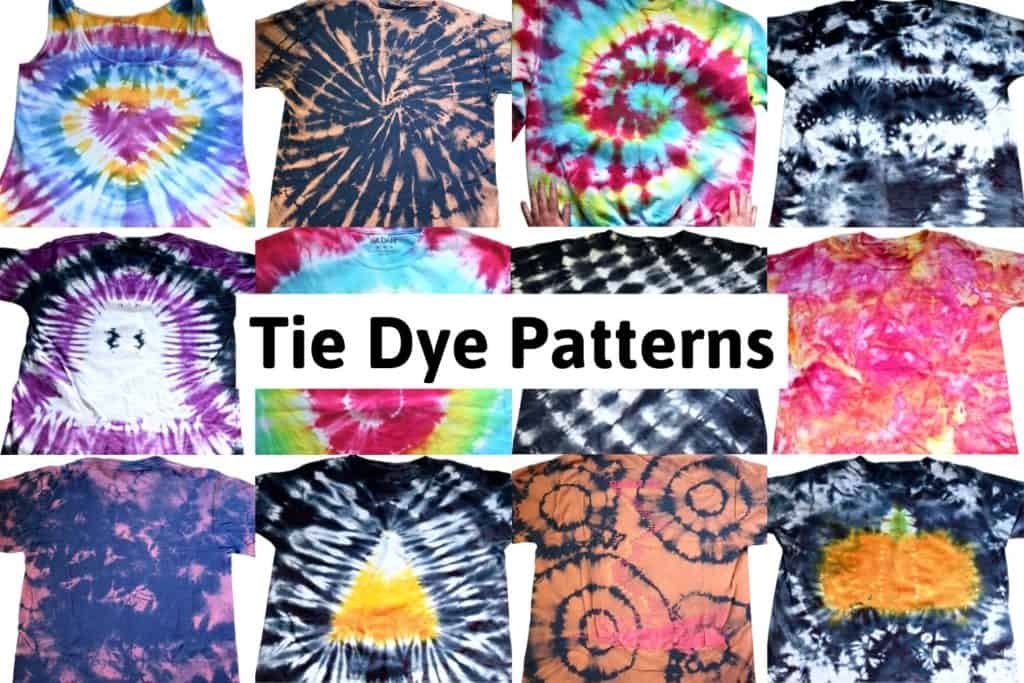
12 different tie dye designs on different shirts with the title "tie dye patterns"

Compilation of the different tie dye patterns on AB Crafty. Over 17 tie dye designs and ideas.

Table of Contents

Welcome to the ultimate compilation of tie dye patterns! To make it easy to explore my different tie dye patterns, I’ve compiled all of the different tie dye designs into one place. Whether you’re a beginner or looking for intermediate folding techniques, this list covers over 20 unique tie dye designs with step-by-step instructions.

Be sure to check out this guide on the best tie dye kits.

Also, Jacquard has been amazing and is offering my readers 20% off with code ABCRAFTY – they have everything you need for all types of tie dye designs and techniques!

Note: Some links in this post may contain affiliate links, which means at no cost to you, I may earn a commission.

Get the latest DIY tutorials, reviews, and crafting updates

You'll never be spammed and can unsubscribe at any time

Don’t forget to pin it so you can easily come back to it later!

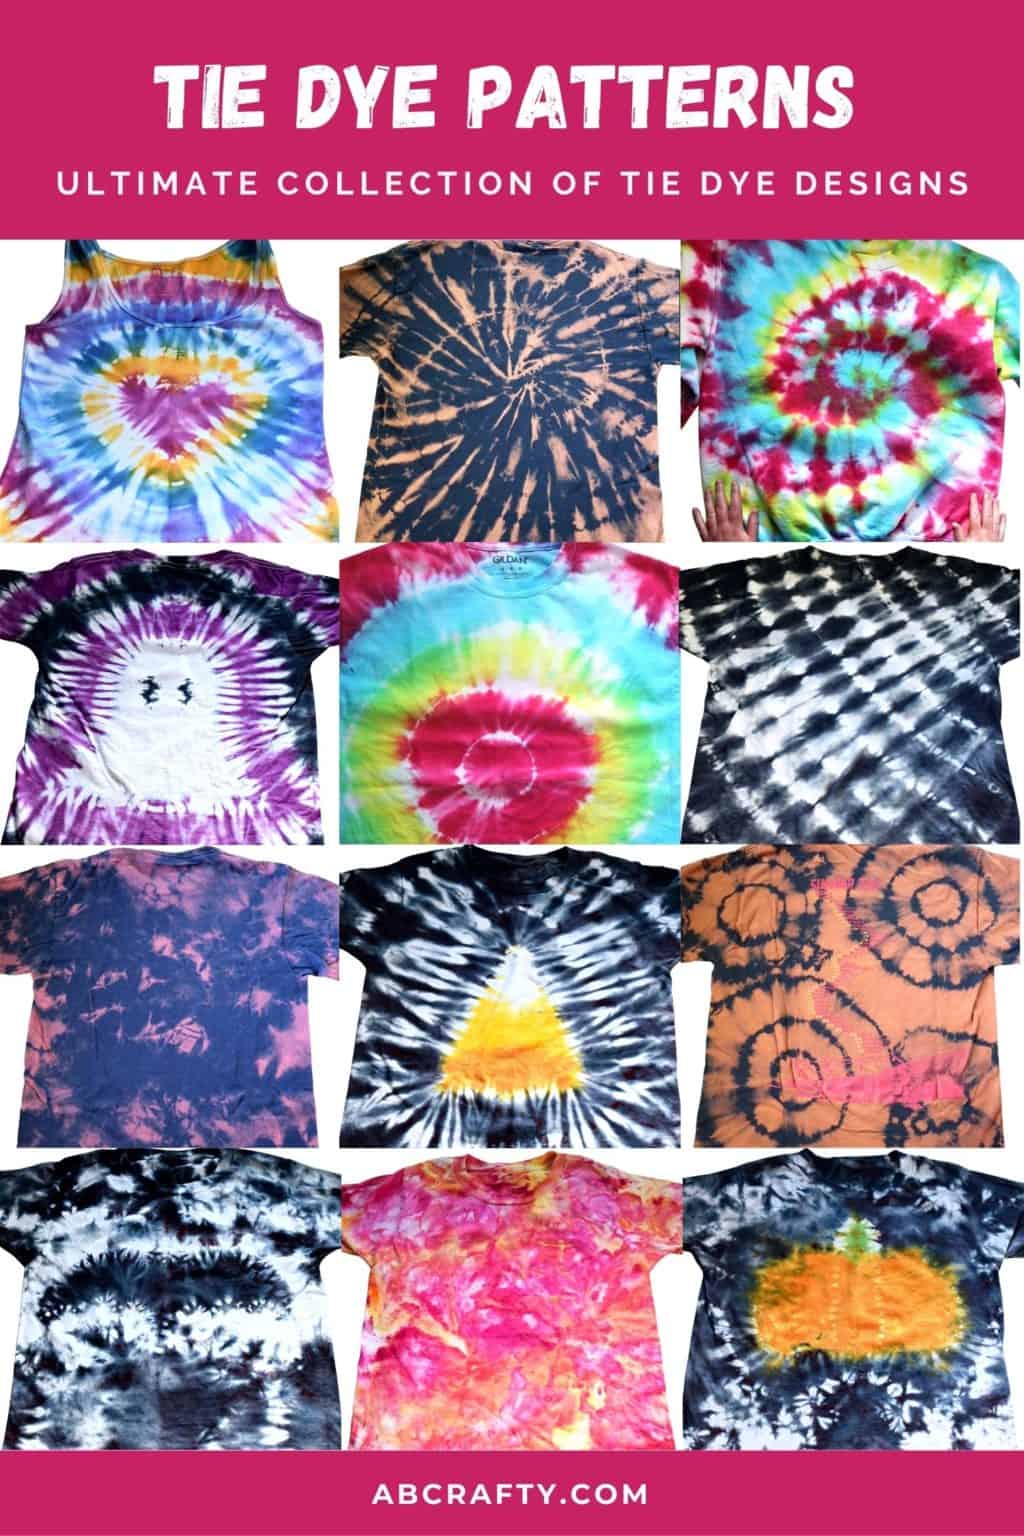
12 different tie dye shirts with the title "tie dye patterns - ultimate collection of tie dye designs, abcrafty.com"

Tie Dye Patterns at a Glance

Pattern Name Design Difficulty Level Special Materials Needed
Spiral

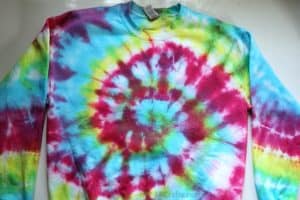
rainbow tie dye sweatshirt on a table with a spiral tie dye pattern

Intermediate
None (Standard Rubber Bands/Zip Ties)
Rainbow Bullseye

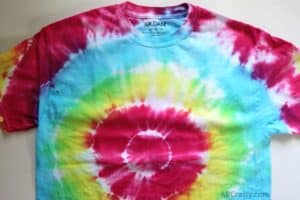
finished tie dye shirt with a rainbow target tie dye pattern

Beginner
None (Standard Rubber Bands/Zip Ties)
Corner Bullseye

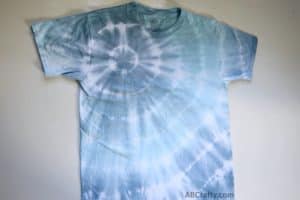
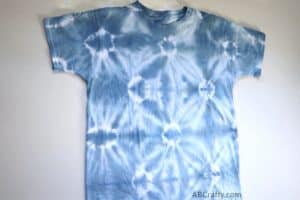
finished corner bullseye shibori tie dye shirt in shades of blue and indigo

Beginner
None (Standard Rubber Bands/Zip Ties)
Crumple / Scrunch

finished scrunch tie dye shirt with rainbow colors

Beginner
None (Standard Rubber Bands/Zip Ties)
Alternating Stripes

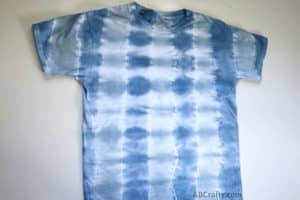
striped shibori tie dye shirt in indigo and grey

Beginner
None (Standard Rubber Bands/Zip Ties)
Rainbow Stripes

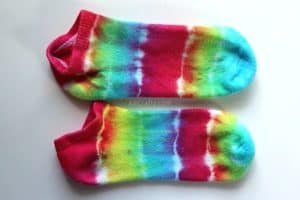
two rainbow striped tie dye socks

Beginner
None (Standard Rubber Bands/Zip Ties)
Two-Toned Stripes

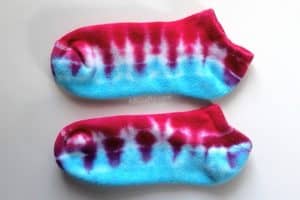
two blue and red tie dye socks with the blue on bottom and red on top

Beginner
None (Standard Rubber Bands/Zip Ties)
Diagonal Stripes

finished diagonal striped black tie dye shirt

Beginner
None (Standard Rubber Bands/Zip Ties)
Spots

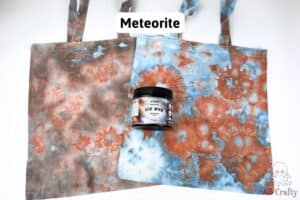
jacquard ice dye meteorite on two tote bags with two different designs

Beginner
None (Standard Rubber Bands/Zip Ties)
Spiral Bleach Dye

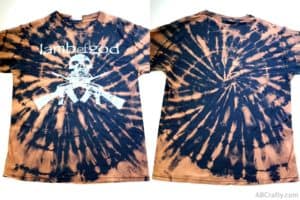
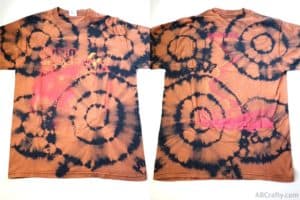
front and back of a reverse tie dye lamb of god t shirt in a spiral tie dye pattern

Intermediate
Bleach
Crumple Bleach Dye

a bleach tie dye navy boston t shirt with pink splotches from scrunching

Beginner
Bleach
Multi-Target Bleach Dye

bleach tie dye lamb of god t shirt with a target tie dye pattern

Beginner
Bleach
Circle Bursts

finished shibori tie dye shirt with small bursts of circles

Intermediate
None (Standard Rubber Bands/Zip Ties)
Heart

finished tie dye tank top with a rainbow heart tie dye pattern

Intermediate
Washable Marker
Star

finished shirt with a star tie dye design in purple, blue, and green

Intermediate
Washable Marker
Bat

finished black tie dye bat shirt

Advanced
Washable Marker, Thread, & Needle
Pumpkin

finished tie dye pumpkin shirt with a pumpkin in the middle and black tie dye edges

Advanced
Washable Marker, Thread, & Needle
Ghost

finished ghost tie dye shirt with purple and black stripes

Intermediate / Advanced
Washable Marker
Candy Corn

finished candy corn tie dye shirt with candy corn design in the middle and black around the edge

Intermediate
Washable Marker
Ice Tie Dye

finished blue, purple, and pink ice tie dye shirt

Beginner
Ice Cubes, Wire Rack / Risers

Free Downloadable Templates

Some of the patterns below use templates to easily draw the perfect shape! You can download them all for free, scale them to the size you want, and print them out. You can also download them from the shop.

4 tie dye templates in the shape of a heart, pumpkin, bat, and ghost

Download the Free Templates
for the Tie Dye Patterns

We’re committed to your privacy. AB Crafty uses the information you provide to contact you about relevant content and products. You may unsubscribe from these communications at any time.

General Instructions and Supplies

For all of the designs, make sure the item is wet before shaping and tying it. Then if you’re using a tie dye kit or other dye (as opposed to bleach-dyeing), soak it in soda ash for at least 20 minutes before adding the dye to make sure it’s the most vibrant. You can find soda ash on Jacquard (use code ABCRAFTY for 20% off) or Amazon.

Recommended Supplies

Get the latest DIY tutorials, reviews, and crafting updates

You'll never be spammed and can unsubscribe at any time

Classic Tie Dye Patterns

This is a collection of the classic and more traditional tie dye designs. When I started out making tie dye as a kid, these were my go-to designs. And even now, the spiral pattern is still one of my favorite!

Spiral Tie Dye Pattern

This is still one of my favorite tie dye designs and is pretty much my go-to. You can do it in a rainbow pattern using 3 colors like I did in my tie dye sweatshirt tutorial or you can make it in any color you want. (This was the kit I used for this one, which you can get for 20% off with code ABCRAFTY)

  1. Lay your damp garment flat on your work surface.
  2. Pinch the middle of the shirt and twist. The key is to keep the twist tight and help the folds to make a more perfect spiral.
  3. Tie it with evenly spaced rubber bands or zip ties, crisscrossing through the center.
  4. For a rainbow, dye the opposite sections in yellow. Then dye the next sections red and then the next ones blue. Squeeze the colors near the rubber bands to help them blend.

Tip: The key is to keep the twist tight and help the folds to make a more perfect spiral. Then tie it with evenly spaced rubber bands (this is the pack I have).

You can also make the design using the bleach method.

Rainbow Bullseye Tie Dye Pattern

This design creates vibrant concentric circles radiating out from the center.

  1. Pinch the middle of the shirt and lift up, gathering the rest of the shirt.
  2. Tie it with rubber bands, spacing them evenly down the gathered “cone” (this is the set I have).
  3. Dye each section a different color in rainbow order. I used red, yellow, then blue. Be sure to squeeze the colors at the rubber bands to help them blend.

Corner Bullseye Tie Dye Pattern

This one is similar to the rainbow bullseye. However, instead of pinching the shirt in the middle, pinch it in the corner.

  1. Pinch a bottom corner or sleeve corner of the damp shirt and lift up to create a long cylinder.
  2. Tie rubber bands at regular intervals along the length.
  3. You can use a single color or multiple shades of the same color, like in this all blue tie dye shirt.
finished corner bullseye shibori tie dye shirt in shades of blue and indigo

Multi-Target Tie Dye Design

Taking the target tie dye design a step further, you can do multiple to make a multi-target pattern.

  1. Pinch different sections of the shirt to tie off small gathered points.
  2. Secure each small point with 2-3 rubber bands.
  3. Dye each target ring, then apply a background color to the remaining fabric. Then you can dye it or use the bleach dye method like I did for this one.

Crumple or Scrunch Tie Design

This is known as crumple tie dye or scrunch tie dye. It’s simple enough and also one of my favorites because you never really know how it’s going to turn out. I love the randomness!

  1. Simply scrunch up the clothing into a tight mound.
  2. Wrap it randomly with rubber bands or zip ties to hold its shape.
  3. Place dye wherever you’d like. For mine, I did a similar pattern to the spiral method and did the same color on opposite sides with this kit (use code ABCRAFTY for 20% off).

You can also do this design using the bleach method.

And here’s what a crumple dye looks like on a crop top using just a few colors.

front of the finished tie dye crop top with pink, orange, and yellow designs

Alternating Stripes Tie Dye Pattern

A clean, organized linear layout across your garment.

  1. Accordion fold the shirt horizontally or vertically.
  2. Add rubber bands every 1-2 inches, evenly spaced apart.
  3. Alternate the colors of dye to get different colored stripes.
striped shibori tie dye shirt in indigo and grey

Rainbow Stripes Tie Dye Pattern

A clean split layout ideal for socks or small accessories.

  1. For these dyed socks, I folded them from heel to toe.
  2. Place rubber bands across the folded sock.
  3. Dye one side all one color and the other side another color.

Two-Toned Stripes Tie Dye Pattern

You can also get a cool effect by changing the direction you fold and by only using two colors.

For these dyed socks, I folded them from heel to toe. Then dye one side all one color and the other side another color.

Diagonal Stripes Tie Dye Pattern

Instead of folding the shirt in a straight line, start folding it at an angle.

  1. Accordion fold the shirt starting from a bottom corner angled toward the opposite shoulder.
  2. Wrap it with rubber bands or zip ties roughly 1-2 inches apart (these are the zip ties I used).
  3. Dye it in whichever colors you would like or use just one like I did for this monochrome black shirt.

Spots

It’s kind of like polka-dots! The example is on the right in the image.

  1. Gather a small area (1-2 inches) of the garment.
  2. Secure it with a rubber band or zip tie.
  3. Repeat across random parts of the garment.
  4. Scrunch the rest of the garment and secure with rubber bands or zip ties.
  5. Dye each tied of “spot” a different color than the rest to make them stand out.
jacquard ice dye meteorite on two tote bags with two different designs

Get the latest DIY tutorials, reviews, and crafting updates

You'll never be spammed and can unsubscribe at any time

Bleach and Reverse Tie Dye Patterns

If you want to try reverse tie dyeing on dark or black garments, you can use any of these exact same folding techniques with bleach! Below are simply designs that I know work well as bleach dyes patterns.

For a full detailed breakdown on safety, color expectations, neutralization, and timing, make sure to check out my dedicated bleach tie dye guide.

You want to use a diluted bleach mixture of 1 gallon of water to 1 cup of bleach.

Spiral Bleach Dye

Follow the classic spiral pinching and twisting steps on a black or dark cotton shirt. Apply the diluted bleach mixture all over to strip the black color back to its base tones.

front and back of a reverse tie dye lamb of god t shirt in a spiral tie dye pattern

Crumple Bleach Dye

Scrunch a dark shirt or graphic tee into a mound, bind it loosely with rubber bands, and apply the diluted bleach mixture over the top for a high-contrast marbled look.

a bleach tie dye navy boston t shirt with pink splotches from scrunching

Multi-Target Bleach Dye

Pinch several small points across a black shirt, secure them with rubber bands, and apply bleach to each ring to create striking orange target rings against dark fabric.

bleach tie dye lamb of god t shirt with a target tie dye pattern

Unique Shapes in Tie Dye

These designs are a little more complicated or require a few extra steps. I like to consider these as more intermediate or advanced designs. You can use the free downloadable templates to make it easy to draw the designs.

For those that require a design drawn on, I recommend using washable markers (this is the set I have). Some of these also need more strength when tied up so I recommend using reusable zip ties vs rubber bands. These are the ones I have.

4 tie dye templates in the shape of a heart, pumpkin, bat, and ghost

Download the Free Templates
for the Tie Dye Patterns

We’re committed to your privacy. AB Crafty uses the information you provide to contact you about relevant content and products. You may unsubscribe from these communications at any time.

Circle Bursts Tie Dye Design

  1. Fold the shirt in an accordion fold.
  2. Next, pinch and lift the top corner and add a rubber band or zip tie. Then move a few inches down across the top and repeat. Continue across the top.
  3. Repeat this along the bottom edge, but place the rubber bands between the rubber bands on the top.

Use the guide below as an example.

Heart Tie Dye Pattern

  1. For a beautiful tie dye heart, fold the shirt in half vertically
  2. Trace half a heart along the fold line with a washable marker (I like these) using the free downloadable heart pattern
  3. Fold along the outline, twisting the shirt in order to keep the marker lined up.
  4. Use a zip tie to secure the shirt along the line. Then pull the rest of the shirt to the side and wrap zip ties 1-2 inches apart.
  5. For a rainbow pattern, alternate using rainbow colors (in this case I used a red, yellow, blue, and purple), but you can use whichever colors you’d like.

You can also make this heart design in pastel colors. This one was made using a kit similar to this one.

finished pastel tie dye shirt with a tie dye heart design

Star Tie Dye Pattern

  1. For a fun tie dye star, fold the shirt in half and use a washable marker to draw half of a star (these are the kind I have). To make this part easy, I’ve made a free downloadable star pattern that you can print out and trace around.
  2. With one finger in the middle along the fold, fold the shirt over so that the top point lines up with the middle of the next point. Then fold the shirt backwards along this line.
  3. Repeat the process lining up the points of the star until it’s all folded and all of the marker lines line up with each other.
  4. Secure the star line tightly with a zip tie, then wrap zip ties 1-2 inches apart along the rest of the shirt.
  5. Dye each section whichever colors you would like. The first section will be the main center star.

Bat Tie Dye Pattern

  1. To make the bat pattern, use the free printable pattern to draw half of a bat on the folded shirt with a washable marker (this is the kind I have).
  2. Sew along the design and carefully pull the threads.
  3. Wrap zip ties around the gathered stitch.
  4. Next, scrunch the rest of the shirt and wrap it in rubber bands or zip ties. Cover it completely in black dye

Pumpkin Tie Dye Design

  1. Just as with the other Halloween designs, start the pumpkin pattern by folding the shirt in half using the printable template to draw half of the pumpkin. This is the set of washable markers I have.
  2. Sew along the design and pull the threads carefully to make the folds.
  3. Scrunch the rest of the shirt and secure it all with zip ties.
  4. Dye the pumpkin section orange, the stem green, and the rest black.

Ghost Tie Dye Pattern

  1. For a ghost design, fold the shirt in half and use the printable template to draw half of a ghostwith a washable marker (Amazon).
  2. Either sew along the design or fold along the line, keeping the line straight.
  3. Tie a rubber band around the eye area. Secure the rest of the shirt with zip ties roughly 2 inches apart.
  4. Dye the eye black, but leave the next section white for the ghost. Dye the surrounding sections in alternating colors

Candy Corn Tie Dye Pattern

  1. Start this candy corn pattern with a folded shirt. Draw a triangle shape with two sections using a washable marker (Amazon) or use the printable template.
  2. Fold along the outer line and secure it with a rubber band. Wrap the rest of of the shirt with zip ties evenly spaced across.
  3. To dye it, leave the top part of the triangle white, then dye the next section yellow and then the next orange. Lastly, dye the rest of the shirt all black.

Tie Dye Patterns Using Non-Traditional Methods

These patterns don’t necessarily use the classic tie and dye method. They have something unique going on to get the different pattern.

Ice Tie Dye Design

The ice tie dye method uses a unique approach to dyeing. Instead of mixing dye liquid in squeeze bottles, you use dry powder over ice.

  1. Fold or scrunch your shirt and place it on top of containers or a drying rack inside of a tray.
  2. Cover the shirt completely with ice cubes.
  3. Sprinkle dry dye powder directly over the ice. As it melts over several hours or overnight, it blends to create a gorgeous watercolor marble effect.

Because you’re using the powder directly, I actually recommend this kit instead of the bottles (and you can get it for 20% off with code ABCRAFTY)

You can also use dyes specifically made for ice dyeing. Jacquard makes these that are formulated to flow into different colors with using only one dye. You can check out the swatches of each of these colors in this post.

Frequently Asked Questions About Tie Dye Patterns

What is the easiest tie dye pattern for beginners?

The Crumple (Scrunch) method is the easiest patterns for beginners. The crumple method requires no precise folding, making it foolproof. Personally it’s my go-to!

Should you tie dye fabric wet or dry?

Always tie dye damp fabric! Damp fibers absorb dye much more evenly and hold tight folds and accordion creases much better than dry fabric.

How do you keep tie dye colors from bleeding together?

Soak your 100% cotton garment in soda ash before dyeing, and leave small gaps of white space near section boundaries when applying dye. Squeezing gently near rubber bands allows adjacent colors to touch without creating muddy brown bleed lines.

Do zip ties work better than rubber bands for tie dye?

Zip ties provide a much tighter, stronger bind than rubber bands, making them ideal for sharp shape patterns like hearts, stars, and pumpkin outlines. They also generally provide a larger area of “resist.” Rubber bands work great for flexible classic designs like spirals and bullseyes.

More Dyeing Projects and Resources

Get the latest DIY tutorials, reviews, and crafting updates

You'll never be spammed and can unsubscribe at any time

Picture of Daniela Kretchmer

Daniela Kretchmer

Daniela is a lifelong crafter who loves to share her passion for crafting. Through classes or learning on her own, she likes to say she'll do pretty much any craft aside from scrapbooking. Her current personal obsessions include garden crafts, felting, and spinning yarn.

More Craft Projects and Ideas

1 thought on “20+ Easy Tie Dye Patterns and Designs (Step-By-Step Tutorials)”

Leave a Comment

Your email address will not be published. Required fields are marked *