Tie Dye Crocs – How to Make Pastel Tie Dye Crocs at Home

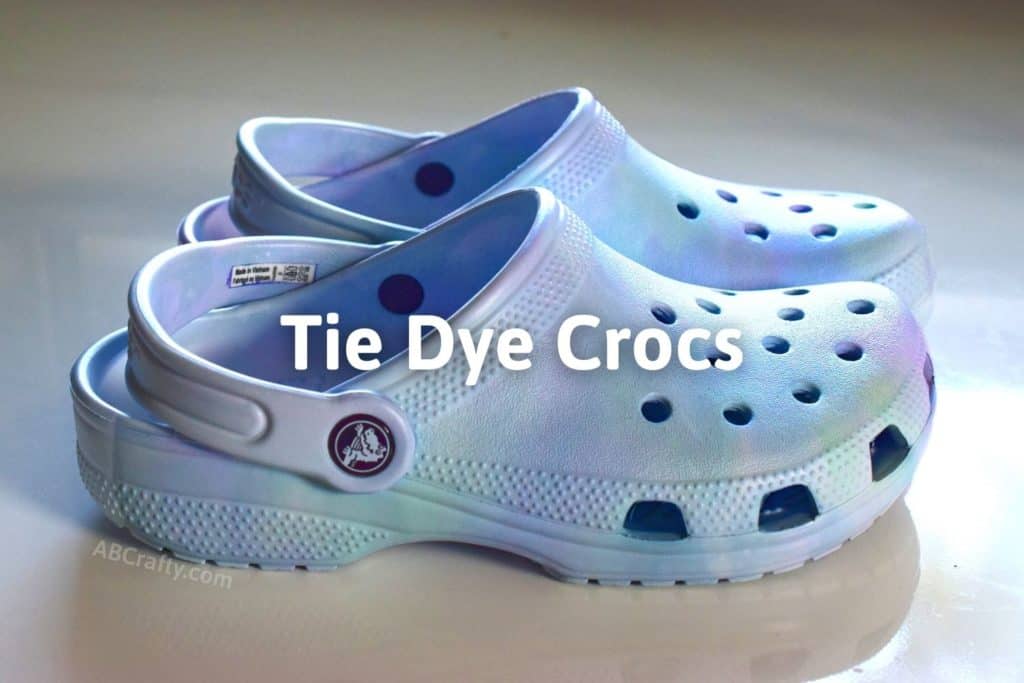
the finished DIY dyed crocs on the table with the title "tie dye crocs"

Learn how to make your own DIY pastel tie dye Crocs. Easy to follow step by step instructions to customize and dye Crocs at home. No spray paint needed!

Table of Contents

I have been wanting to make my own tie dye Crocs for a while, but after researching how to do it, all I found was dip dyeing or hydro dyeing. And while the dip dyed Crocs come out pretty cool, I wanted to find another way since spray paint can get expensive and at least in the US you have to be 18 to buy it. Then while you can spray a sealant over the paint, as the Crocs bend and move, it can still get detached and start to chip off.

Therefore I created a way to truly dye the Crocs so you don’t have to worry about chipped paint. The only challenge is Crocs are made of a unique type of plastic that are resistant to dye. So when you dye them the colors are faded. But it’s still a win since it’s an easy way to make pastel tie dye Crocs. And it’s actually one of the ways I make pastel tie dye clothing as well! You can also use this method to dye disc golf discs!

And if you’re looking to dye canvas shoes, here’s how to make tie dye shoes.

And these would look adorable with some matching tie dye socks, sweatshirt, shorts, and shirts. Go full tie dye crazy!

Get the latest DIY tutorials, reviews, and crafting updates

You'll never be spammed and can unsubscribe at any time

Note: Some links in this post may contain affiliate links, which means at no cost to you, I may earn a commission.

Be sure to pin it so you can come back to it later!
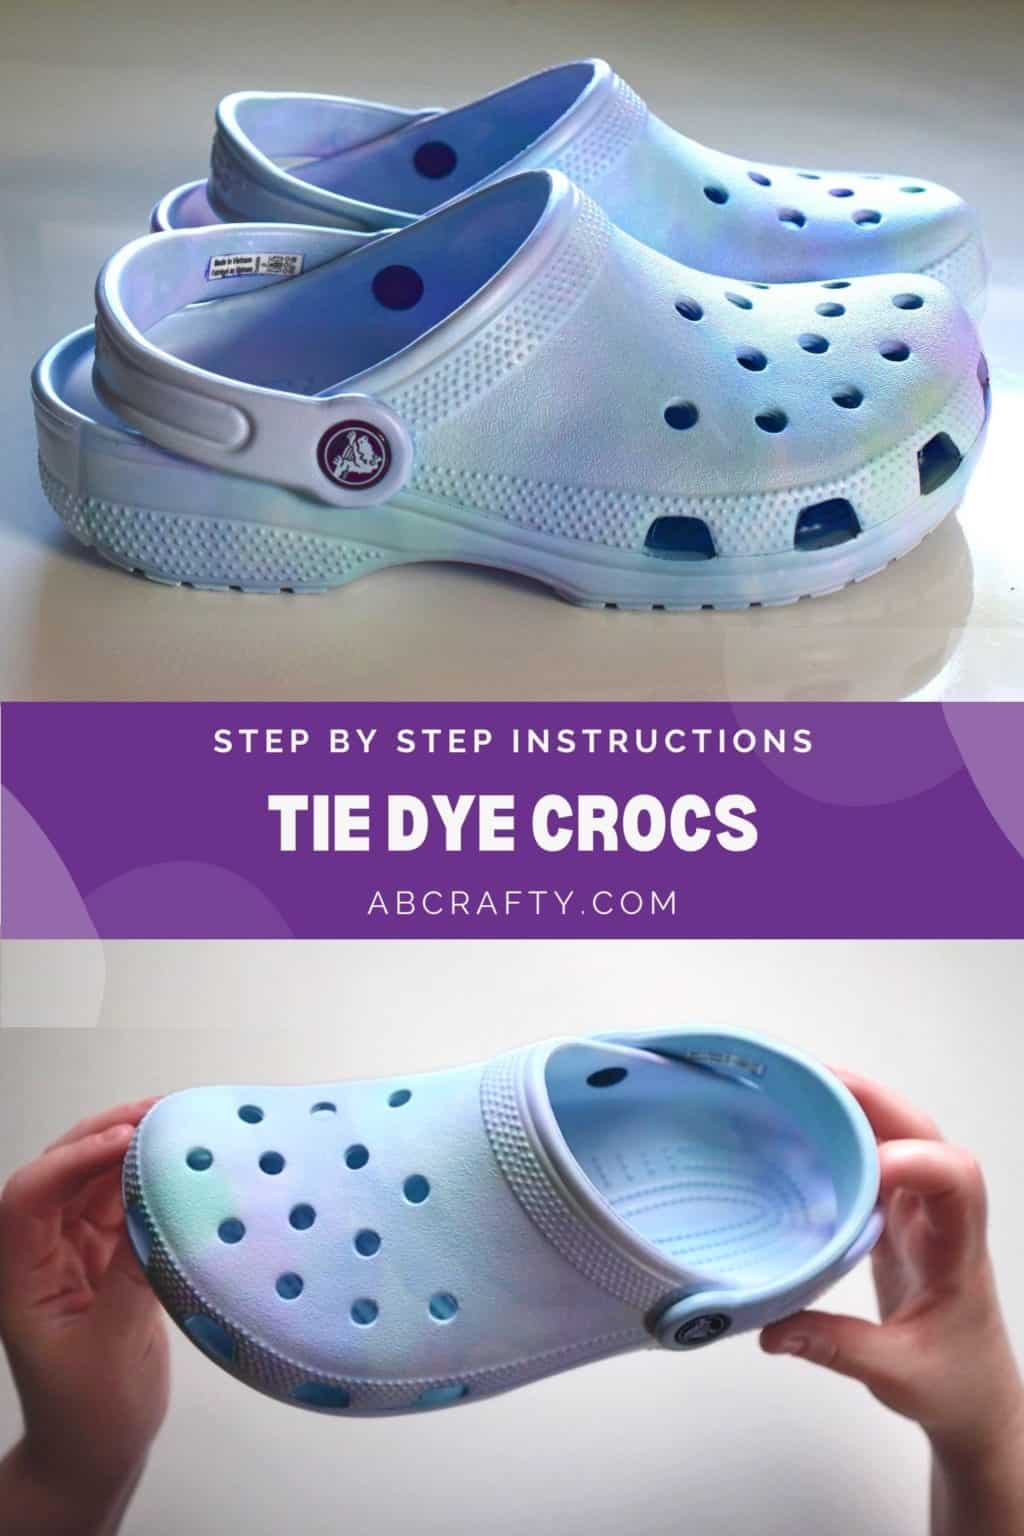
finished diy dyed crocs in the top photo and holding one of them in the bottom photo with the title "tie dye crocs"

Materials to Make DIY Pastel Tie Dye Crocs

The key to dyeing Crocs is using dye specific to synthetic material. The most common brands are Jacquard iDye Poly (Amazon or Michael’s) and Rit DyeMore Synthetic (Amazon or Michael’s). You can use either, but iDye Poly is a powder and Rit Synthetic is a liquid. I prefer to use the powder since you can control the amount and add more water, but you can also use Rit. However, if you use Rit, don’t add water.

Note: Even though I used both blue and turquoise iDye Poly, I didn’t see much of a difference between them so if you want a blue, I recommend using just the blue.

By the way, you can absolutely mix the colors to make new ones!

Instructions to Make Tie Dye Crocs

Prepare the Crocs

First you need to prepare the Crocs for dye (these are the ones I used). In reality, this step isn’t completely necessary, but it’s still good to do as a precaution to remove any dirt and make sure the dye is as vibrant as it can be.

Remove the straps and wipe everything with acetone. This will help remove any dirt and oils. It will also help prepare the plastic for dye.

Tip: It’s generally a good idea to use gloves when using acetone, but since it can burn through plastic, be aware the gloves may “melt” a bit.

rubbing acetone onto crocs with the straps off

Get the latest DIY tutorials, reviews, and crafting updates

You'll never be spammed and can unsubscribe at any time

Prepare the Dyes to Make Tie Dye Crocs

To prepare the dyes, add some shaving cream into a cup.

spraying shaving cream into a paper cup

Sprinkle in some of one of the dyes (this is the green I’m using).

Tip: After you open the dye, put it in a plastic bag with the cardboard of the outside package of the dye. This way you can see which dye color it is since they all are really dark.

shaking green idye poly into a cup with shaving cream

Add a little bit of water to make the mixture creamier and easier to work with.

Repeat the process for with each color of dye you want to use. This is the blue and this is the purple I used.

pouring water into a cup with shaving cream and green idye poly dye

Dye the Crocs

Put a bunch of shaving cream into a bowl. Then mix in some water a little bit at a time until you get a creamy texture. If you’ve ever made meringues, that’s the texture you’re going for.

pouring water into a bowl with shaving cream

Place plastic wrap on the table. Make sure it’s enough to wrap around one of the Crocs plus a few inches. You’ll likely need to overlap the layers.

Then spread the shaving cream mixture on the plastic wrap into a rectangle. The length and width should be roughly the size of one of the Crocs.

spreading shaving cream and water mixture into a rectangle on plastic wrap

Take each of the dyes and drop dots, lines, swirls, or whatever else you’d like across the shaving cream.

dropping green dyed shaving cream onto plain shaving cream with blue, purple, and green dye and shaving cream

Use the back of spoon, popsicle stick, or something else (like how I used the back of a marker) to draw swirls and lines through the shaving cream and dye.

Get the latest DIY tutorials, reviews, and crafting updates

You'll never be spammed and can unsubscribe at any time

Grab one of the Crocs and flip it upside down. Place it into the shaving cream and dye mixture.

putting a white croc into a rectangle of shaving cream with blue, purple, and green shaving cream swirled throughout

Lift the sides of the plastic up and around the shoe. Make sure the dye completely touches the shoe. Try to remove as much air as possible so that the dye will always be in contact.

pulling up the plastic to the sides of a white croc with shaving cream with blue, purple, and green shaving cream swirled throughout

Wrap the plastic all around and then grab another piece of plastic to cover the opening.

placing another piece of plastic around the croc wrapped in shaving cream and dye

Smoosh the shaving cream all around the Croc so that the dye gets everywhere.

Repeat the process with the other shoe.

squishing the outside of a croc wrapped in plastic filled with shaving cream and dye

Dye the Straps of the Tie Dye Crocs

Repeat the process for the straps, but since they’re small, you can dye both at the same time. Make sure the rectangle is wide enough to wrap around the undersides of the straps.

Leave everything to set for at least 6 hours, but a full day is best just to make sure. At a certain point, the dye doesn’t get more vibrant.

Then simply rinse off the dye and shaving cream and they’re ready to wear!

Get the latest DIY tutorials, reviews, and crafting updates

You'll never be spammed and can unsubscribe at any time

holding both finished DIY pastel tie dye crocs

I always have a preference when I make two of something, and this one is my favorite. Something about the green spot on the front.

holding one of the pastel tie dye crocs with blue, green, and purple swirls

And I actually love how the bottom of the tie dye Crocs turned out. I get the sense the bottoms are made out of a different material since they turned out more vibrant than the rest.

showing the bottom of the blue, purple, and green tie dye croc

If you make your own pair of tie dye Crocs, I would absolutely love to see them! Be sure to tag me on Instagram @ab.crafty.

the finished pastel tie dye crocs on the table

Get the latest DIY tutorials, reviews, and crafting updates

You'll never be spammed and can unsubscribe at any time

FAQs on Tie Dye Crocs

Which Crocs are Best to Tie Dye?

You can dye any Crocs, but because the colors end up being more pastel, I recommend using white Crocs. This way the colors can show up the most vibrant.

In terms of the style or shape – any work! I personally used the classic Croc with the slingback, but feel free to use whichever you’d like.

Why Didn't You Hydro Dip the Crocs?

You may have seen other people hydro dip or dip dye Crocs to tie dye them. I’m personally not as big of a fan of this method because the dye can easily chip off.

Why the hydro dipped Crocs chip: The material used to make Crocs is extremely durable. While this is great for the shoe itself, it also means it won’t really allow other things to stick to it. You can use a sealant or clear spray paint to help seal it in, but it’s basically a temporary solve. As you walk and the shoe bends and moves, it will push away from the spray paint touching it. This will creates ripples and fold in the paint under the sealant. With enough movement, a tear will form and the paint will peal and chip off.

Therefore the steps here create a true of truly dyed Crocs that won’t chip. They may be pastel, but the colors are permanent.

Why Can't I Use Regular Tie Dye Dyes to Make Tie Dye Crocs?

Regular tie dye that can be found in tie dye kits only works on natural material. Since Crocs are made out of plastic (a synthetic material), regular tie dye can’t be used. The dye will simply wash away and won’t actually dye the Crocs. It’s the same reason I don’t recommend using tie dye to dye polyester – polyester is a synthetic material.

Therefore you need to use dye that is specifically made for synthetic material.

More Tie Dye Projects

Get the latest DIY tutorials, reviews, and crafting updates

You'll never be spammed and can unsubscribe at any time

finished diy dyed crocs in the top photo and holding one of them in the bottom photo with the title "tie dye crocs"

DIY Tie Dye Crocs - How to Make Pastel Tie Dye Crocs

Learn how to make your own DIY pastel tie dye Crocs. Easy to follow step by step instructions to customize and dye Crocs at home. No spray paint needed!
Yield 1 Pair of Tie Dye Crocs
Project Time 30 minutes
Setting Time 1 day
Total Time 1 day 30 minutes

Materials
  

  • White Crocs
  • Acetone
  • Paper Towel
  • Shaving Cream
  • iDye Poly Dye One or multiple colors
  • Cups for Each Color
  • Plastic Wrap
  • Water
  • Latex Gloves

Equipment

  • Bowl

Instructions
 

Prepare the Crocs

  • Remove the straps from the Crocs and wipe everything with acetone using the paper towel.
    White Crocs, Acetone, Paper Towel, Latex Gloves
    rubbing acetone onto crocs with the straps off

Prepare the Dyes

  • Add some shaving cream into a cup and sprinkle in some of one of the dyes.
    Shaving Cream, Cups for Each Color, iDye Poly Dye
    shaking green idye poly into a cup with shaving cream
  • Add a little bit of water to make the mixture creamier and easier to work with.
    Water
    pouring water into a cup with shaving cream and green idye poly dye

Dye the Crocs

  • Put a bunch of shaving cream into a bowl. Then mix in some water a little bit at a time until you get a creamy texture.
    Shaving Cream, Water
    pouring water into a bowl with shaving cream
  • Place plastic wrap on the table. Spread the shaving cream mixture onto the plastic.
    Plastic Wrap
    spreading shaving cream and water mixture into a rectangle on plastic wrap
  • Take each of the dyes and drop dots, lines, swirls, or whatever else you’d like across the shaving cream.
    dropping green dyed shaving cream onto plain shaving cream with blue, purple, and green dye and shaving cream
  • Draw swirls and lines through the shaving cream and dye.
    using the back of a pen to draw a line through swirls in shaving cream with drops of blue, purple, and green dyed shaving cream
  • Place one of the Crocs face down into the shaving cream and dye mixture.
    White Crocs
    putting a white croc into a rectangle of shaving cream with blue, purple, and green shaving cream swirled throughout
  • Lift the sides of the plastic up and around the shoe. Make sure the dye completely touches the shoe.
    pulling up the plastic to the sides of a white croc with shaving cream with blue, purple, and green shaving cream swirled throughout
  • Wrap the plastic all around and then grab another piece of plastic to cover the opening.
    placing another piece of plastic around the croc wrapped in shaving cream and dye
  • Smoosh the shaving cream all around the Croc so that the dye gets everywhere.
    Repeat the process with the other shoe.
    squishing the outside of a croc wrapped in plastic filled with shaving cream and dye

Dye the Straps

  • Repeat the process for the straps.
    both croc straps in a rectangle of shaving cream and dye

Set and Wash

  • Leave everything to set for at least 6 hours, but a full day is best just to make sure.
    Then rinse off the dye and shaving cream and they’re ready to wear!
    the finished pastel tie dye crocs on the table
Keyword Accessory, Crocs, Pastel, Shoes, Tie Dye
Picture of Daniela Kretchmer

Daniela Kretchmer

Daniela is a lifelong crafter who loves to share her passion for crafting. Through classes or learning on her own, she likes to say she'll do pretty much any craft aside from scrapbooking. Her current personal obsessions include garden crafts, felting, and spinning yarn.

More Craft Projects and Ideas

1 thought on “Tie Dye Crocs – How to Make Pastel Tie Dye Crocs at Home”

Leave a Comment

Your email address will not be published. Required fields are marked *

Rating